
 Pin
Pin
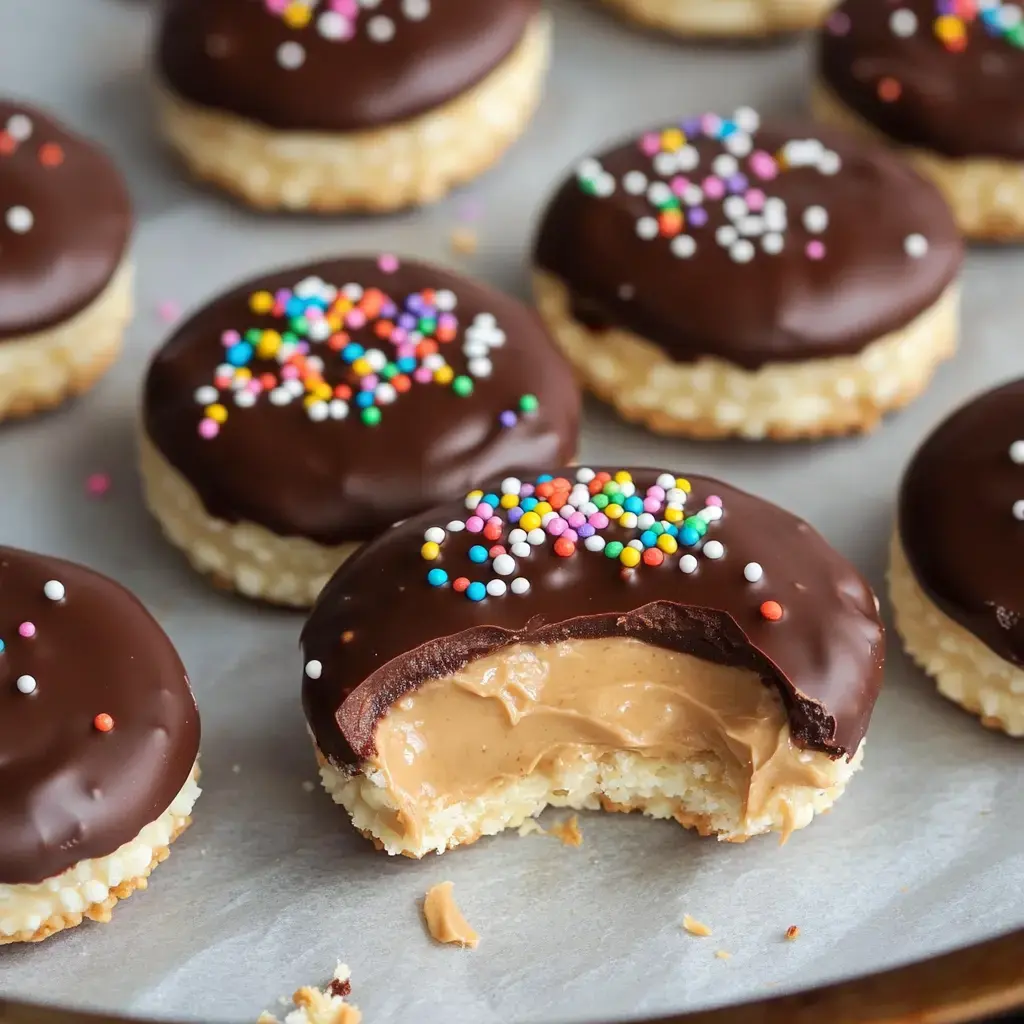
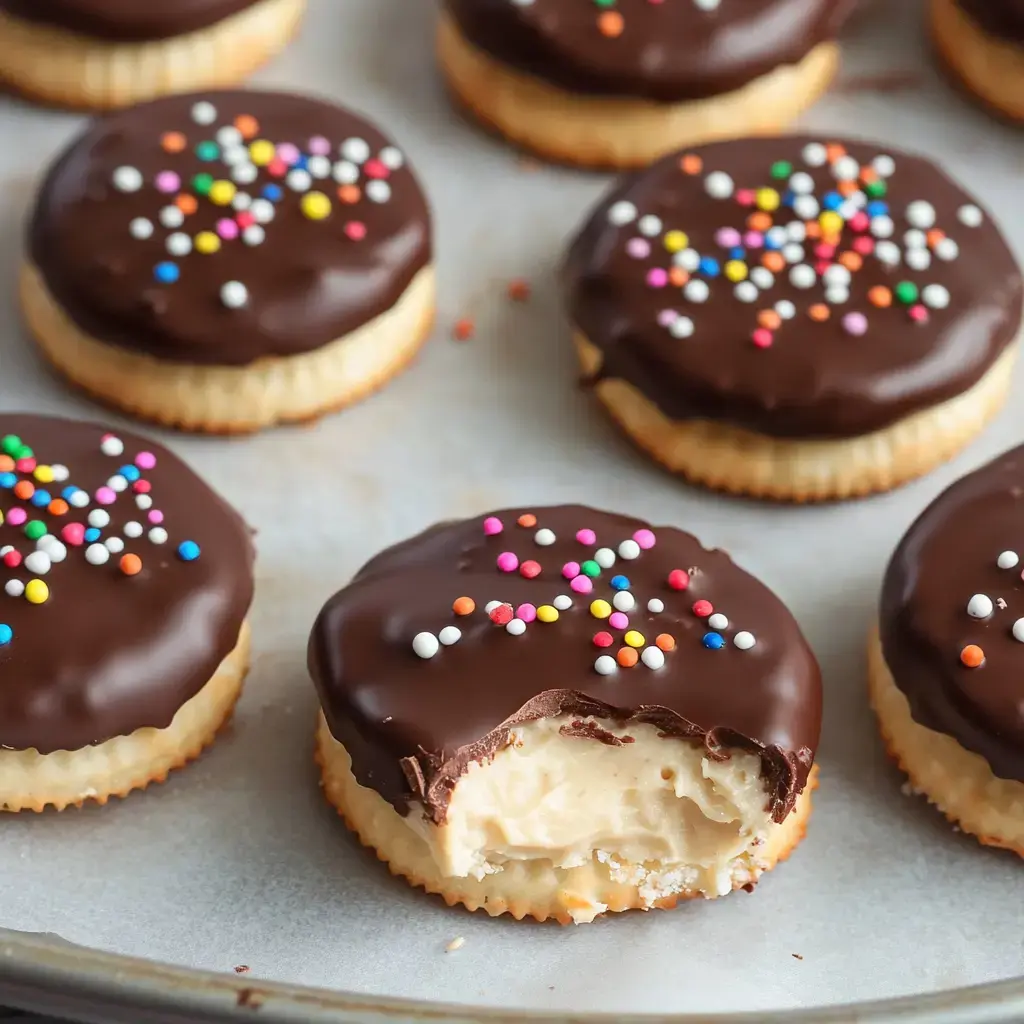
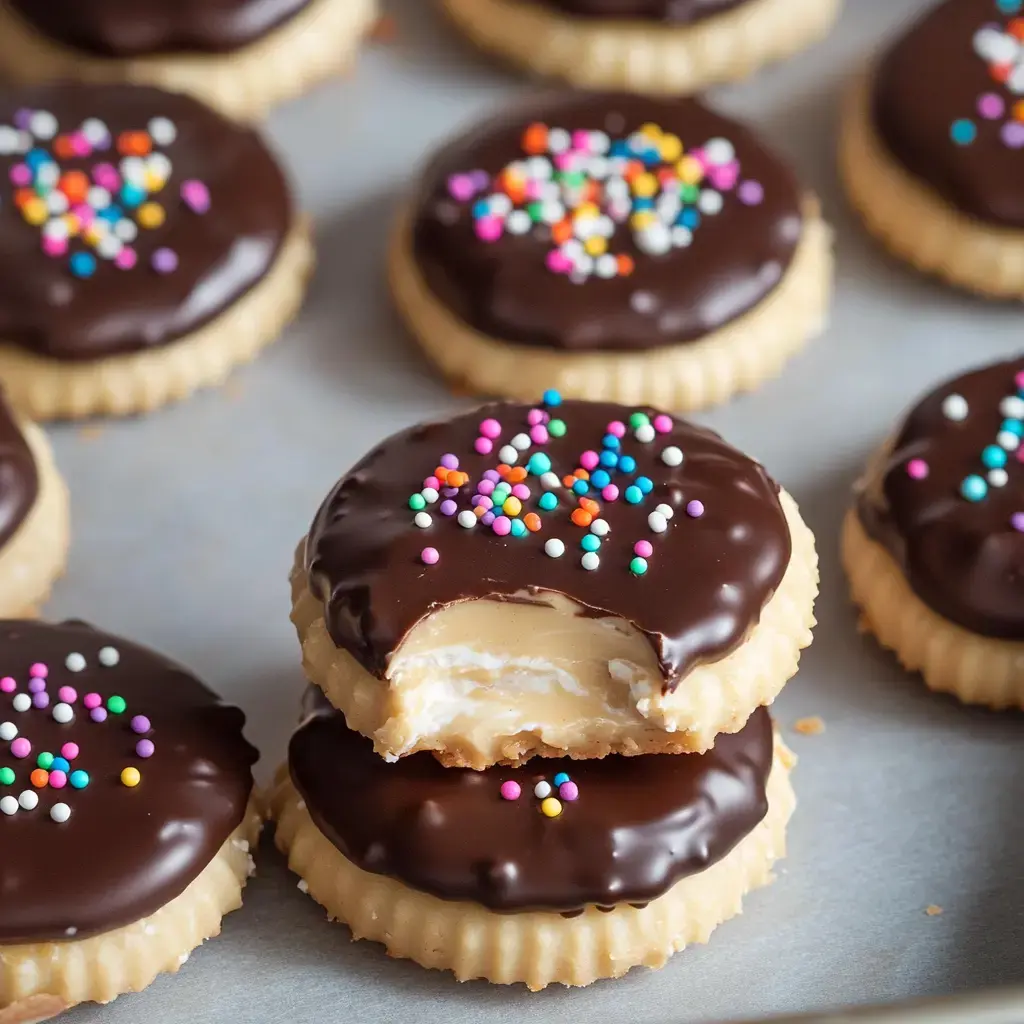
Whip up these super simple Ritz sandwich treats everyone goes crazy for. All you'll need are some crackers, peanut butter and a bit of chocolate. No oven required. They give you that perfect mix of crunch, creaminess and sweetness in every bite.
Benefits of These Treats
The combo of sweet chocolate with salty peanut butter on crispy Ritz crackers creates something magical. It sounds too basic to be special, but wait till you try them. They make awesome presents and always disappear first at gatherings. Everyone will beg you for your secret.
Ingredients List
- Peanut Butter: 1 cup creamy style
- Sugar: 1 cup confectioners'
- Crackers: 60 Ritz (pairs for assembly)
- Chocolate: 2 cups chopped pieces
- Sprinkles: Optional for decoration
- Paper: To line your tray
Preparation Steps
- Create filling:
- Blend peanut butter with sugar until completely combined. Get rid of any bumps.
- Arrange crackers:
- Cover large tray with paper. Place 30 crackers across surface.
- Build sandwich cookies:
- Drop dollop of peanut mixture onto each cracker. Press second cracker on top.
- Chill sandwiches:
- Stick tray in freezer for 15 minutes. This helps with chocolate coating.
- Prepare chocolate:
- Microwave chocolate for 30 seconds, then stir. Repeat until completely smooth.
- Coat sandwiches:
- Submerge each cookie sandwich in melted chocolate. Scoop out with fork. Shake gently to remove excess.
- Decorate tops:
- Sprinkle decorations on immediately before chocolate hardens.
- Cool completely:
- Place in refrigerator for 45 minutes until chocolate firms up.
What's So Special
The Ritz crackers keep their snap inside. The peanut filling gets just enough sweetness from the sugar. Chocolate wraps it all together perfectly. You won't need to heat up your kitchen. Total time from start to finish runs about an hour.
 Pin
Pin
Custom Variations
Switch up your chocolate type - any kind works great. You can swap in almond butter if peanuts aren't your thing. Want something festive? Add holiday-themed sprinkles. Many people love adding shredded coconut or crushed nuts as toppings.
Success Secrets
Stick with commercial peanut butter since natural versions tend to separate. For silky chocolate coating, add a tiny drop of coconut oil while melting. Make sure cookies are totally frozen before dipping or they'll crumble. Take your time with each step for best results.
Storage Advice
Store them in an airtight container. They'll stay good for a week at room temperature. Want them to last longer? Pop them in the freezer for up to 3 months. Use parchment between layers to prevent sticking. Let them warm up slightly before serving.
Helpful Hints
Set down wax paper under cookies while dipping to catch drips. If your chocolate thickens, warm it for another 10 seconds. Don't wait to add sprinkles or they won't stick. Make twice as many if you're sharing at a party - they vanish quickly.
Chocolate Success
Cut chocolate into tiny pieces for easier melting. Keep all water away or it'll seize up. Is your coating too thick? Add a drop of oil. Too runny? Mix in more chocolate chips. Keep stirring throughout the dipping process for smooth results.
Fun With Children
Let the little ones build the sandwich parts. They can handle sprinkling the toppings too. Keep them away from the hot melted chocolate. It's a great activity for teaching basic food prep. Prepare extra ingredients because sampling will definitely happen.
Packaging Ideas
Layer them in decorative boxes with parchment between. Wrap in cellophane to showcase your work. Create seasonal colors for holidays. Fill mason jars for teacher gifts. Include your recipe on a card when giving them as presents.
Troubleshooting
Is your chocolate hardened? Heat it briefly. Filling too runny? Add extra powdered sugar. Crackers snapping? Handle them more carefully. Want fancier treats? Drizzle contrasting chocolate across the tops.
Perfect For Munching
Tuck them into lunchboxes - they won't get soggy. They make ideal after-school snacks. Bring them camping as they're sturdier than regular candy. Try making tiny versions with smaller crackers. They're just right for kids' hands.
 Pin
Pin
Wrap-Up
Big peanut butter fan? Try blossoms next! Or whip up peanut butter fudge for something easy. Love creamy desserts? A no-bake pie with peanut butter swirl hits the spot.
Frequently Asked Questions About the Recipe
- → Can I try other kinds of chocolate?
Sure, all types work! Fancy up with dark chocolate, stick to milk for classic sweetness, or go for pretty white chocolate. Some people even mix – dark on the bottom and white drizzled on top. Just make sure it’s real chocolate, not the candy melts – they’re smoother. Try chocolate chips, fancy bars, or almond bark too. Whatever you pick, heat it gently to avoid lumps.
- → How should I store them?
Room temp works fine for about a week in a sealed container. For longer storage, refrigerator keeps them fresh for two weeks. Don’t forget wax paper between layers to stop sticking! Metal tins are better than plastic boxes. Warm climate? Definitely refrigerator. Let chill cookies sit out for 10 minutes before eating – tastier that way. Keep away from strong-smelling stuff – crackers absorb odors fast.
- → Are they gluten-free?
Not with regular Ritz – they’ve got wheat. But it’s easy to make them gluten-free. Use gluten-free butter crackers, which you’ll find from several brands. Be sure to check chocolate for hidden gluten too. Same for peanut butter – plain is safer, some specialty ones have gluten. While the taste might differ slightly, it still makes a great alternative!
- → Can almond butter be used?
Yep, any nut butter works! Almond butter is a good choice for peanut-free folks. Cashew butter gives a super creamy finish. Sunflower butter’s great for nut allergies too. Make sure it’s not too runny or it’ll squish out. Stiffer spreads work better, and a sprinkle of powdered sugar can thicken if needed. Stir natural kinds well before using. Spread thick to make the flavor shine through!
- → What about freezing them?
Freezing’s no problem – keeps for three months! Use a container with wax paper between each layer. Skip bags since cookies could break. Thaw overnight in the fridge. Although the chocolate might look odd at first, it smooths out once it warms up. Many people double the batch – eat some and freeze a stash for later. Just avoid freezing if you’ve used natural peanut butter – it messes with the texture.