
 Pin
Pin
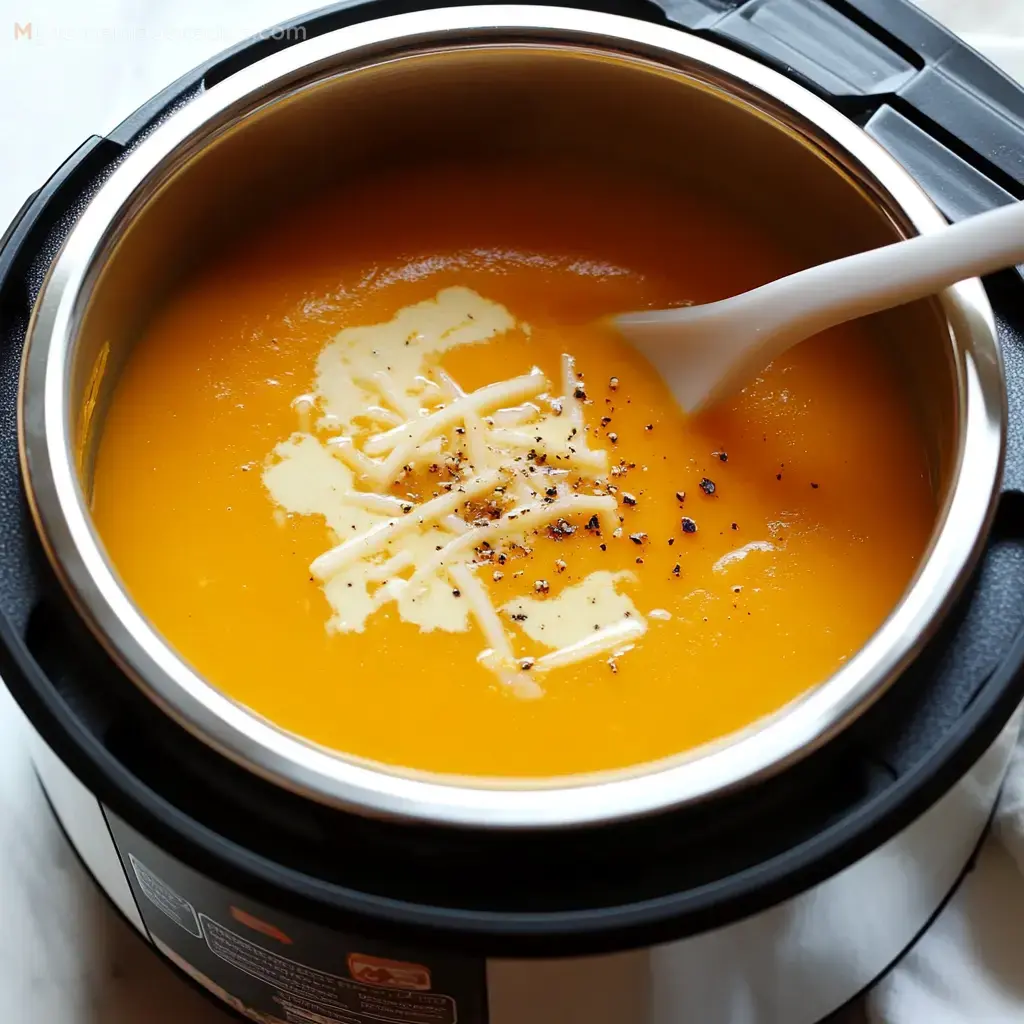
Whipping up soup in your Instant Pot changes everything for home cooking fans, and one of the tastiest comfort foods you'll ever make is this simple butternut squash blend. It's perfect during cold months, giving you a hot, smooth, and super tasty meal that's done in less than half an hour.
The slightly sweet, nutlike flavor of butternut squash makes it ideal for this dish. Paired with the quick pressure cooking method, you'll end up with an incredibly smooth and flavor-packed soup that's good for you and fills you up nicely. Let me walk you through making this yummy soup, plus some twists, serving ideas, and helpful tricks.
Another trick is cooking your squash chunks in an air fryer or oven first – it brings out sweet, caramelized flavors before they even hit the soup pot.
Winter Squash
This soup revolves around the butternut squash itself. Feel free to grab either a whole squash or the ready-cut pieces from the store. If you're starting with a whole one, here's a neat trick: pop it in your microwave for about 3 minutes to make the skin softer and easier to remove, then cut it into chunks. Many stores, including Costco, sell pre-cut squash that can save you tons of prep time.Flavor Base
You'll need onions and garlic as your starting point. Dice one small sweet onion and crush 3 garlic cloves. Adding more flavor boosters like chopped celery and carrots works great too. Try cooking these veggies together with your onion and garlic to bring out even more sweetness and rich flavor in your finished soup.Flavor Boosters
- Cinnamon and Nutmeg: These cozy spices work perfectly with butternut squash, adding that warm, homey taste.
- Red Curry Paste from Thailand: Throw in a couple spoonfuls for a spicy Thai twist that adds warmth and kick.
- Sage and Thyme: Fresh herbs like these add wonderful aromas that balance the squash's natural sweetness.
- Cayenne: Just a tiny bit will give your soup some fire if you want that extra zing.
Liquid Base
Pick either veggie broth or chicken stock to form your soup base. Veggie works perfectly for plant-based eaters, while chicken gives a slightly richer background flavor.Smooth Texture
- Milk from Coconuts: This works great if you don't eat dairy and adds amazing smoothness. Just stir in the full-fat kind near the end of cooking.
- Butter or Heavy Cream: For an extra rich, decadent version, these dairy options make your soup super luxurious.
Basic Flavors
Don't forget plain old salt and pepper to bring out the flavors, but you might try mixing in a splash of soy sauce too for extra depth.Step 1: Start With Flavors
First, turn on your Instant Pot's sauté mode. Pour in 1-2 tablespoons of olive oil or just water if you want to skip oil. When it's hot, toss in your chopped onion and let it cook until soft, around 2-3 minutes. Then throw in your crushed garlic and stir for another 30 seconds, making sure it doesn't burn.Step 2: Combine Everything
Once your flavor base is ready, dump in your squash chunks, herbs, spices, and broth. Check that the liquid covers all the squash pieces. If you're using extra veggies like chopped carrots or celery, now's the time to add those too.Step 3: Cook Under Pressure
Put the lid on your Instant Pot and check that the valve is turned to 'Sealing.' Set it to cook for 10-12 minutes on high pressure, depending on what extras you've added. For instance, if you threw in carrots, you might want to go for the full 12 minutes.Step 4: Let Steam Out
When the timer goes off, wait 10 minutes before touching anything, then turn the valve to release any leftover pressure. Be careful opening the lid and watch out for steam that might still escape.Step 5: Smooth It Out
Grab an immersion blender and blend everything right in the pot, or pour batches into your regular blender until everything's smooth. This makes all the difference in getting that silky texture everyone loves.Step 6: Make It Creamy
After blending, stir in whatever you're using to make it creamy – coconut milk, heavy cream, or butter. This gives your soup that perfect velvety feel.Tackling The Squash
Like I mentioned before, zapping your squash in the microwave makes peeling way easier. Or just grab pre-cut pieces if you're short on time.Boosting Taste
For extra flavor, cook down your onions, garlic, and ginger before adding anything else. This creates a tasty foundation.Another trick is cooking your squash chunks in an air fryer or oven first – it brings out sweet, caramelized flavors before they even hit the soup pot.
Swaps and Skip-Its
- Liquid: Try chicken stock instead of veggie broth if you want more richness.
- Plant Parts: Fresh thyme sprigs and bay leaves can add wonderful background notes.
- Smoothness: Skip the coconut milk or try a spoonful of peanut butter for creaminess instead.
- Heat Level: Add more cayenne or a few dashes of hot sauce if you love spicy food.
Keeping Leftovers
Keep extra soup in a sealed container in your fridge for up to 6 days or freeze it for up to 3 months. When warming it up, let frozen soup thaw completely first, then heat it on medium, stirring now and then. Don't let it boil or you'll mess up that nice texture.Topping Ideas
- Crusty Bread and Salad: Serve your soup with a side salad and warm bread for a complete meal.
- Melty Sandwich: Nothing beats dunking a grilled cheese with Stretchy Vegan Mozzarella into this soup.
- Thai Companions: If you made the spicy version, try serving it with peanut tempeh or some fresh spring rolls.