
 Pin
Pin
Turn regular zucchini into crunchy, addictive chips that hit your snack spot while staying healthy and good for you. These baked goodies give you all the joy of regular chips with way fewer calories, so they're great for snacking without guilt or serving as a fancy side.
I've made tons of batches trying different methods, and I've found that taking your time during prep really matters. Now my family asks for these instead of store chips, especially when zucchini's growing like crazy in summer.
Key Ingredients Breakdown
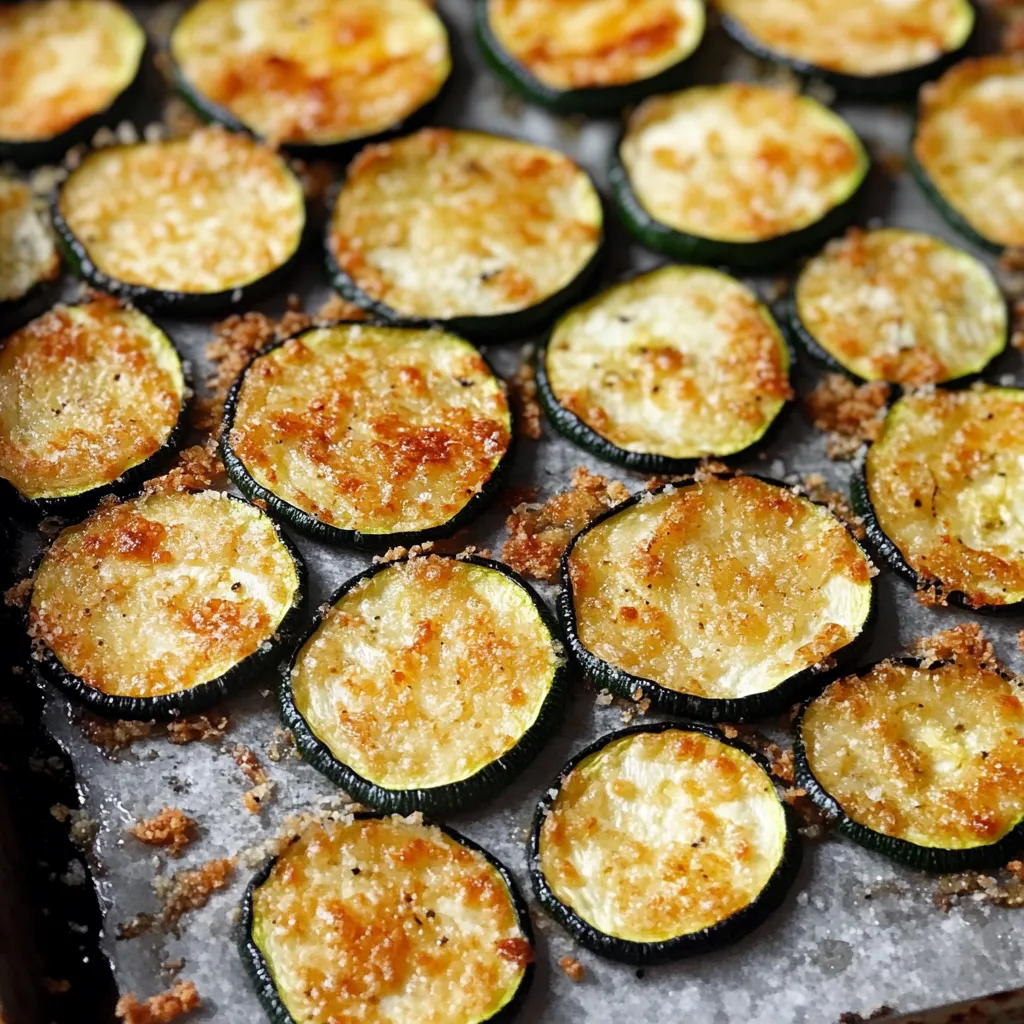
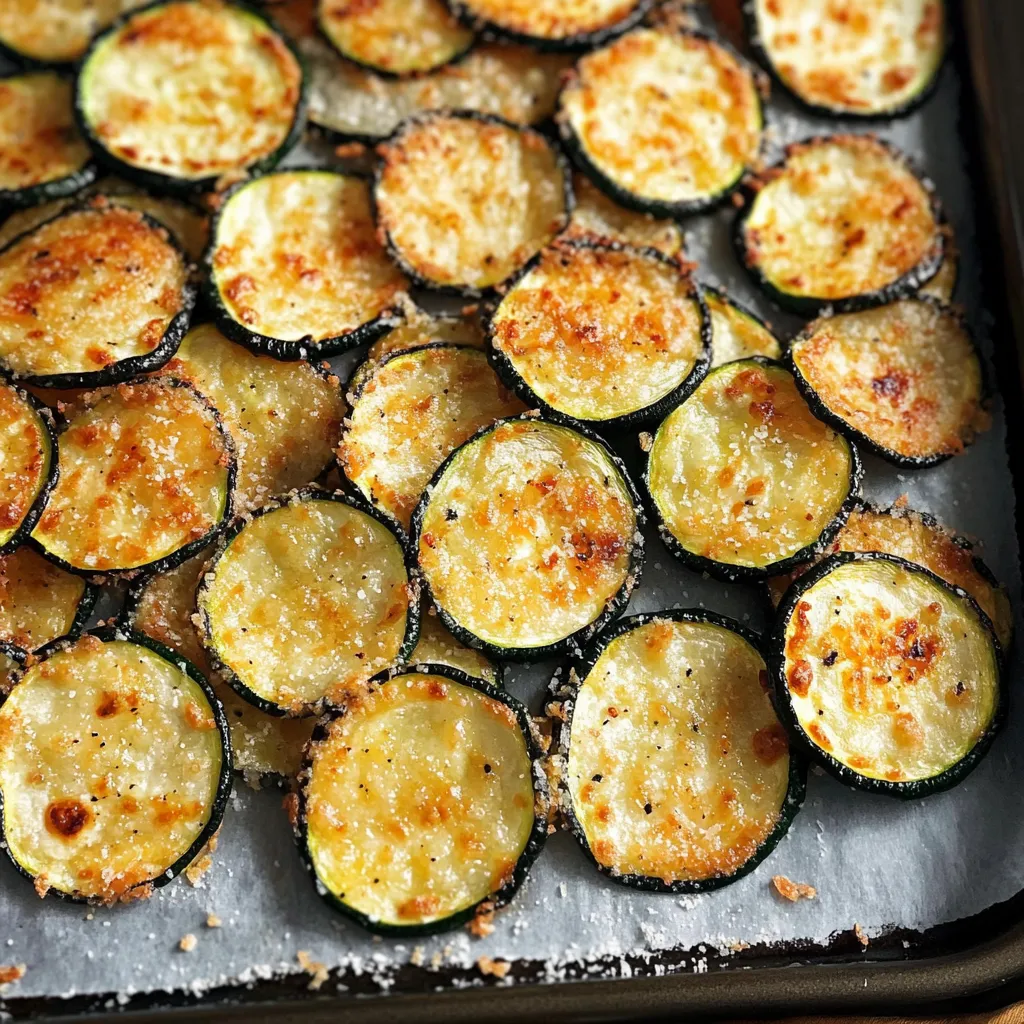
- Zucchini: Go for the firm, medium ones for the best outcome
- Olive oil spray: Gives even coverage without too much oil
- Kosher salt: Works better than regular salt with its bigger grains
- Parmesan cheese: Get the finely grated kind so it sticks well
- Garlic powder: Adds yummy flavor without burning
- Black pepper: Grind it fresh for the tastiest results
Simple Process Walkthrough
- Getting Rid of Water:
- Cut zucchini into same-size thin slices, put them in one layer in a strainer, add salt all over, wait the full 30 minutes, then dry them totally with towels.
- Getting the Oven Ready:
- Put rack in the middle, heat to 425°F completely, cover baking sheet with paper, spray it well, make sure oven gets fully hot.
- First Cooking Step:
- Lay slices without touching, lightly spray with oil, look for edges turning brown, take out any done pieces early, keep cooking the rest.
- Adding Flavors:
- Sprinkle seasonings while they're still hot, add cheese evenly, put back in oven right away, watch closely as they brown, pull them out when they're just right.
- Letting Them Set:
- Keep them on the baking sheet a bit, move to cooling rack, let them get crunchier, add more seasoning if needed.
 Pin
Pin
I came up with these chips because I wanted healthy snacks during growing season when we have zucchini coming out our ears.
Heat Management
Getting that perfect crunch comes down to handling the heat right. Through lots of testing, I've found that a fully heated 425°F oven is super important. Too cool and your zucchini gets soggy instead of crispy. Too hot and they'll burn before drying out properly.
Keeping Them Fresh
They're tastiest right away, but you can store them too. I've learned that putting them in a paper bag inside a sealed container keeps them crunchy longer than just using plastic bags. If they go soft, warming them for 10 minutes at 350°F brings the crunch back.
Flavor Options
I've tried all sorts of flavor combos over time. Italian herbs with red pepper flakes make a spicy version, while nutritional yeast works great for a dairy-free cheesy taste. My kids love when I add a bit of ranch seasoning mix.
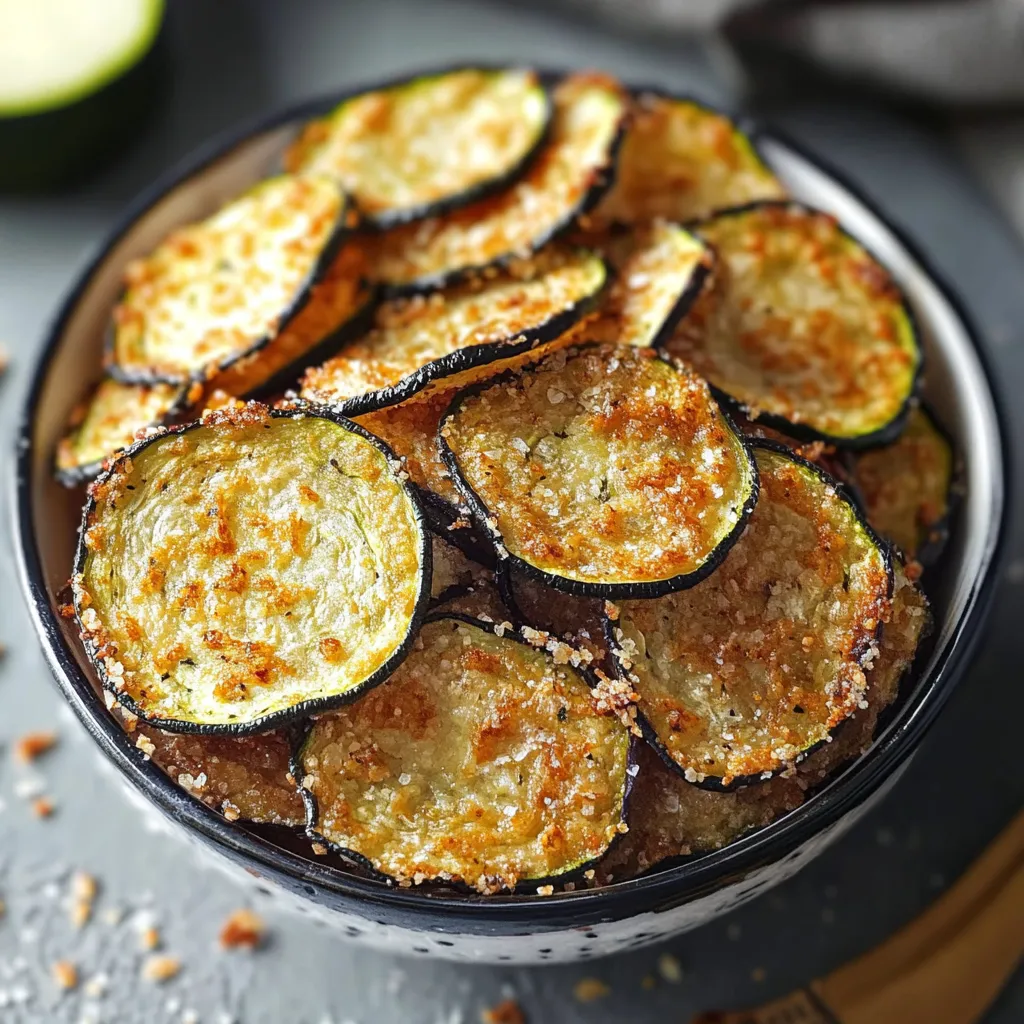
Ways To Enjoy Them
These zucchini chips work as both snacks and sides. They go great with sandwiches, taste awesome dipped in marinara, and make a fancy starter when you have guests. In summer, I love serving them with fresh tomato salsa.
Fixing Common Problems
If your chips aren't getting crispy, it's usually because they're too wet. I've found you need to be super thorough when drying them, sometimes even using a salad spinner after patting them with towels.
Cutting Technique
Getting all slices the same thickness really matters for even cooking. I suggest using a mandoline for the same thickness every time, though you can do it with a sharp knife if you've got a steady hand.
 Pin
Pin
These zucchini chips have changed how we snack in my home. Watching plain veggies turn into crispy treats always wows my guests, and knowing they're good for you makes eating them even better. Whether you want a healthy munchie or a fancy appetizer, these chips bring both nutrition and taste in every bite.
Frequently Asked Questions About the Recipe
- → Why is salting the zucchini important?
- It removes extra water so the chips turn out crispy instead of mushy.
- → How thin should I cut zucchini slices?
- Aim for about ⅛ inch thickness to make sure they bake evenly and get crispy.
- → Why didn’t my chips get crunchy?
- Your slices might’ve been too thick, or they weren’t dried enough before baking.
- → Can I prepare these in advance?
- They’re best fresh, but leftovers can stay crispy for 2-3 days if kept airtight.
- → Can I try other seasonings?
- Absolutely! Feel free to try different spices while keeping the same prep.