
 Pin
Pin
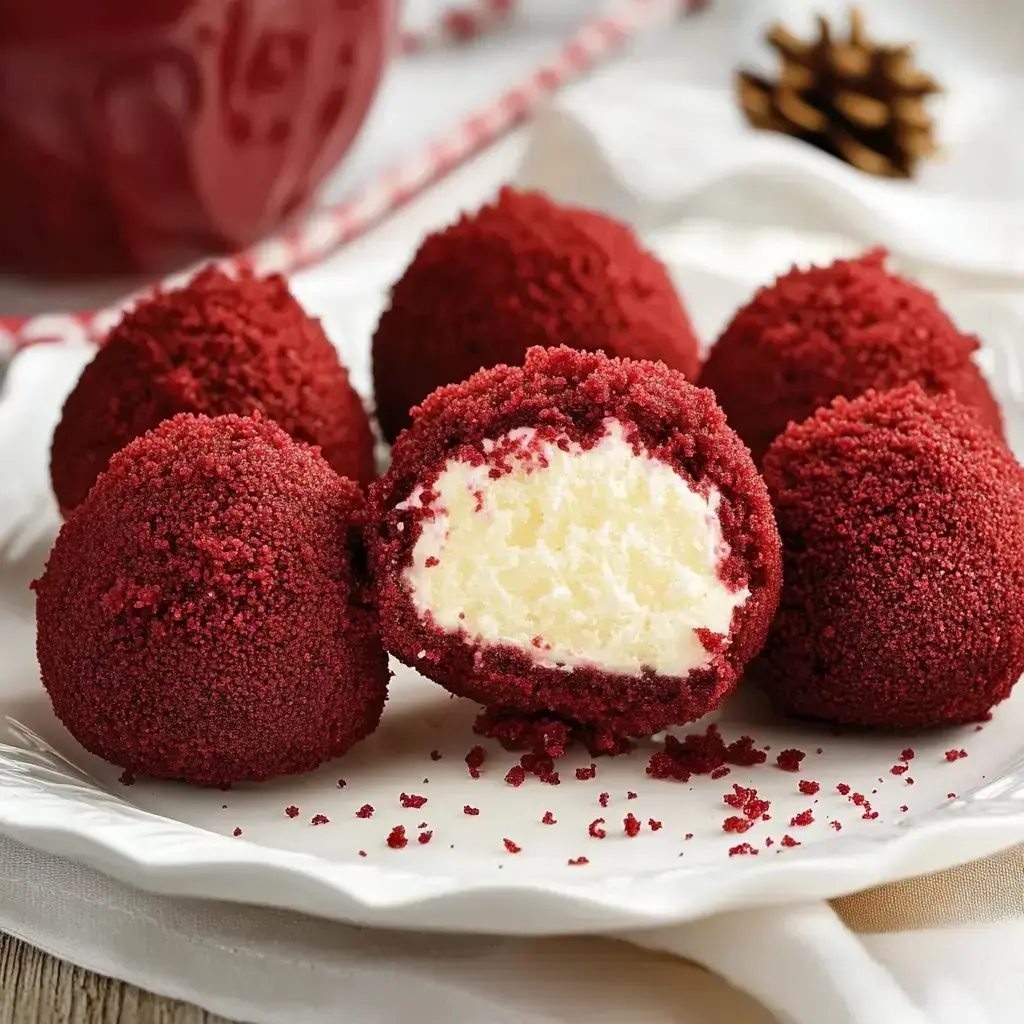
Homemade Mini No-Bake Red Velvet Cheesecake Treats
Ladies, these Mini Red Velvet Cheesecake Treats will blow your mind! I've whipped them up countless times and they always vanish at gatherings. They've got this velvety smoothness with that signature red cake flavor all packed into tiny bites. And guess what? You won't need to turn on your oven. I promise these cute treats will become your favorite when you're craving something fancy and sweet without spending forever cooking.
What Makes These Bites So Irresistible
The thing I adore about these treats? They combine all the good stuff from cheesecake and red velvet into one tiny, perfect morsel. I always stock up on the ingredients because sometimes you just need a sweet snack without warning. They're super handy for bringing to gatherings or potlucks, and you can make them a day ahead when you're swamped with party planning.
Kitchen Supplies You'll Need
- For the Cake Part: Pick up your top choice red velvet cake mix from the store. Feeling different? Go for chocolate or vanilla instead.
- The Cheesy Stuff: Don't skimp on cream cheese ladies - full fat works best and let it sit out until it's completely soft.
- The Butter: This needs to be room temperature too and either salted or unsalted will do the job.
- Sweet Things: Grab some powdered sugar and add more or less depending on your sweet tooth.
- Graham Time: Smash those graham crackers into tiny bits for the perfect filling texture.
- Extra Flavor: A little vanilla extract really brings everything together.
- Cake Basics: Remember to get eggs, milk and oil for making the cake mix.
 Pin
Pin
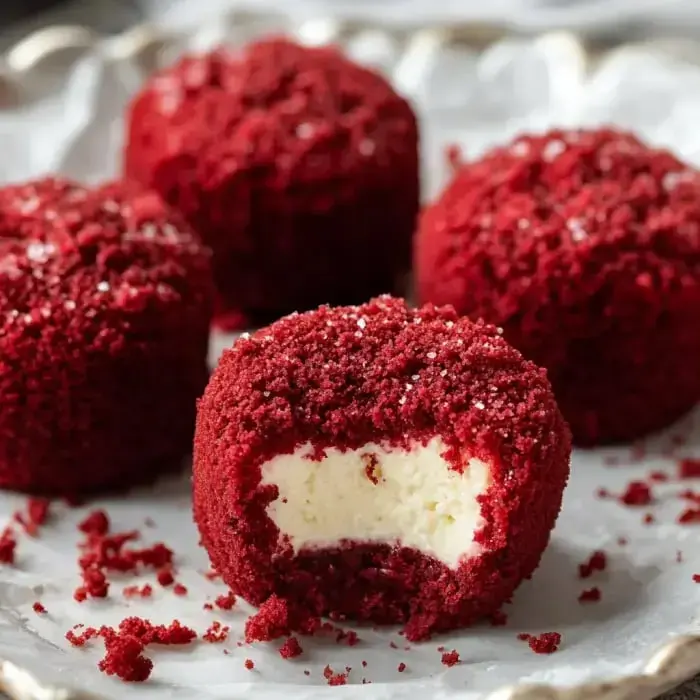
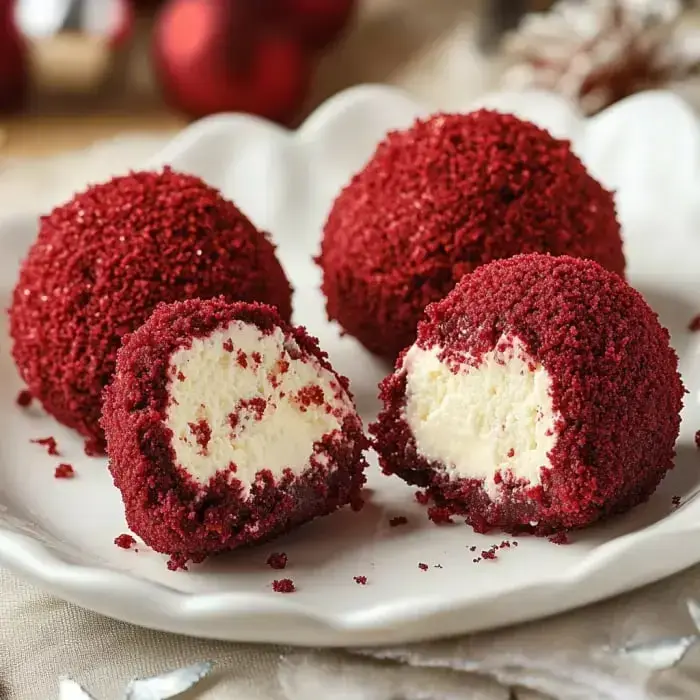
Making These Little Delights
- Start With The Cake
- Whip up your red velvet cake using the box instructions. Let it cool completely then break it into tiny crumbs.
- Mix The Creamy Center
- Blend your softened cream cheese, butter, powdered sugar, graham cracker crumbs and vanilla until completely creamy.
- Shape Your Treats
- Form small balls from the cheesecake mixture and stick them in the fridge to harden.
- Add The Finishing Layer
- Cover each ball with those beautiful red velvet crumbs then back to the fridge until you're ready to serve.
Creative Twists To Try
Ready to switch things up? I sometimes use smashed red velvet Oreos instead of cake bits. You can add chopped nuts, colorful sprinkles, or tiny chocolate pieces. Adding some lemon zest or fresh berries to the filling tastes amazing, and you won't believe how good they are with a chocolate chunk hidden inside. For fancy occasions, I like to drizzle melted chocolate across the tops.
Storing Your Goodies
Store these sweet bites in a sealed container and they'll stay yummy in the fridge for about 4 to 5 days. Need them to last longer? Wrap them up tight and toss them in the freezer for up to 3 or 4 months. Just don't forget to move them to your fridge the night before serving so they can thaw properly and keep their cute shape.
 Pin
Pin
Frequently Asked Questions About the Recipe
- → How long can I keep these in the fridge?
Stored in an airtight container, these tasty bites will stay fresh for up to 5 days. Keeping them chilled enhances the flavor and texture over time.
- → Can I store these bites in the freezer?
Totally! Freeze them for up to 3 months in a sealed container. Just let them thaw in the fridge overnight before you dig in.
- → Why dry the cake crumbs if they’re damp?
Drying helps avoid a sticky, mushy texture when you mix everything. It keeps the coating on the outside nice and firm too.
- → Is it okay to swap the cake flavor?
For sure! You can try different flavors like chocolate, vanilla, or even something fun like sprinkles for unique twists.
- → Does this snack need refrigeration until serving?
Yep, because of the cream cheese filling, they must stay cool until served. They’re fine out for about 2 hours at a party.