
 Pin
Pin
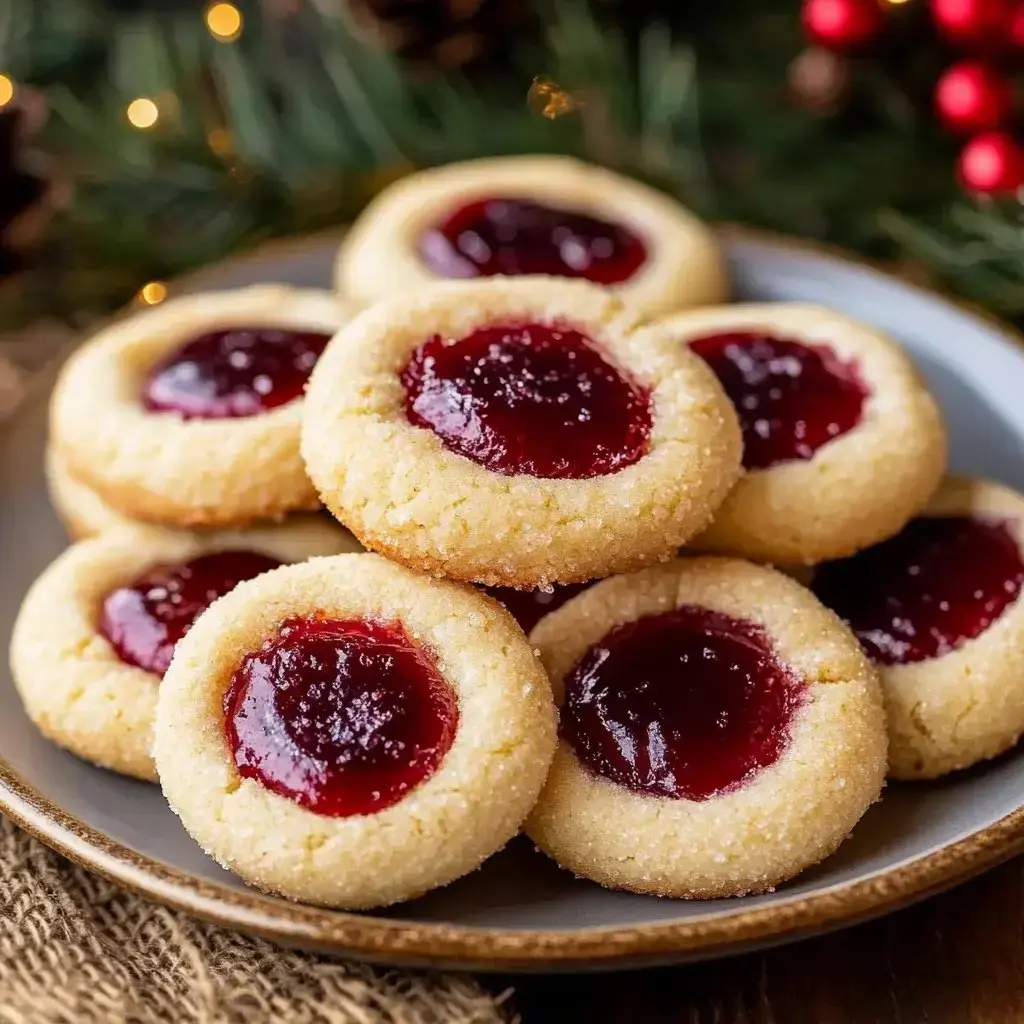
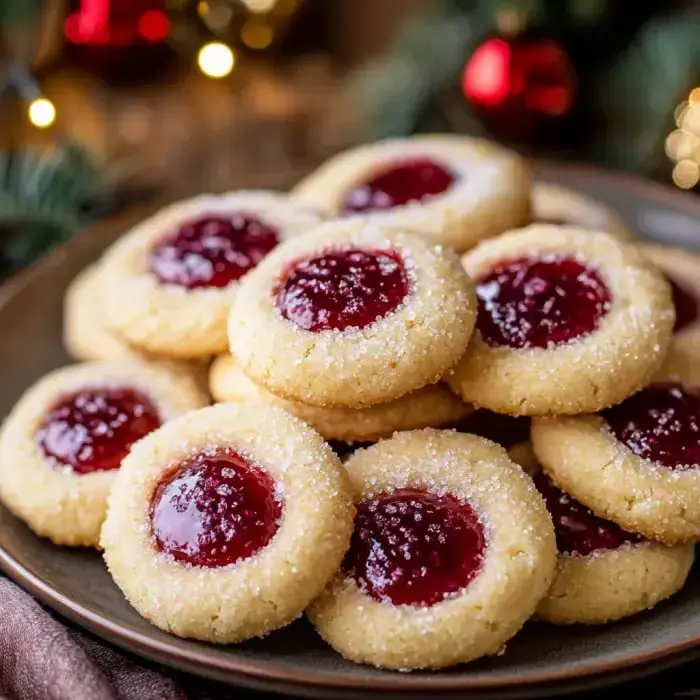
These holiday thumbprint treats stir up so many fond memories. I bake them yearly—the buttery mixture that's crunchy on the outside and soft on the inside simply dissolves when you eat it. What grabs me most is how quick they come together, no waiting time needed, and they stay yummy for days. They're my favorite for holiday gift baskets and homemade presents—everyone smiles when they spot them.
Why These Treats Stand Out
What's great about these cookies is their flexibility. A single mix can transform into countless goodies—dark chocolate mint, traditional berry, whatever you fancy. When the holiday madness kicks in, these are my backup plan since they're so fast to make. The feel is just right—firm enough to stack as presents but still delightfully tender. After your first batch, they'll turn into your season's must-have too.
Your Shopping List
- Butter: This gives you that luxurious melt-away base you'll crave.
- Brown and Granulated Sugar: This duo creates ideal sweetness and wonderful consistency.
- Flour: Simple all purpose flour binds everything nicely.
- Cocoa Powder: Only for folks who want that chocolatey kick.
- Baking Powder: The trick to making these cookies stay perfectly tender.
- Egg and Vanilla: These elements bind everything with delicious taste.
- Fillings: Get creative—preserves, citrus curd, hazelnut spread, whatever makes you smile.
- Toppings: Dust with sugar, chopped nuts, shredded coconut or broken candy for extra flair.
Let's Bake Together
- Mix Your Foundation
- Begin by whipping your butter, sugars and vanilla until light. Drop in the egg, then fold in flour and baking powder. Want dark ones? Just mix cocoa into half your batter.
- Form Your Treats
- Turn your mix into tiny balls, roll them in sugar or your chosen toppings, then press those trademark dents in the middle.
- Add Fillings and Cook
- Put your favorite fillings like preserves in now but hold things like hazelnut spread for after. Stick them in a 355°F oven for 8 to 10 minutes.
- Final Additions
- Cool them on a wire rack before adding last touches. Now try to save some for others.
Smart Baking Tricks
Want my insider tips for flawless thumbprints? Don't beat the mixture too much—we want them gentle and soft. Take them out while the middles still look a bit undone, they'll firm up as they cool down. A sugar coating before making indents stops sticking, and always wait till after baking to add any chocolate extras.
Storage Solutions
These treats stay tasty in a sealed box in your fridge up to 4 days. Need them to last longer? Tuck them in the freezer for up to 2 months. Just don't chill the unbaked mixture—it gets too stiff to handle and might split when you mold it.
Holiday Cookies With A Twist
The true wonder of these thumbprints is how many different treats you can make from one basic mix. Fill holiday gift containers with various tastes or arrange a tray that amazes your company. Since you don't need waiting time, you can have warm cookies ready whenever you want some. That special mix of crispy edges and tender middles has everyone reaching for another.
Try Different Tastes
Play around with your flavors—dark chocolate mint always works and lemon curd adds such zip. Finish them with smashed candy sticks, coconut flakes or festive candy bits to match your holiday mood. My folks go crazy when I stuff them with chocolate spread or cookie cream, but classic berry jam never fails.
Great Companions
These cookies look amazing on any holiday sweet table, particularly next to a hot cup of chocolate or warm spiced wine. Put them with ginger cookies and butter cookies for the best Christmas cookie mix. Wrap them in cute boxes with ribbons—they make the loveliest gifts.
Finishing Advice
Let your cookies have space to grow about 2 inches apart on your tray. Keep those dough rounds the same size for even cooking. Always start with a hot oven and put parchment on your baking trays—it makes cleanup way simpler. Have a blast trying different toppings to make them extra celebratory.
 Pin
Pin
Frequently Asked Questions About the Recipe
- → What happens if I prep the dough early?
- Chilled dough gets tough to mold, sugar won't stick well, and the cookies might crack or lose their soft texture. Best to bake right after mixing.
- → When's the best time to add different fillings?
- Go for jams and curds before you bake. For things like chocolate or Hershey's kisses, add them right after baking when the cookies are still warm.
- → How long will these cookies last?
- Store them in the fridge inside a sealed container. They'll stay good for about 4 days, though storage times might vary depending on your filling.
- → Can I make an all-chocolate version?
- Absolutely! Use cocoa in the dough for chocolate cookies, or make a mix of chocolate and vanilla batches to switch it up.
- → Why roll the dough in sugar beforehand?
- It stops the dough from sticking when you press in the thumbprint shape, and it adds a nice coating outside.