
 Pin
Pin
I've spent so many days tweaking cake pop recipes in my kitchen, and now I'm super excited to share what really works. These cute little goodies mix broken-up cake with smooth frosting, all rolled into tiny balls and dunked in melted chocolate. My guide shows you exactly how to whip these up – they're perfect when you want to impress friends or just need a sweet treat for yourself.
The Wonder Inside These Tiny Delights
You'll quickly get hooked on how flexible these treats can be. When I'm rushed, I grab a box mix, but for family gatherings, I pull out my grandma's recipe instead. The real wonder happens as soft cake blends with creamy frosting before getting wrapped in that snappy chocolate coating. Every bite feels like pure happiness.
Your Kitchen Essentials List
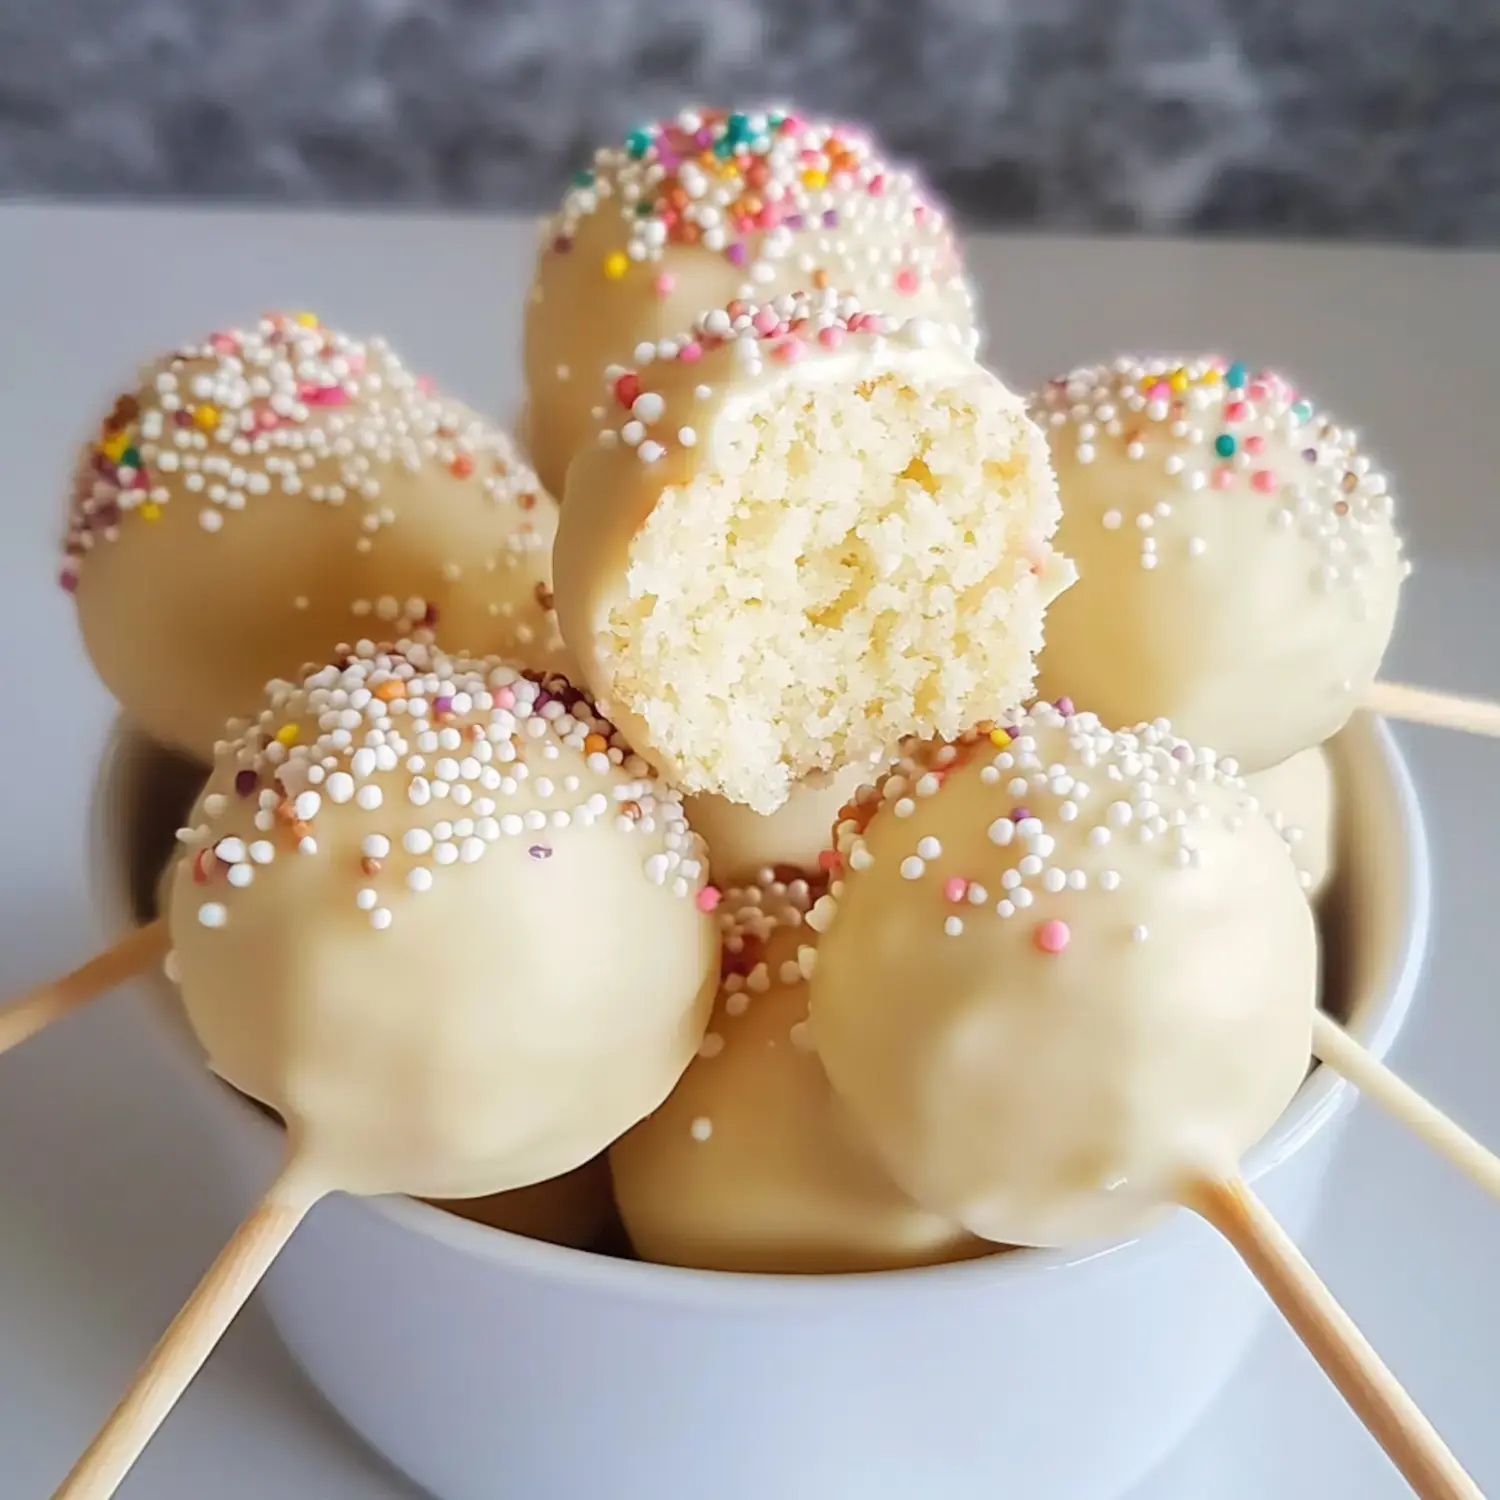
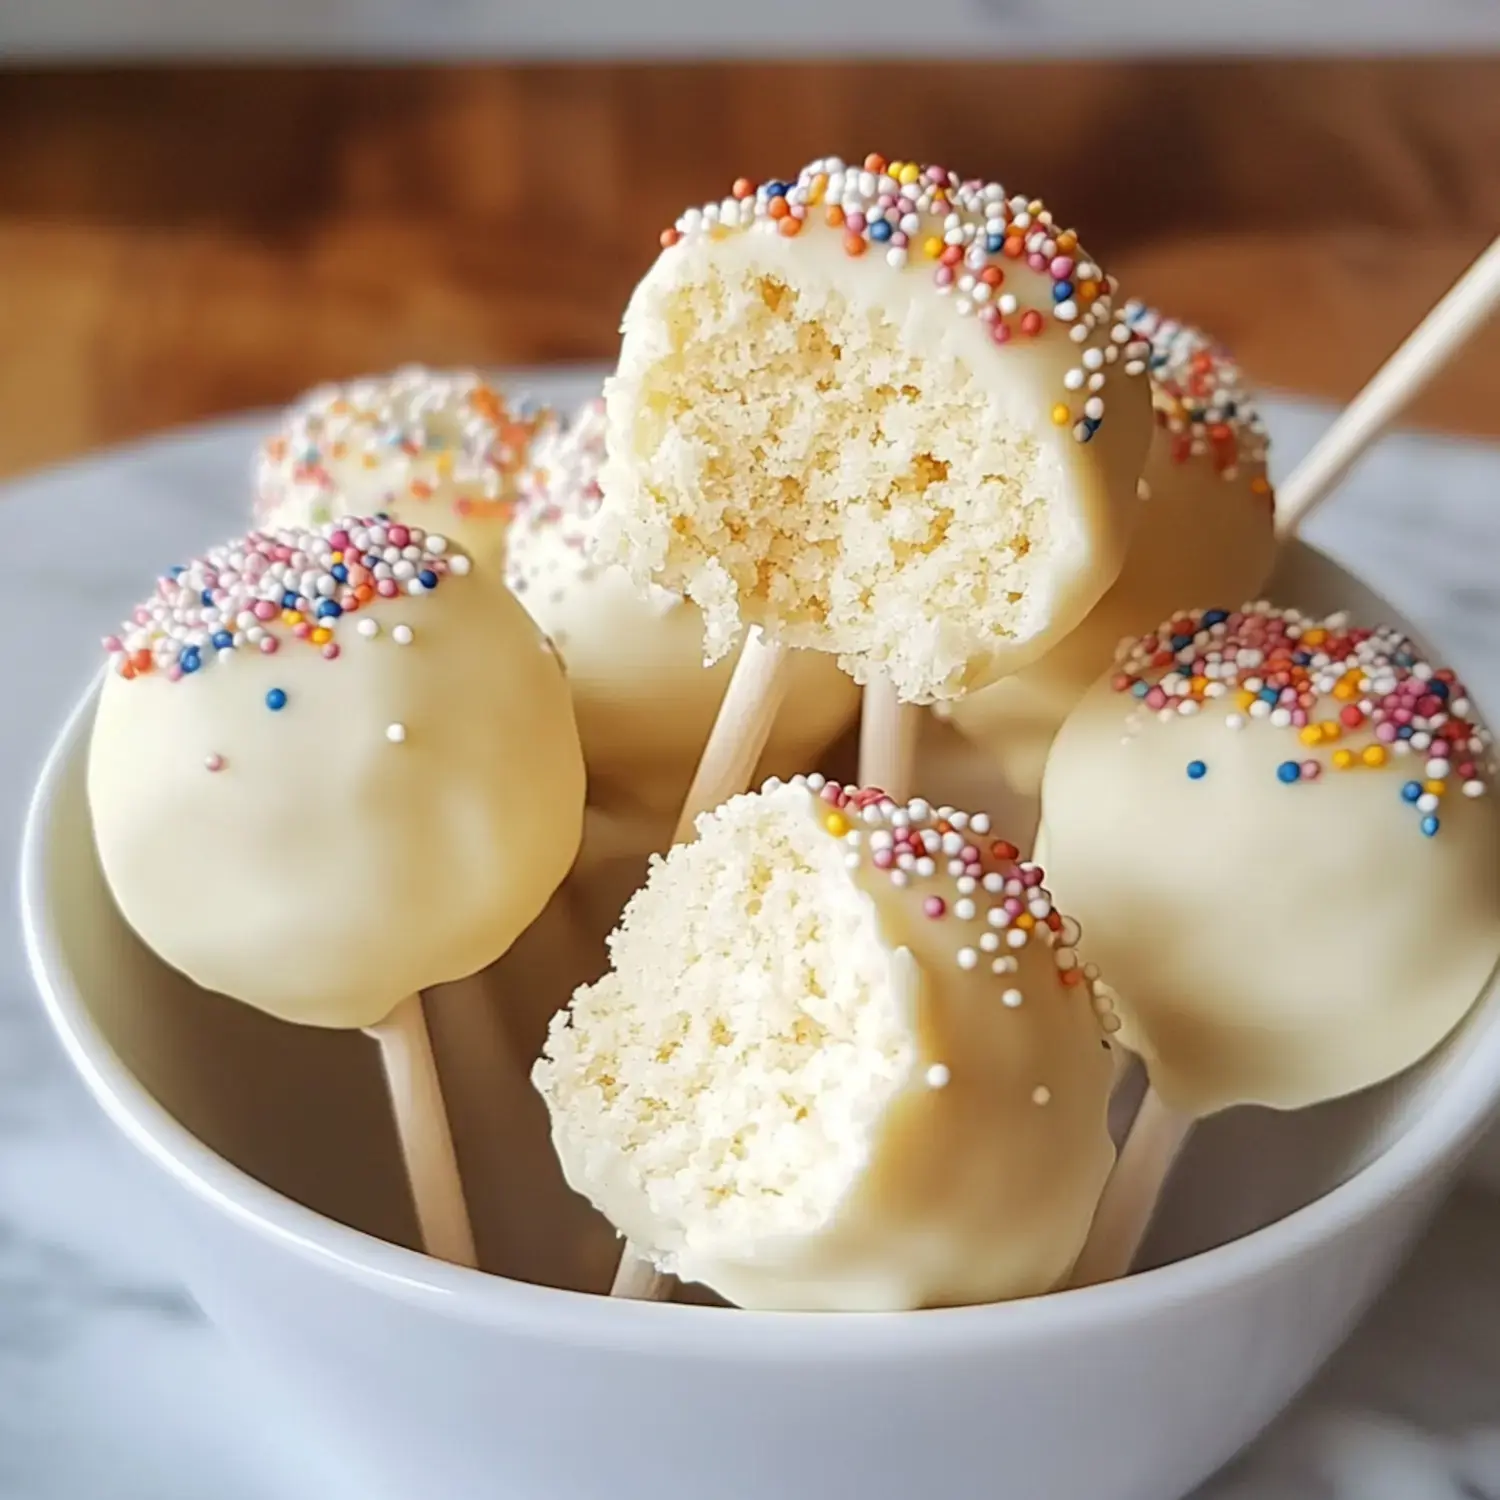
- Cake: Any vanilla cake you enjoy works great here. My go-to white cake does wonders, though store-bought mix works in a pinch too.
- Frosting: I swear by my scratch-made buttercream using real butter, confectioners sugar, and authentic vanilla.
- Chocolate Melts: These are what I count on for that gorgeous coating that hardens just right.
- Sprinkles: Whatever colors catch your eye will make these treats uniquely yours.
- Vegetable Oil: A tiny bit helps smooth out regular chocolate if candy melts aren't handy.
- Cake Pop Sticks: You'll spot these at craft shops – they're crucial for the traditional look.
Step By Step Pop Creation
- Getting Started
- Cook your cake fully and cool it down. Then break it into tiny bits in your largest mixing bowl.
- Mixing Magic
- Add about half your frosting. Go easy at first – you can always put more in until it feels perfect.
- Creating Your Spheres
- Grab tablespoon chunks and roll them in your hands. Chill them for 10 minutes, then roll again for smoothness. Back to the freezer for half an hour.
- Preparing The Coating
- Warm your chocolate in small microwave bursts, mixing after each one. A deep mug works wonders for dipping.
- Assembly Process
- Dunk your stick in chocolate, push into a cake ball, then submerge the whole thing. Tap gently to even out the shell.
- Decoration Stage
- Scatter sprinkles while chocolate stays wet, then stand them up in foam or a cup filled with uncooked rice.
Insider Tips From My Kitchen
The biggest trick is starting with just a bit of frosting. Adding more is easy, but fixing too-wet pops isn't. Keep your melted chocolate warm and flowing, and your cake balls cold. Standing them upright while they dry gives that fancy bakery finish.
Storage Suggestions
Store these little gems in a sealed container and they'll stay yummy at room temperature for about 3 days. Want them around longer? The fridge keeps them good for a week. If you're planning way ahead, you can freeze the uncoated cake balls for up to 3 months.
Why These Stand Out
My approach creates those dreamy cake pops with just the right moisture inside and the sleekest coating outside. After you learn these simple methods, you'll make treats that look store-bought fancy. Nobody will think you made them at home when they take that first bite.
Put Your Stamp On Them
Here's your chance to get creative. Sometimes I mix in a tiny bit of food coloring to match birthday themes or fold in crushed cookies for extra crunch. You can go wild with toppings from simple chocolate drizzles to fancy sugar crystals.
Serving Suggestions
During my food service years, I learned display matters so much. Try showing off your pops in a beautiful vase stuffed with bright tissue or placing them in old-fashioned teacups filled with sugar. They look stunning wrapped in clear plastic with ribbons for giving away.
Smart Shortcuts I've Learned
Don't rush when forming those cake balls – rolling twice gives you perfect circles. When your chocolate gets too thick, just warm it up again. I always work with just a few pops at once while keeping the others cold so they don't soften before dipping.
Great For Any Party
Throughout my baking journey, I've brought these sweet bites to countless kid parties, wedding events, and baby celebrations. There's something special about these tiny desserts that makes everyone smile. Once you start making them, you won't stop sharing the joy they bring to gatherings.
 Pin
Pin
Frequently Asked Questions About the Recipe
- → What's the benefit of extra oil in boxed cake mix?
- The extra oil keeps the cake softer and helps it stick better with the frosting when you're making the balls. This gives your treats a nicer, smoother feel when you eat them.
- → What's the point of rolling cake balls twice?
- Cooling the balls after the first roll and then rolling again helps you get perfectly smooth, even shapes. This makes your final treats look better and the coating goes on more evenly.
- → Are candy melts better than normal chocolate?
- Candy melts flow better when melted and harden faster. Regular chocolate needs added oil to thin it out and might not firm up as nicely on your treats.
- → Can I prepare these earlier?
- Sure thing. You can freeze the balls without sticks for up to six weeks. Once they're coated in chocolate, they'll stay good in your fridge for about a week.
- → Why should I put chocolate on the sticks first?
- The chocolate on the sticks works like glue. Once it hardens, it keeps the cake balls firmly attached to the sticks so they don't fall off.