 Pin
Pin
Utterly Delightful Rosy Cookie Treats
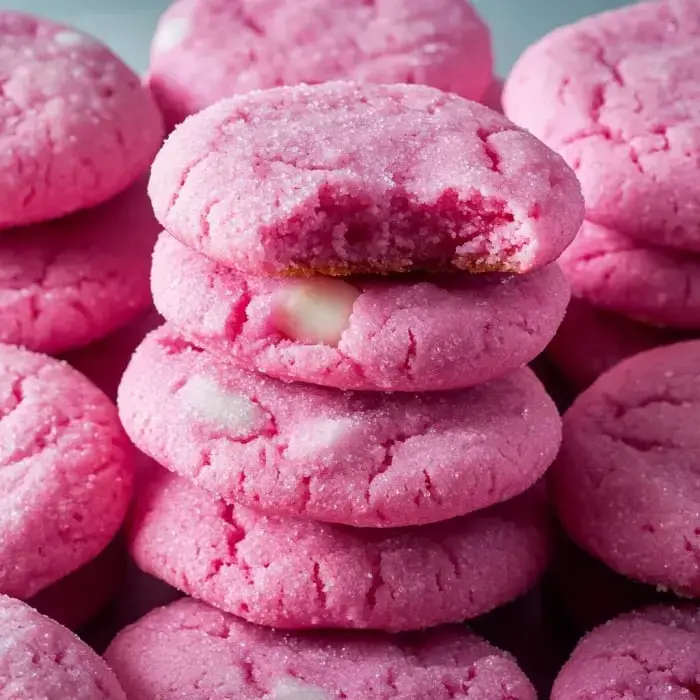
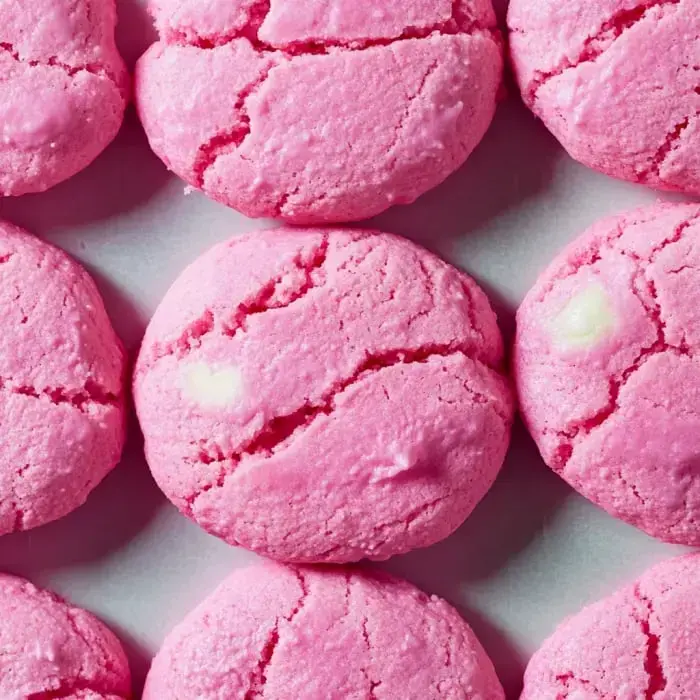
These became part of our family traditions after I whipped them up for my little girl's special day. Everyone's face brightens when these rosy treats come out hot from the oven. They've got that perfect balance - wonderfully soft centers with slightly crunchy edges. Those white chocolate bits scattered throughout create sweet surprises in every bite that nobody can turn down.
Baking Joy Made Easy
My kitchen feels happier whenever I make these rosy cookies. They work for so many occasions from Valentine's celebrations to Easter gatherings or just random Tuesday cravings. The mixture comes together so smoothly, and that gentle pink hue makes them look extra fancy without much effort. Whenever I show up with these at parties, everyone wants to know how I made them.
What You'll Need
- Sugar: Your cookie's sweet backbone.
- Butter: Make sure it's softened for better blending.
- Eggs: They're what gives that tender texture.
- Vanilla: Just a bit transforms the flavor.
- All Purpose Flour: It holds everything together.
- Baking Soda: This creates that nice lift.
- Salt: A tiny amount enhances sweetness.
- Pink Gel Food Coloring: For that beautiful rosy look.
- White Chocolate Chips: They're not required but definitely worth adding.
Baking Steps
- Ready Your Tray:
- Line a cookie sheet with some parchment.
- Blend Wet Elements:
- Whip sugar and butter until light, then add eggs and vanilla until everything's nice and combined.
- Mix Dry Stuff:
- Stir flour, baking soda and salt together, then slowly blend into your wet mixture.
- Color and Chunks:
- Work in the pink coloring, then gently mix in your white chocolate pieces.
- Rest Time:
- Let your mixture cool in the fridge for half an hour.
- Form and Heat:
- Make small balls, put them on your tray and bake at 350°F until done, around 12 minutes.
- Finish Up:
- Let them sit on the pan briefly before moving to a cooling rack.
Insider Baking Tips
Don't skip cooling the mixture in the fridge, it really changes how they turn out. Go a bit heavy with your pink color since it'll fade while baking. You can switch colors for different parties or leave them plain if you want. And don't worry if you're out of white chocolate bits, they'll still taste amazing without them.
The Magic Of Cooling First
That half hour in the fridge isn't just busy work, it's the secret to getting these cookies just right. It stops them from spreading too much and helps create that amazing texture combo we all want. I've learned from experience that this quick cooling step transforms good cookies into unforgettable ones.
 Pin
Pin
Frequently Asked Questions About the Recipe
- → Why do I need to chill the dough?
Chilling it makes sure the cookies don't spread too much. You'll get thick, soft cookies instead of flat ones.
- → How colorful will the cookies be?
The pink fades during baking, so go heavier with the color to get the shade you want. It's better to add extra than end up with a pale look.
- → Can I leave out the white chocolate chips?
Definitely. The cookies are yummy plain, or try other chips instead. Just don’t change how much you add.
- → Do these cookies freeze nicely?
They freeze perfectly for up to 3 months. A great option for prepping ahead of time.
- → What’s the secret to keeping them soft?
Remove them from the oven while the center still looks underdone. They’ll finish setting as they cool.
