
 Pin
Pin
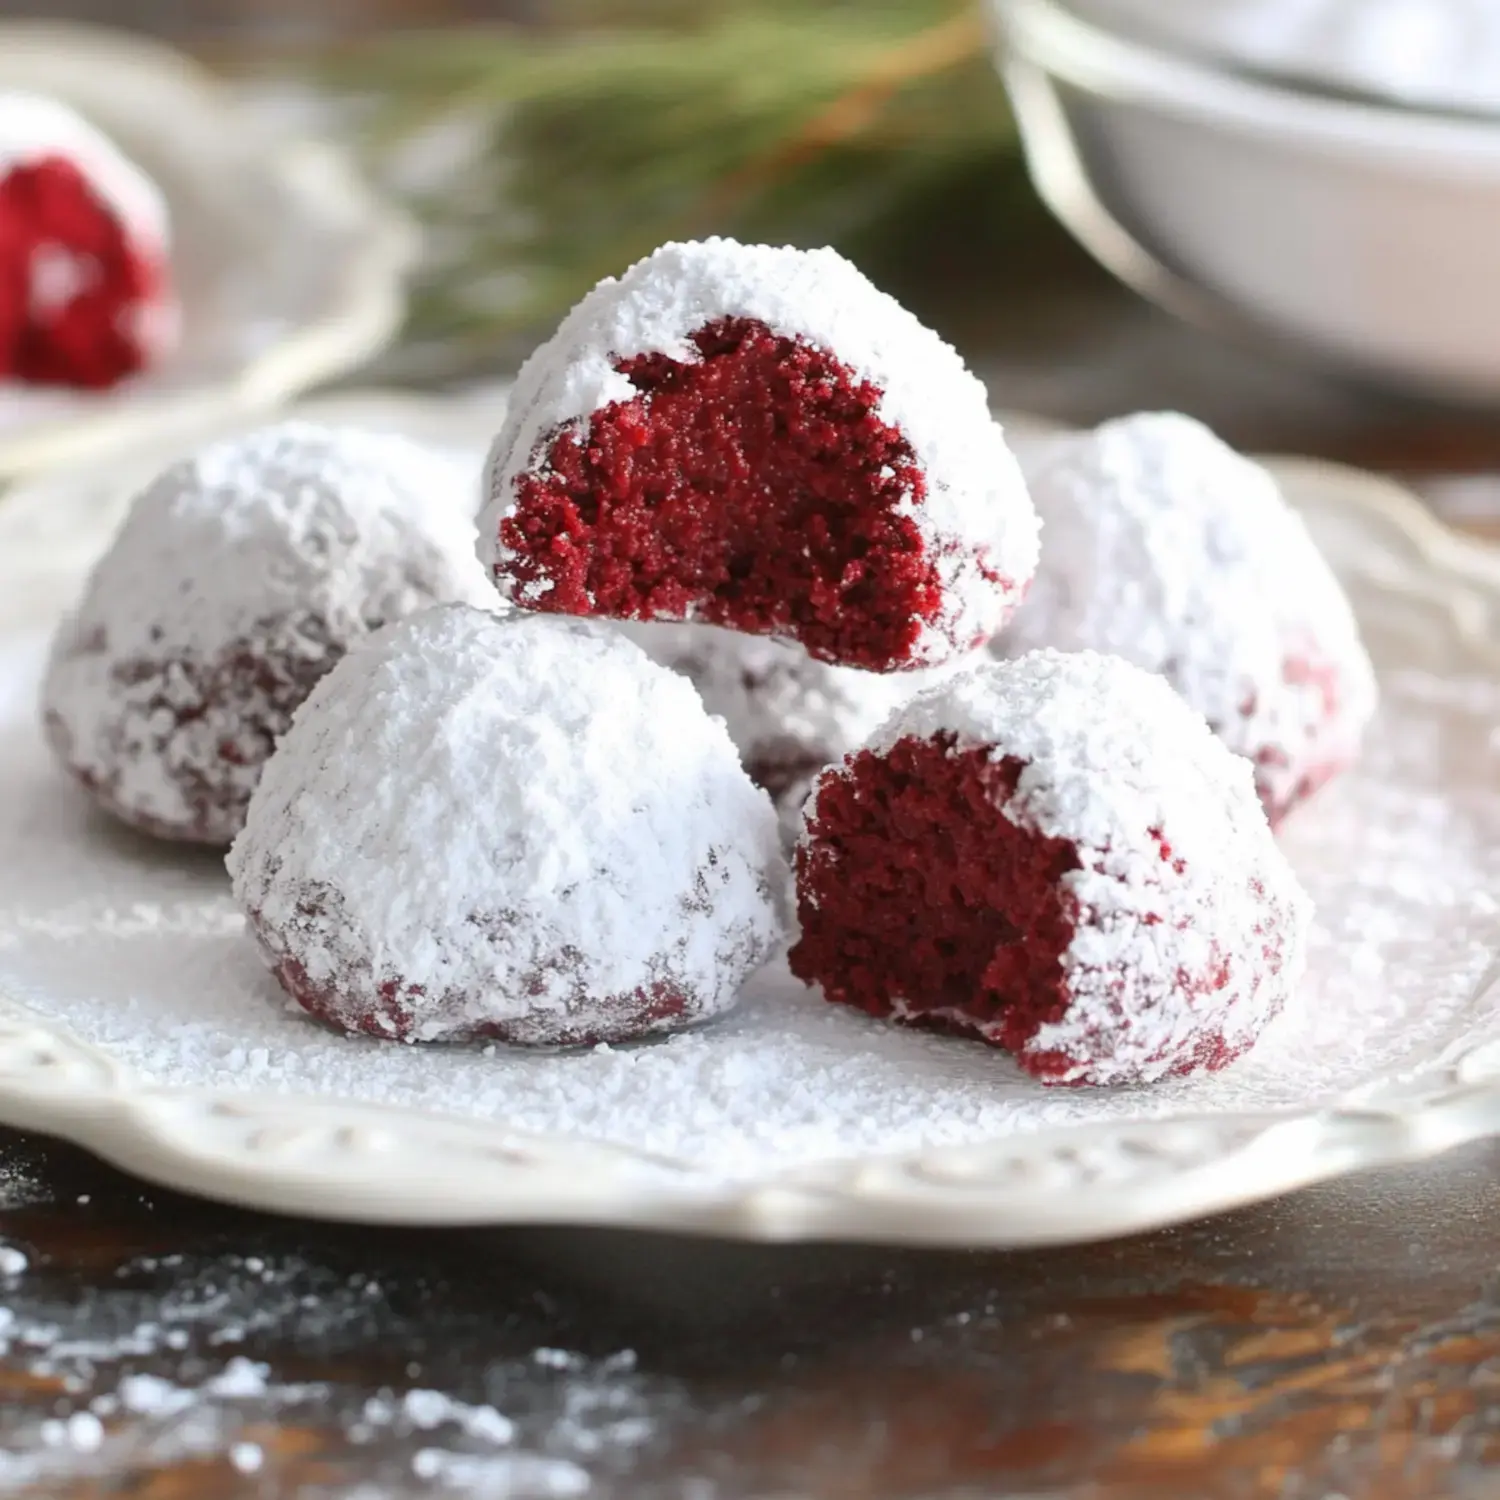
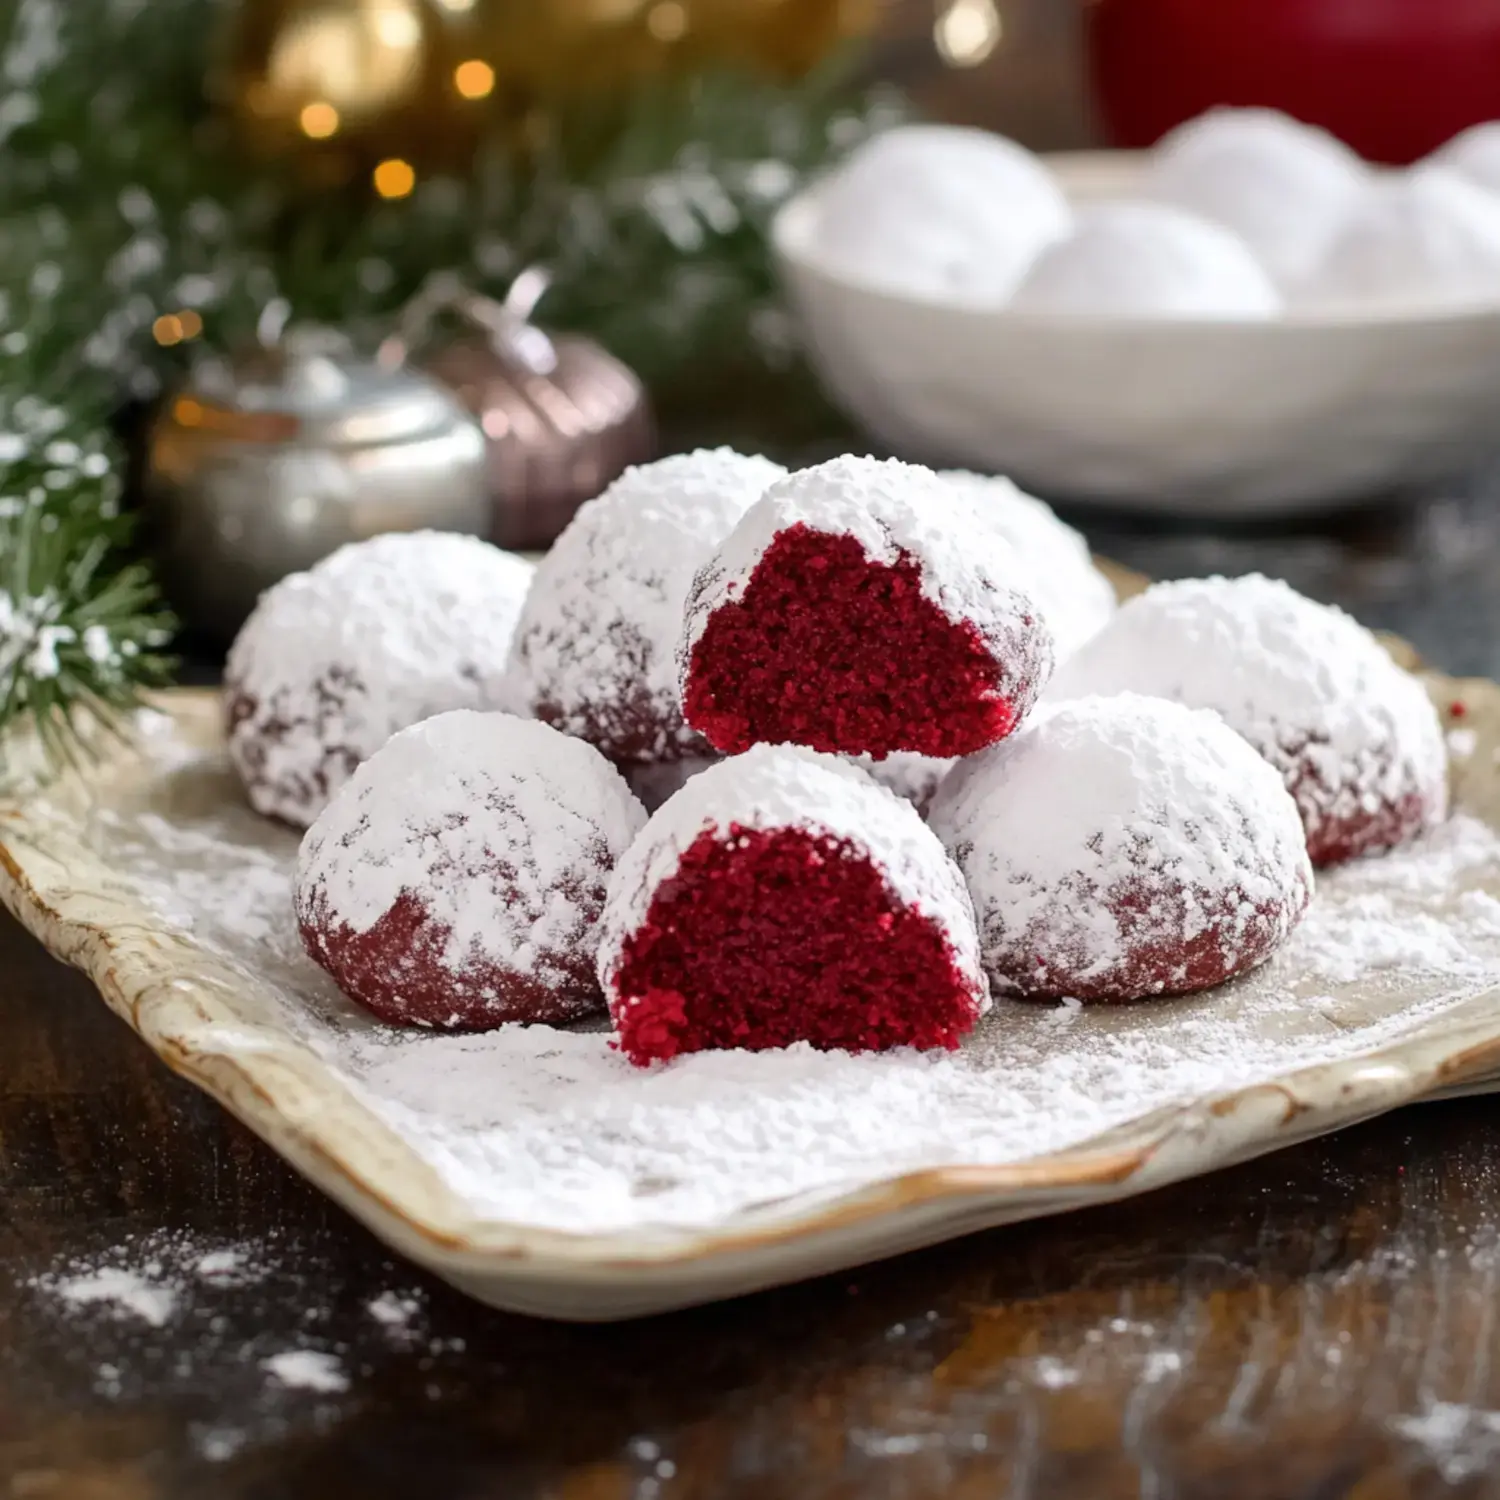
Hey friends, I've gotta share this incredible holiday treat with you. These Red Velvet Snowball Cookies became my new addiction last Christmas. I came up with this twist when I wanted to switch up my grandma's old snowball cookie formula. What happened? I ended up with stunning crimson treats covered in sweet powdered sugar that practically dissolve in your mouth with just enough chocolate flavor. Making these turns my kitchen into a total snow scene!
What Makes These Cookies My Holiday Favorite
During last year's festivities, these vanished faster than anything else on my holiday dessert tray. Folks couldn't stop asking about my secret. Want to know why? They actually melt away as you eat them thanks to the butter-shortening combo, and they've got that light cocoa taste that makes red velvet so darn good. They're perfect for sharing with neighbors over coffee or wrapping up as cute homemade gifts.
Kitchen Staples You'll Need
- Unsalted Butter: Let it sit out to soften completely it really makes a difference!
- Butter-Flavored Shortening: This gives them that melt-in-your-mouth magic.
- Egg: One is all you need, cold from the fridge works fine.
- Buttermilk: Just a bit adds that signature red velvet tanginess.
- White Vinegar: Seems odd but it brightens all the flavors.
- Vanilla: Spring for quality here you'll taste the difference.
- Red Food Coloring: The gel type works best if you can grab it.
- Flour: Nothing fancy, just regular all-purpose.
- Cocoa Powder: A small amount creates that lovely chocolate undertone.
- Salt: Just a tiny bit enhances everything else.
- Nuts: I'm a pecan fan but whatever nuts you like will work.
- Powdered Sugar: For that beautiful snow-like finish.
Let's Start Baking
- Get Your Mix Going
- Cream your butter with shortening until smooth and fluffy. Drop in your egg and blend well. Add your buttermilk, vinegar, vanilla, and enough red coloring to get a bright holiday shade. In a separate bowl, mix your dry stuff, then gradually combine everything together. Throw in your nuts if you want them. Stick the dough in your fridge for at least an hour don't try to rush this step!
- Shape Those Cookies
- Heat your oven to 350°F and put parchment on your cookie sheet. Roll small balls from the dough about a tablespoon each works great. Put them on the sheet with plenty of room between them they need space to bake right.
- Create The Snow Effect
- As soon as they come out hot, dip them in melted butter then coat them in powdered sugar. Let them cool a bit, then do a second sugar roll. This double-dipping trick gives them that perfect snowy look everyone loves!
My Favorite Baking Tricks
I found out the hard way you can't skip chilling the dough. Room temp dough makes sad, flat cookies. Also, buy good cocoa it totally changes the flavor. Sometimes I throw in tiny chocolate chips for extra sweetness. And always use lots of powdered sugar for coating that's what makes them look so pretty.
Storage Solutions
These cookies stay yummy for about seven days when stored properly. Put parchment between layers in an airtight container my old family cookie tin is perfect. Want to make them ahead? Freeze them and they'll last for months. Just add fresh powdered sugar after thawing and they'll look brand new.
Fun Variations
I like playing around with this recipe. Last year I tried them with pistachios and they looked amazing. A little white chocolate drizzled on top takes them to another level. My little ones talked me into making green ones for March 17th just change your food coloring and you're all set!
Quick Fixes For Problems
Running into issues? If your cookies spread out too much, your dough wasn't cold enough. Want larger cookies? Go ahead just bake them longer. For the nuts, I can't resist pecans but my sister always uses walnuts. Both taste great so choose what you love.
Why These Will Win You Over
Trust me, these cookies are truly something else. Maybe it's how they look like tiny snow-covered treasures, or the way they just disappear in your mouth. Whenever I show up with these at gatherings, everyone goes wild for them. They're super fun to make too get your kids to help with the sugar coating part just be prepared for some cleanup afterward!
 Pin
Pin
Wrap-Up
These cookies bring together the melt-in-your-mouth snowball texture with rich red velvet flavor. Each one is a cocoa cookie dipped in powdered sugar twice for extra sweetness.
Frequently Asked Questions About the Recipe
- → Why put the dough in the fridge?
It keeps the cookies from flattening out during baking. Plus, chilled dough is much easier to roll into the right size for those perfect round shapes.
- → Why cover them twice in sugar?
Dusting them warm makes the coating stick perfectly, and doing it again after cooling gives that frosty, snowy look we all love.
- → Is food coloring necessary?
If you skip the food coloring, you'll get chocolatey snowball cookies instead. They taste the same but won't have the red velvet effect.
- → How should I keep these cookies fresh?
Place them in a container with a tight lid, using parchment paper between layers. They’ll taste great at room temp for around five days.
- → Why mix butter and shortening?
The butter adds flavor, and the shortening helps the cookies hold their shape and stay soft at the same time. It’s the perfect pairing for snowball recipes.