
 Pin
Pin
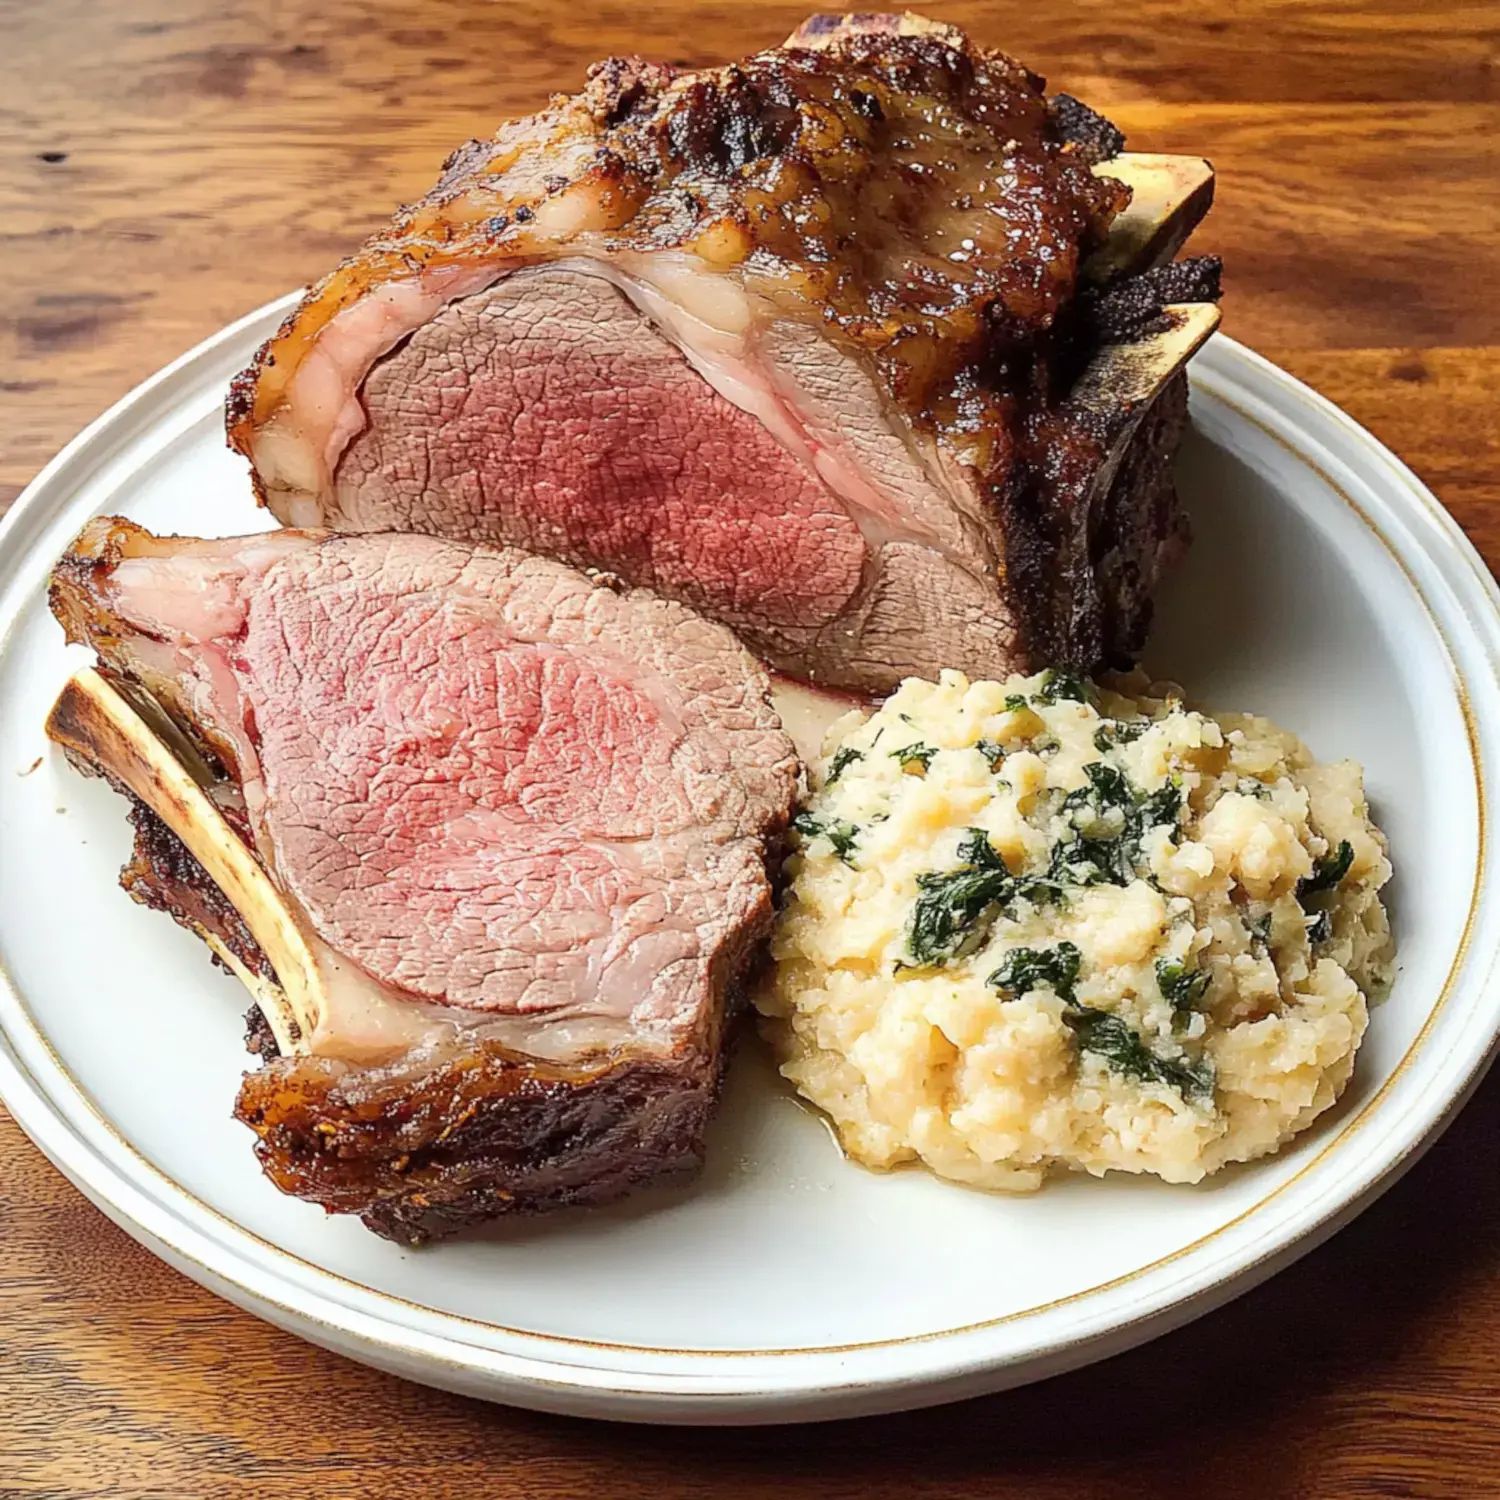
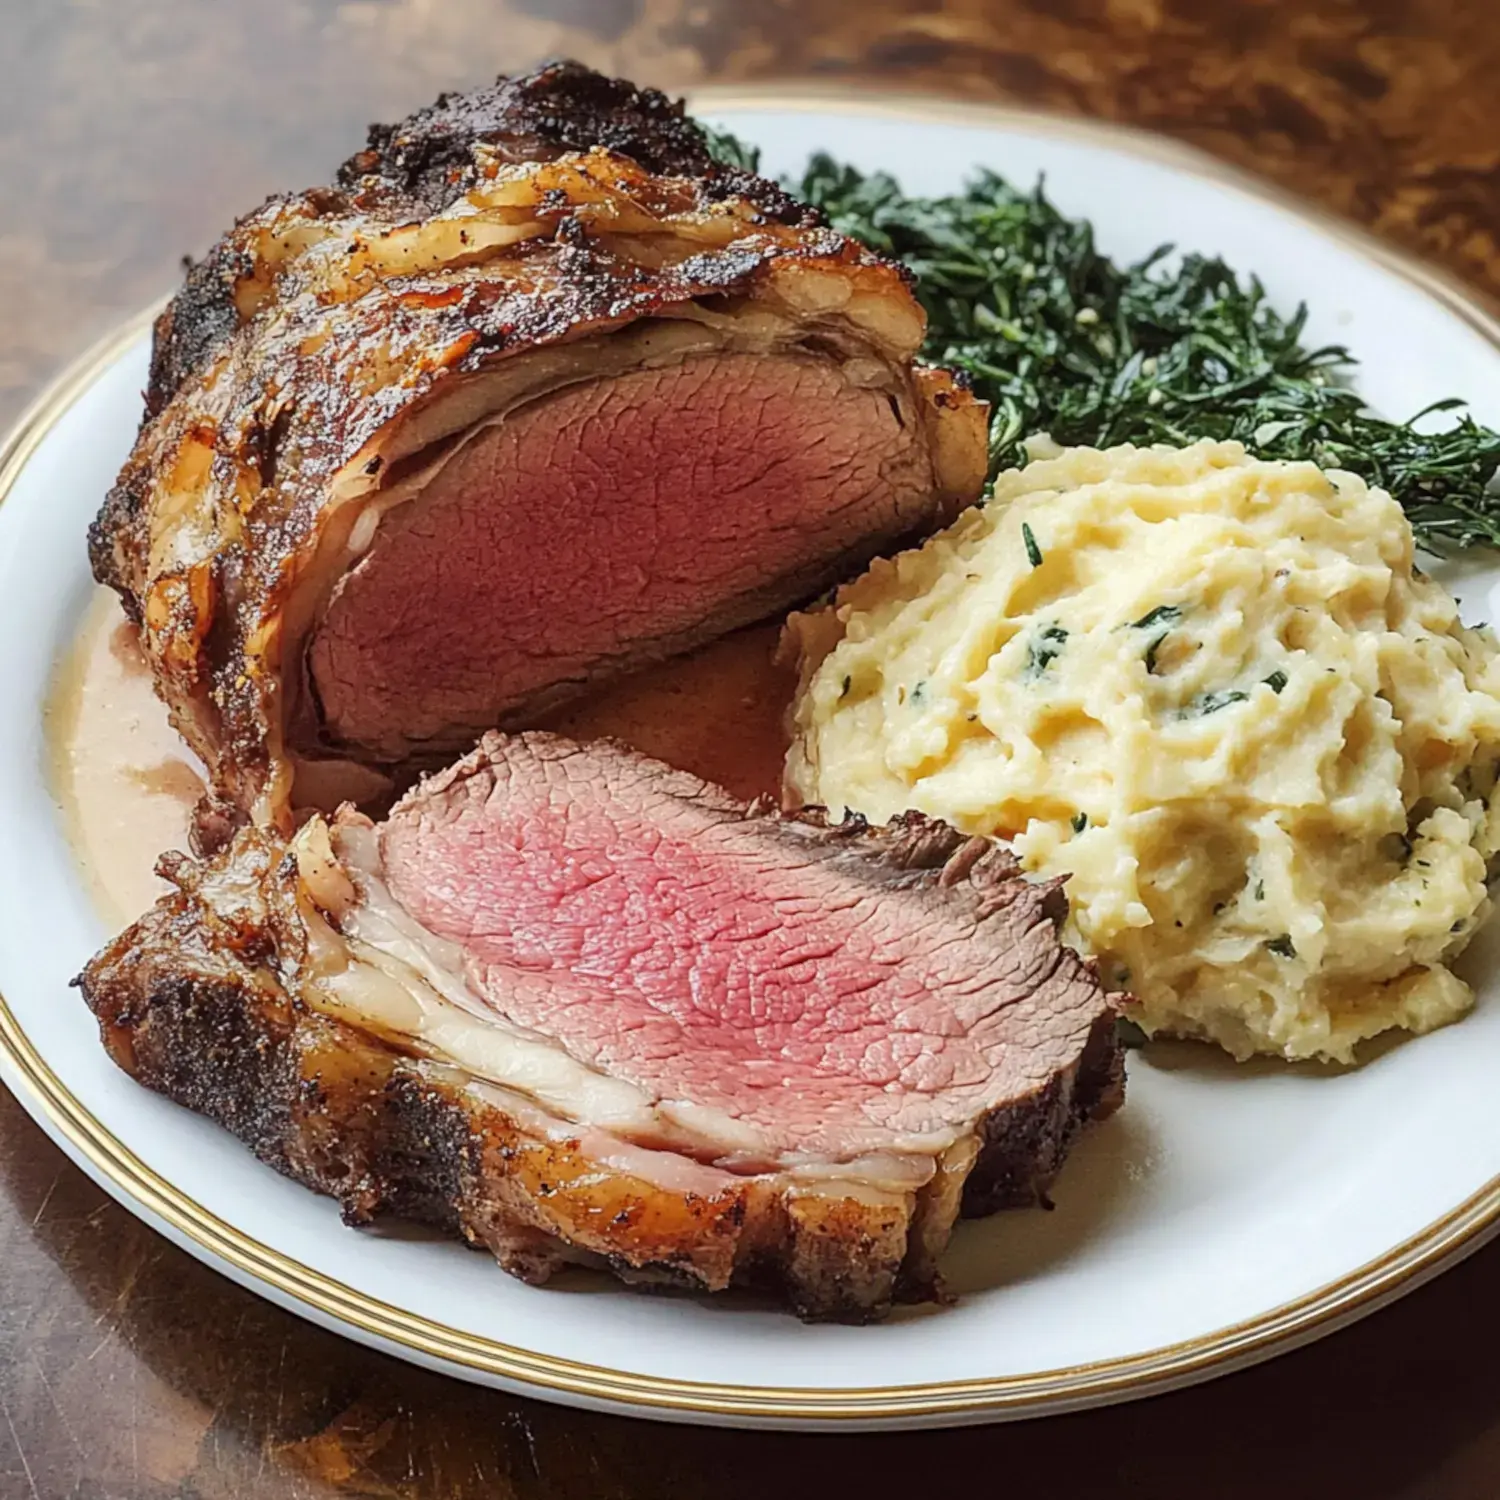
Family holidays now revolve around my famous prime rib. The rich brown outer layer breaks away to reveal juicy pink meat that gets everyone talking. I've spent many seasons tweaking this dish and found it all comes down to proper method and taking your time for that jaw-dropping table centerpiece.
Why This Method Stands Out
My foolproof approach starts with quick high temperature cooking then switches to slow, gentle heat. I've never seen this technique fail - you'll get that amazing exterior while maintaining perfectly cooked insides. Guests always think I've spent hours mastering complex skills, but it couldn't be more straightforward.
Getting To Know Prime Rib
Prime rib comes from those special ribs numbered 6 to 12. Just picture it as the parent cut that gives us those delicious ribeye steaks. The bones really boost flavor, though you can ask your meat counter to cut and reattach them with string, which makes serving much simpler later on.
Prime Rib Components
- Prime Rib Roast: For feeding plenty of folks, I grab one weighing 12-16 pounds - truly impressive.
- Kosher Salt and Black Pepper: Don't hold back here as they build that wonderful crust.
- Optional Aromatics: Nothing beats the smell of fresh garlic, rosemary and thyme with this meat.
- Butter: When softened and spread on top, it helps create that lovely dark surface.
Prime Rib Cooking Guide
- Step 1 - Get Your Meat Ready
- Take the roast out and let it sit for 2 hours, adding salt and pepper immediately after pulling it from the refrigerator.
- Step 2 - Start With Heat
- Heat your oven to 500°F and cook for 15 minutes to begin forming that delicious outer crust. Make sure you've got good kitchen ventilation.
- Step 3 - Lower The Heat
- Turn down to 325°F and continue cooking roughly 13 minutes for each pound. Check with a thermometer - 115°F will give rare results while 120-130°F produces medium.
- Step 4 - Pause Before Slicing
- The toughest part comes now - waiting a full 30 minutes before cutting ensures every bite stays moist and flavorful.
Insider Tricks
Get to know who cuts your meat - they'll steer you toward the best pieces. Don't wait to add seasonings once the meat leaves the fridge, it really changes everything. Never skip that half-hour rest period, and always rely on a quality meat thermometer for perfect results.
Top Sauce Matches
Nothing complements this roast like homemade horseradish cream - its cool zip balances the meat's richness beautifully. You can't go wrong with dripping-based gravy either, or just keep things basic with some au jus to let the beef flavor take center stage.
 Pin
Pin
Storage Smarts
You can keep what's left in your fridge for about 4 days. When it's time to warm things up again, throw in a bit of beef stock and heat slowly in the oven so you don't lose that beautiful pink color we worked so hard to achieve.
Frequently Asked Questions About the Recipe
- → What's the best size roast to pick?
- Plan for about a pound per guest. For six to eight folks, grab a roast around seven pounds. Bones add flavor while cooking and can be served too.
- → Why let the meat sit out before cooking?
- Starting cooking when the meat’s room temperature helps it heat evenly all the way through. It also allows the seasoning to sink in better.
- → Is that high heat step necessary?
- You could skip it, but it creates that tasty crust and holds the juices in. Be ready for a smoky kitchen if you go this route!
- → How long do I rest the roast after cooking?
- Leave it for at least half an hour before slicing. Juices redistribute, keeping meat juicy, and it’ll warm up slightly while resting.
- → Could I make the horseradish sauce early?
- Yep, mix it up the day before and refrigerate. The flavors meld better this way. Just give it a stir when you’re ready to serve.