
 Pin
Pin
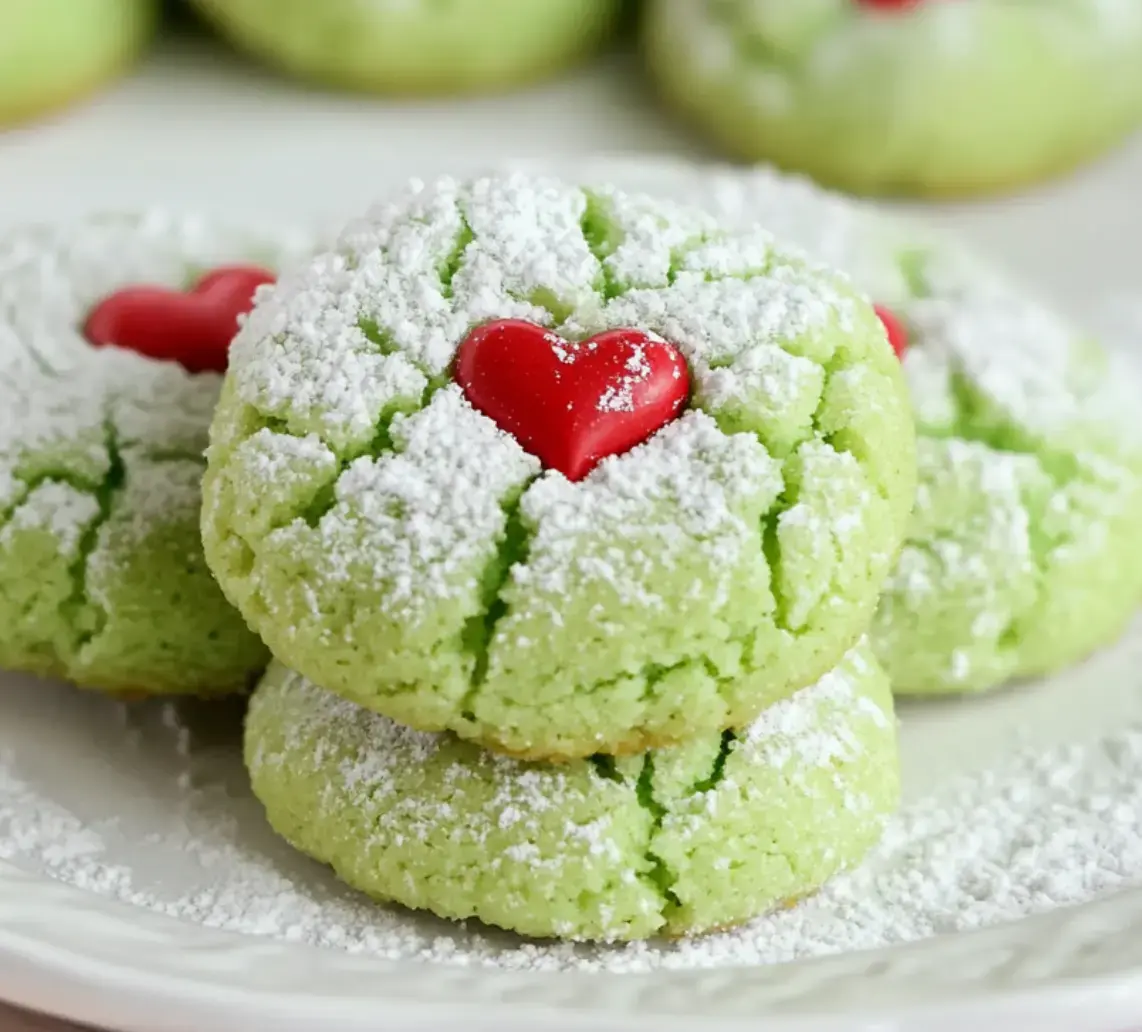
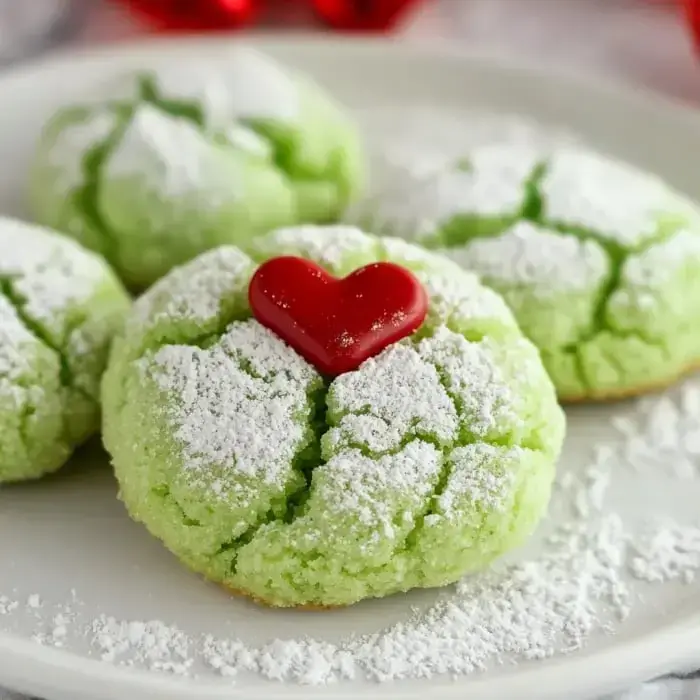
Whip up these adorable Grinch Crinkle Cookies this Christmas season. They're chewy, bright green treats topped with tiny red hearts - capturing the famous character perfectly. Super simple to prep and a huge hit with little ones. They're just right for watching holiday movies or serving at festive gatherings.
What Makes These Treats Special
These treats aren't just cute but seriously tasty too. Little ones go crazy for the bright green color and sweet red hearts. They're perfect when you're watching the Grinch or hosting Christmas get-togethers. They come together quickly, and everyone will beg you for your secret.
Ingredients List
- Flour: 2 1/2 cups all-purpose
- Baking Powder: 2 spoons
- Salt: Pinch
- Sugar: 1 cup granulated
- Eggs: 2 large
- Butter: 1 stick, room temperature
- Vanilla: 1 spoon
- Peppermint: 1/2 spoon
- Green Color: Few drops
- Extra Sugar: For rolling
- Red Hearts: Small candy ones
Cooking Instructions
- Heat oven:
- Set to 375°. Line baking sheet with parchment.
- Mix dry stuff:
- Combine flour, baking powder, salt in container. Stir together.
- Beat butter:
- Cream room temperature butter with sugar until light and airy for roughly 3 minutes.
- Add wet stuff:
- Mix in vanilla, peppermint, eggs until well combined.
- Make dough:
- Gradually add dry ingredients to wet mixture. Don't overwork.
- Make green:
- Add green coloring. Blend until you get a nice Grinch shade.
- Roll balls:
- Form small spheres. Cover completely in sugar.
- Put on pan:
- Arrange balls with room between. Flatten slightly.
- Add hearts:
- Top each ball with a red heart candy.
- Bake them:
- Bake for 8 minutes until edges turn slightly golden.
- Let cool:
- Rest for 2 minutes. Transfer to cooling rack.
 Pin
Pin
Charming Features
These aren't regular green cookies - they're totally Grinch-inspired! They stand out beautifully on any Christmas cookie tray. They've got a lovely sweet mint flavor. Children love turning the dough green and sticking those cute hearts on top.
Quality Matters
Real butter works way better - gives cookies that rich taste. The peppermint really brings that Christmas feeling, so don't leave it out. Go for a vibrant green that really pops. Make sure those hearts stay put by gently pressing them while the cookies are still warm.
Customize Yours
Need a shortcut? Start with boxed cake mix and just add green color. Love minty stuff? Throw in another drop of peppermint. Some people prefer using powdered sugar for rolling since it shows cracks better. Feel free to try different heart candies if you want.
Smart Baking Advice
Always use parchment or they'll stick terribly. Keep your dough balls the same size for even baking. Push those hearts in firmly but gently. Keep an eye on them near the end as they can burn fast. Let them set before moving or they'll fall apart.
Storage Solutions
Store in an airtight container. They'll stay yummy for 5 days at room temperature. Want them longer? Stick them in the freezer for up to 3 months. Thaw completely before serving. Put wax paper between layers so hearts don't stick together. Skip the fridge as it dries them out.
 Pin
Pin
Wrap-Up
Love making sweet creations? You could decorate batch after batch of sugar cookies, shaping them however you like. Or switch it up and bake spiced gingerbread people for that cozy kitchen scent.
Frequently Asked Questions About the Recipe
- → Can I prep the dough in advance?
Sure thing! Mix it up a couple of days ahead. Wrap it snugly and chill in the fridge. Let it rest on the counter for about 20 minutes before rolling—it’s much easier to handle. Some folks prepare double dough portions! Use one batch now and save the rest for whenever. For the freshest results, mix the dough at night and bake the next morning. Plus, chilling the dough actually makes them crackle better and hold their shape.
- → How can I make them stay soft?
Keep an eye on bake time! Pull them out when the edges are firm, but the center’s just barely set. They’ll finish cooking on the baking tray. After 5 minutes, slide them onto a rack to cool. Once completely cooled, store in an airtight container with a slice of bread—that’ll help retain moisture. Stack with wax paper to keep them neat. Never pack them up while warm, or they’ll get all sticky. Some bakers swear by adding a spoon of pudding mix to keep them super soft, but don’t overbake, or they’ll turn hard!
- → Is freezing these easy?
Absolutely! Make the dough balls but skip the sugar coating for now. Freeze them on a tray first, then transfer to a freezer bag—they’ll last about three months. When you’re ready to bake, let them thaw for 30 minutes, roll in sugar, and bake as usual. Already-baked ones work too! Cool them completely, freeze flat, then stack them in a box with wax paper in between. The hearts might smudge a bit when thawed, so try adding those after they’re defrosted. For the best thawing, leave in the fridge overnight.
- → What are some fun variations?
Switch it up! Add lemon zest to brighten the flavor. Use peppermint extract instead of vanilla for a Christmas vibe. Some like almond flavoring too. Want them sparkle? Roll them in colored sugar. Try changing their color—red for Valentine's Day or orange for October fun. Switch up the toppings too—stars for New Year's or little candy eggs for Easter. If you swap extracts, just keep the liquid balance the same. And for extra texture, toss in some white chocolate chips!
- → Can I make a gluten-free version?
Definitely! Use a one-for-one gluten-free flour blend, like Bob’s Red Mill or King Arthur. If your mix lacks xanthan gum, toss in 1/4 teaspoon. You might need an extra spoon or two of flour since gluten-free doughs tend to be a bit softer. Let your dough sit for 30 minutes before shaping—it’ll give the texture a boost. Remember, they might spread more in the oven, so give them space. Also, check the ingredients of the coloring and heart candies—sometimes sneaky gluten’s hiding there. They’ll feel a bit different but still taste amazing!