
 Pin
Pin
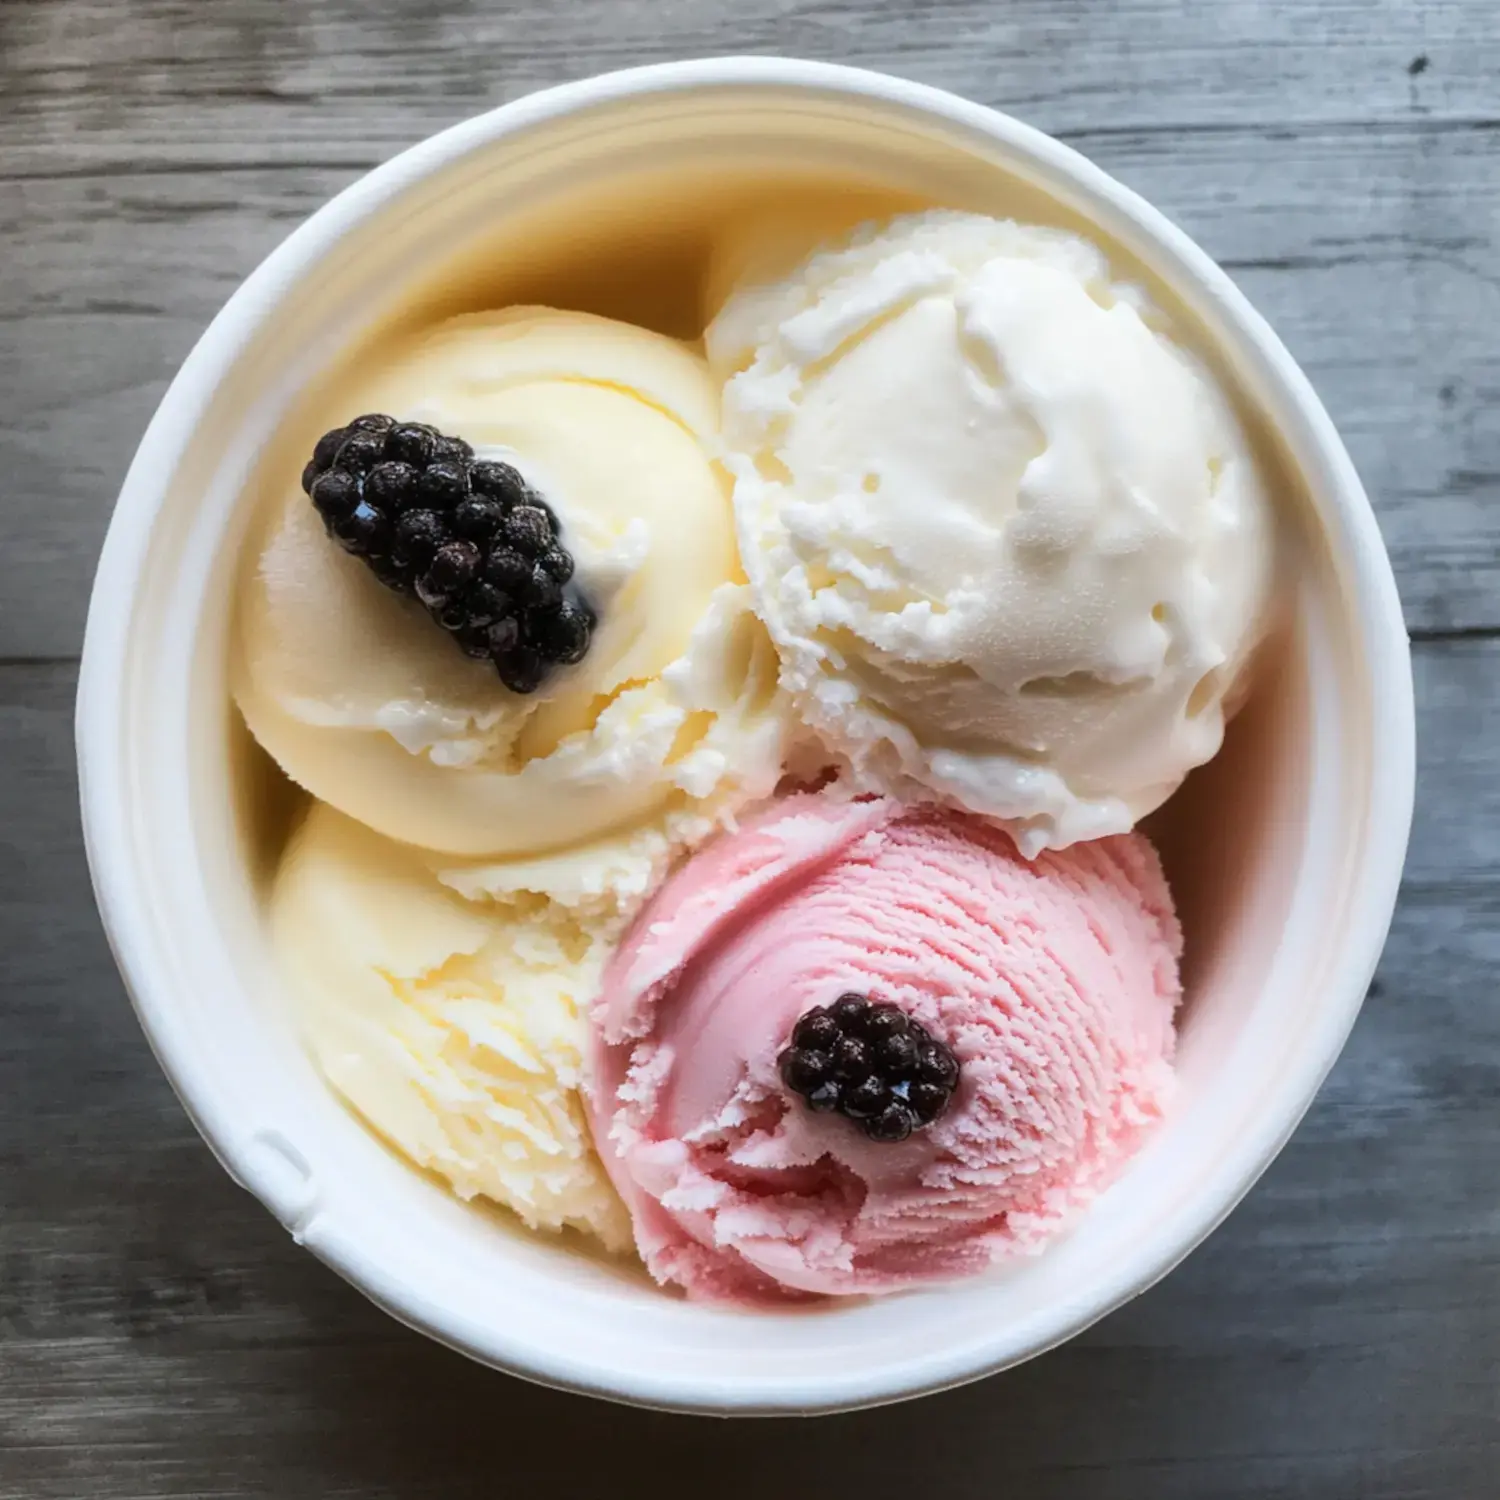
Since grabbing my Ninja Creami, I've totally fallen for homemade ice cream. This cool gadget changed my whole outlook on frozen treats. I'm now whipping up everything from protein-packed goodies to rich dairy-free options—it's become my go-to kitchen buddy for making amazing frozen desserts right at home.
Why You'll Love This Fantastic Recipe
This base recipe is wonderfully straightforward yet flexible. I can mix up more than 52 different flavor combos to handle any sweet tooth moment. I really dig the smaller portions for trying new mixes without waste. The end product turns out so silky and rich it beats what I'd pay for at fancy ice cream places.
Key Ingredients You'll Need
- Cream cheese: It's our texture magic trick—pick any type that matches your dietary needs.
- Heavy cream: Stick with standard heavy cream instead of whipping cream for top-notch results.
- Milk: I prefer whole milk but honestly any kind works fine, including plant-based options.
- Sugar: Plain white sugar blends in perfectly, or swap in allulose if you're avoiding sugar.
- Vanilla extract: Real vanilla improves everything, and vanilla bean paste works wonderfully too.
Easy Preparation Steps
- Step 1 - Freeze the Container and Mixture
- Begin by softly warming your cream cheese with some cream, then mix in sugar until it's completely gone. Transfer everything to your pint container, add your remaining stuff, stir it well, and stick it in the freezer for at least 3 hours.
- Step 2 - Process the Ice Cream
- After freezing, lock your container into the machine, pick ice cream or lite ice cream mode and let it do its thing. If it looks chunky, just run it through again.
- Step 3 - Enjoy Your Creation
- Dish that velvety treat into bowls or cones. For add-ins like chocolate chips, wait until it's nearly smooth before mixing them in.
Pro Advice
Make sure you've got that half-inch gap at the top of your container. Go with the ice cream or lite ice cream programs for the smoothest finish. While 3 hours freezing does the job, leaving it overnight works even better. Don't hesitate to run your mix through the machine several times to get it just right.
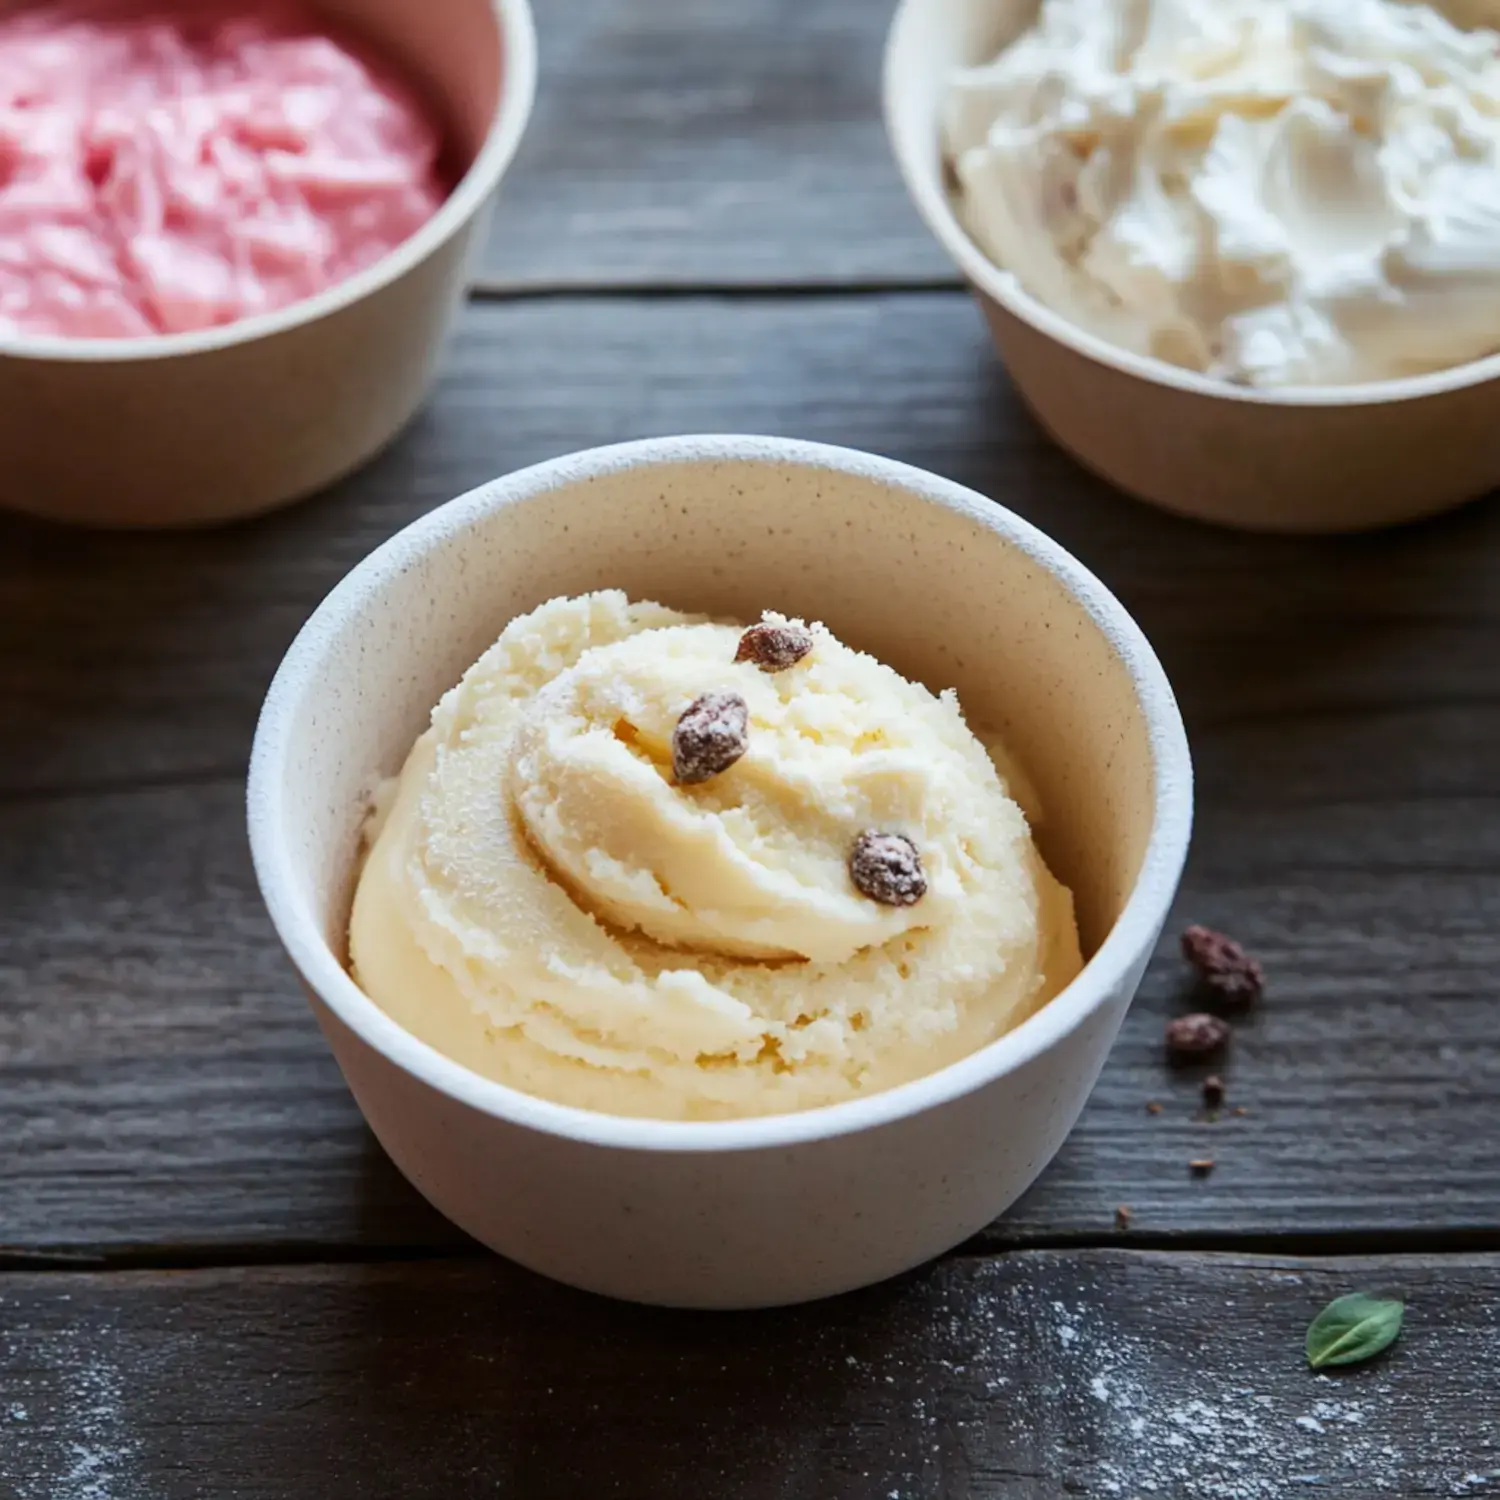
Tasty Variations to Explore
Some winners in my house include traditional cookies and cream with smashed Oreos, muscle-building chocolate using protein drinks and pudding mix, and creamy banana pie with fresh bananas. If you love fruit, give mixed berries or mango sorbet a shot. And those tiny chips in mint chocolate chip always make everyone happy.
Storage Secrets
Just tuck any extra ice cream back in the freezer in your original container. When you want more, run it through the machine again. It'll stay good for about a week, though at my place it vanishes way faster than that.
 Pin
Pin
Quick Answers to Your Questions
The churning typically needs 3-4 minutes but if you want something more solid, let it sit in the freezer another 30 minutes. Don't worry about those ice crystals on top—they'll melt away during processing. And yep, you can make one batch right after another without waiting—the machine handles it like a champ.
Frequently Asked Questions About the Recipe
- → How long will the ice cream last?
- Best within 48 hours. If it's too firm, let it sit out for 10-15 minutes before serving.
- → What's the reason for re-spinning?
- Re-spinning fixes grainy textures and makes the ice cream silky smooth.
- → Can I throw in mix-ins?
- Totally! Add them after the first spin and blend them in with the mix-in setting.
- → Why should cream cheese be softened?
- Soft cream cheese mixes evenly with zero clumps, keeping the base smooth.
- → Can I switch the milk?
- You can try alternatives! Just note, the texture might turn out a bit different.