
 Pin
Pin
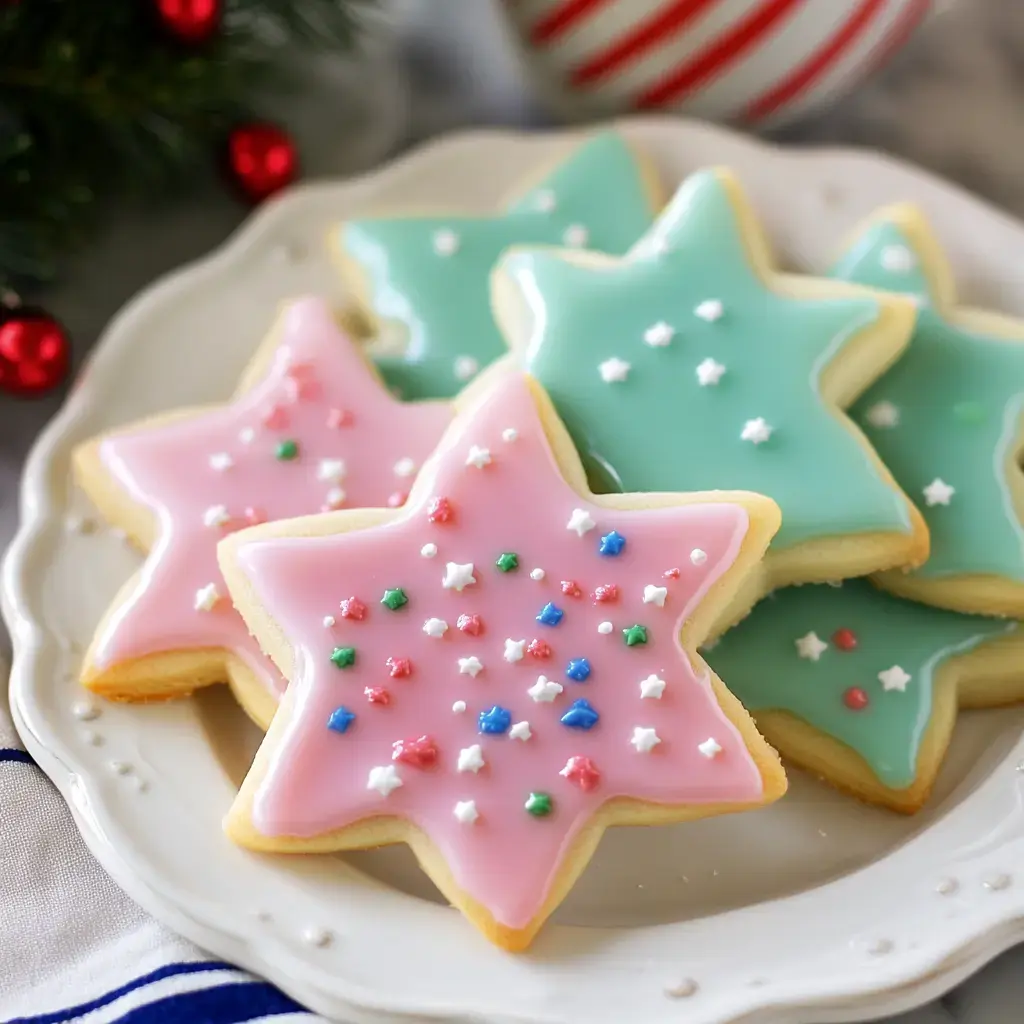
This classic sugar cookie icing recipe creates a professional-looking glossy finish while delivering delicious flavor. Developed through extensive testing, this versatile icing produces bakery-quality decorated cookies perfect for holidays, celebrations, and special occasions.
Creating the Perfect Royal Icing
The foundation of this recipe relies on carefully balanced ingredients. The powdered sugar provides structure, milk creates optimal consistency, corn syrup adds shine, and vanilla extract brings rich flavor. Master these basics for cookies that both look and taste exceptional.
Essential Ingredients
- Powdered Sugar: 4 cups, double-sifted for smoothness
- Milk: 5 tablespoons as base amount
- Light Corn Syrup: Adds professional glossy finish
- Vanilla Extract: Clear or regular depending on desired color
- Food Coloring: Professional gel colors recommended
Basic Techniques
- Border Icing
- Reserve thicker consistency icing for creating clean edges and borders
- Flooding Consistency
- Thin remaining icing until it flows smoothly, settling within 8-10 seconds
- Color Application
- Incorporate gel colors gradually for precise shade control
 Pin
Pin
Decorating Steps
Fill piping bags halfway for optimal control. Pipe borders first using thicker consistency icing, allowing brief setting time. Follow with flooding icing in cookie centers, using a toothpick to guide icing into corners and remove air bubbles.
Flavor Variations
Enhance the base recipe with different extract options. Peppermint creates holiday charm, while lemon adds bright citrus notes. Almond extract provides elegant sophistication. Gel food coloring allows vibrant colors without affecting consistency.
Storage Guidelines
Allow decorated cookies 24 hours drying time before stacking. Store in airtight containers up to one week. Freeze decorated cookies in single layers separated by parchment paper for longer storage. Thaw at room temperature before serving.
Recipe Benefits
This versatile recipe produces consistently reliable results. The balanced consistency works equally well for simple or intricate designs. The icing dries firm with an attractive sheen, creating professional-looking finished cookies.
Professional Tips
Add liquid ingredients gradually for proper consistency control. Keep icing covered while working to prevent crusting. Practice piping techniques on parchment paper before decorating cookies. Maintain room temperature ingredients for best results.
Creative Options
Experiment with natural honey as a corn syrup alternative. Layer different consistencies for textured effects. Add shimmer dust or sanding sugar while icing remains wet. Create marbled effects by swirling colors together before icing sets.
 Pin
Pin
Frequently Asked Questions About the Recipe
- → How will I know if my icing is ready to use?
- Outline icing holds its shape for a few seconds before fading. Flood icing quickly levels itself after drizzling.
- → Can I prepare this ahead of time?
- Totally! Keep it in a sealed container in the fridge. Let it warm to room temp, then stir. Add milk if needed to tweak the thickness.
- → What’s the purpose of using corn syrup?
- Corn syrup gives the icing that glossy finish and dries it quicker. If you skip it, the icing will still work, but it won’t shine as much.
- → When can I stack my cookies after decorating?
- Leave the cookies out overnight to dry for at least 20-24 hours. This ensures they’re totally hardened and won’t smudge.
- → Can water replace milk in this recipe?
- Absolutely. Use the same amount of water in place of milk. Any milk works, including dairy-free options like oat or soy milk.