
 Pin
Pin
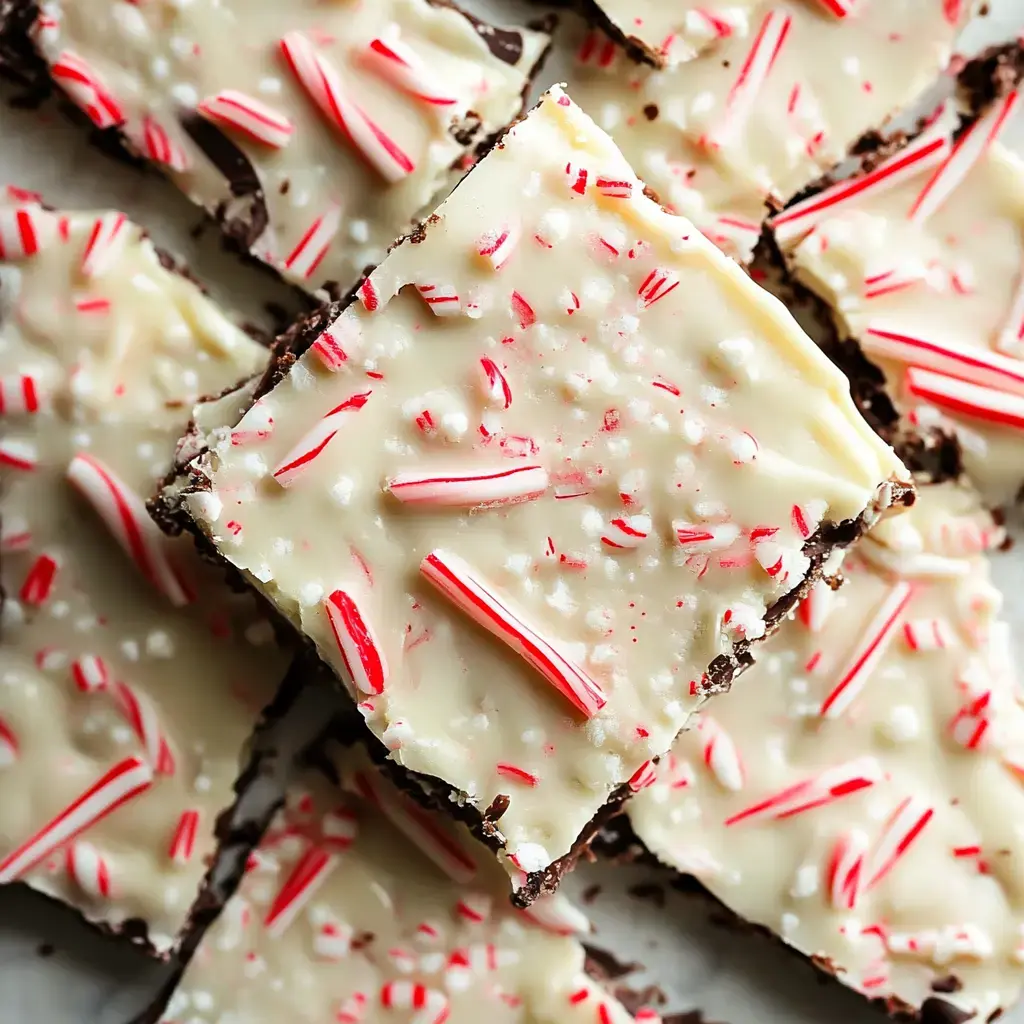
Whip up this no-fuss peppermint bark during holiday time. You'll only need five items to create three stunning layers of chocolate topped with candy cane bits. Perfect for giving away or adding to treat platters. It's basic but comes out looking impressive.
Why Make This
It's a blast to create and even tastier to snack on. Combine white and dark chocolate with a hint of mint flavor. Add smashed candy canes on top for extra crunch. No baking or mixing machines needed. About an hour until it's done. The little ones can't wait to help make it.
What You Need
- White Chocolate: 12 oz premium quality, such as Ghirardelli
- Dark Chocolate: 6 oz semi-sweet
- Oil: 1 1/2 spoons vegetable or coconut
- Peppermint: 1/2 spoon pure extract
- Candy Canes: 4-5 broken up
- Pan: 8 or 9 inch square
- Paper: Parchment or wax for base
How to Make It
- Prep your pan:
- Line with paper. Get it flat without creases. This lets you remove the bark easily later.
- Melt first chocolate:
- Take half the white chocolate, add some oil in bowl. Microwave 20 seconds, then stir. Repeat until smooth. Mix in tiny amount of peppermint.
- Create first layer:
- Dump into pan. Level it out. Cool in fridge 15 minutes until nearly solid.
- Melt dark layer:
- Follow same steps with dark chocolate and oil. Add splash of peppermint. Layer over the white base.
- Cool again:
- Return to fridge 15 minutes. This step matters for pretty layers.
- Finish with top:
- Melt remaining white chocolate with oil. Pour over dark layer. Spread quickly.
- Sprinkle topping:
- Scatter crushed candy canes while chocolate's still wet. Gently push down so they stick.
- Cooling time:
- Leave in fridge for an hour until solid. For longer chilling, let it warm up slightly before breaking.
- Break apart:
- Remove from pan. Snap into pieces whatever size you prefer.
- Storage tips:
- Store in container with cover. Stays nice for 3 weeks when refrigerated.
 Pin
Pin
Why People Love It
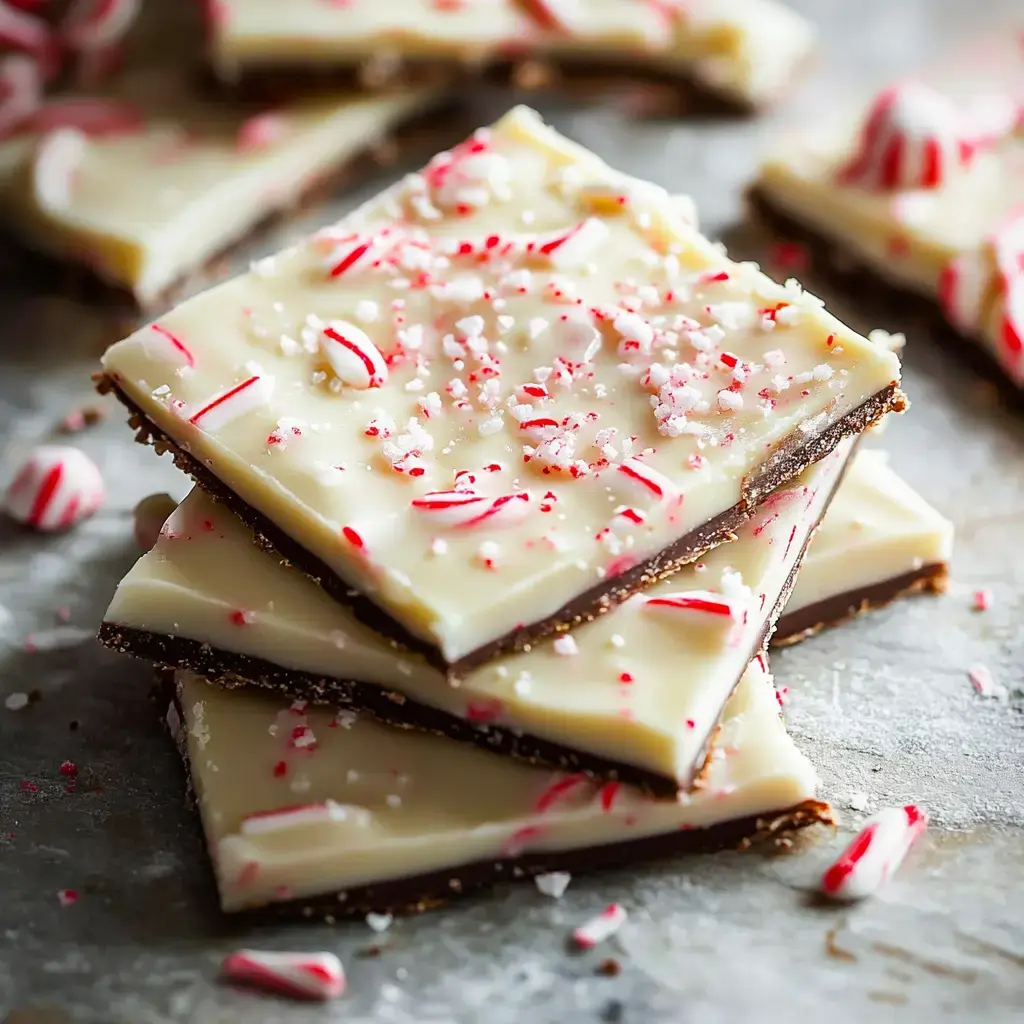
Simple to throw together but looks fancy. Just grab a few things at the store. The white and dark layers look amazing together. Kids go crazy for smashing up candy canes. Works great as homemade presents too.
Getting Good Chocolate
Go for actual chocolate bars instead of chips. They melt way smoother. Brands like Ghirardelli give best results. Chips contain additives that mess up melting. Feel free to mix dark and semi-sweet if you want. Just avoid cheap white chocolate or it'll turn grainy.
Making Pretty Layers
Give each layer time to set but not harden completely. Around 15 minutes in the fridge works perfectly. Too soft and your layers will blend. Too hard and they won't stick together. Want some flair? Drag a knife through the top while wet. Creates a lovely design.
Crushing Candy Canes
Toss candy canes into a ziplock bag. Smash them with a rolling pin. Keep some chunks big and others tiny for better look. Don't crush everything to dust. Save this job for last so the candy stays crisp. Kids think this part's awesome but watch for sharp edges.
Storing It Right
Stays fresh a few days at room temp. Need it to last longer? Stick it in the fridge for up to 3 weeks. Layer wax paper between pieces so they don't stick. They make wonderful gifts in see-through bags tied with ribbon. Let sit out 10 minutes before enjoying for best flavor when it's not too cold.
 Pin
Pin
Wrap-Up
Love chocolate and mint together? Try whipping up a fluffy mint chocolate mousse! Want richer? Make creamy white chocolate mint fudge instead.
Frequently Asked Questions About the Recipe
- → Can I use dark chocolate?
Dark chocolate works awesome! It’s less sugary and more sophisticated. Get a good-quality one though – budget stuff doesn’t melt well. Something between 60% and 70% is ideal. Some people mix dark and milk chocolate too. For a fancy twist, go with three layers: dark, milk, and white. Whatever you pick, stick with real chocolate (not coating). Check the label – cocoa butter should be listed first.
- → How do I keep layers together?
Big trick: don’t let the first layer get super cold! Just firm but still a little tacky when you add the next one. Some folks scratch the layer lightly with a fork – adds grip for the next. Also, make sure all layers are similar in temp when pouring. Never pour warm chocolate on a frozen surface. Take your time, rushing might make them separate. If they do, reheat the edges gently and press together.
- → No peppermint - what else?
You’ve got plenty of options! Vanilla makes it like a cookies-and-cream version. Almond’s fantastic – think biscotti vibes. Orange flavor adds a festive twist. Coconut extract with toasted coconut is delicious too. Just swap peppermint for equal parts of your choice. Skip flavors entirely for a plain version – add nuts or dried fruits on top instead. Even coffee flavor works! Start small – you can always add, but can’t take it out.
- → Can I make it vegan?
For sure! Use plant-based chocolate chips – there’s plenty available now. Swap butter for coconut oil. Check your candy canes – some have eggs or questionable dyes in them. Vegan white chocolate is a thing too! Read ingredients carefully, as milk tends to hide in odd spots. For extra creaminess, mix in a bit of coconut cream with the melted chocolate. No one’ll guess it’s vegan!
- → How long does it keep?
Store it correctly, and it’ll last close to three weeks! Keep it in a cool, dry place inside a sealed container. Add wax paper between layers. No need to refrigerate unless it’s super warm where you are. Actually, it tastes better after a few days since flavors meld nicely. Freezer works too – just wrap tightly first. Be careful though – candy bits might get sticky with air exposure. Metal tins are better storage than plastic boxes.