
 Pin
Pin
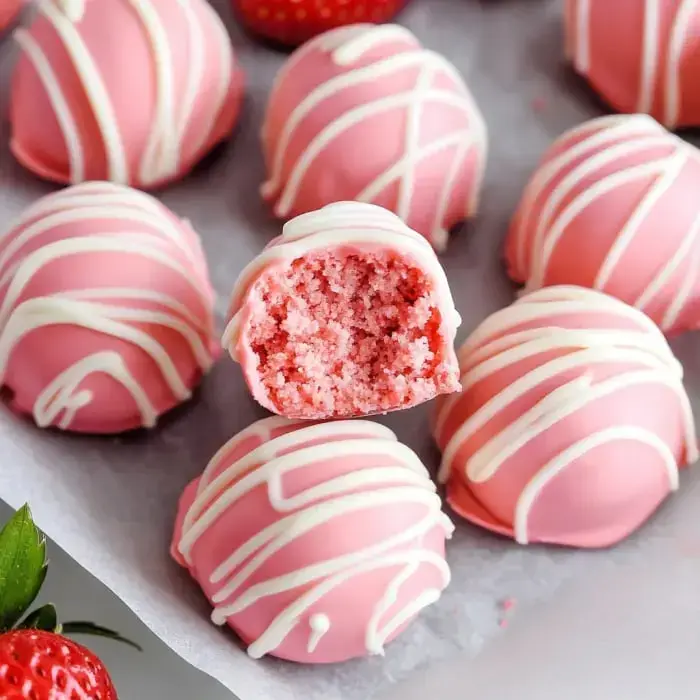
Simple Strawberry Cheesecake Nibbles
I've got to tell you about these adorable Strawberry Cheesecake Nibbles. They're tiny no-bake delights that call for just three things from your pantry. Great for gatherings, fun to create with your little ones, or whenever you're craving something sweet without heating up your kitchen. Once you try these heavenly mini treats, you'll keep making them again and again.
What Makes These Bites Special
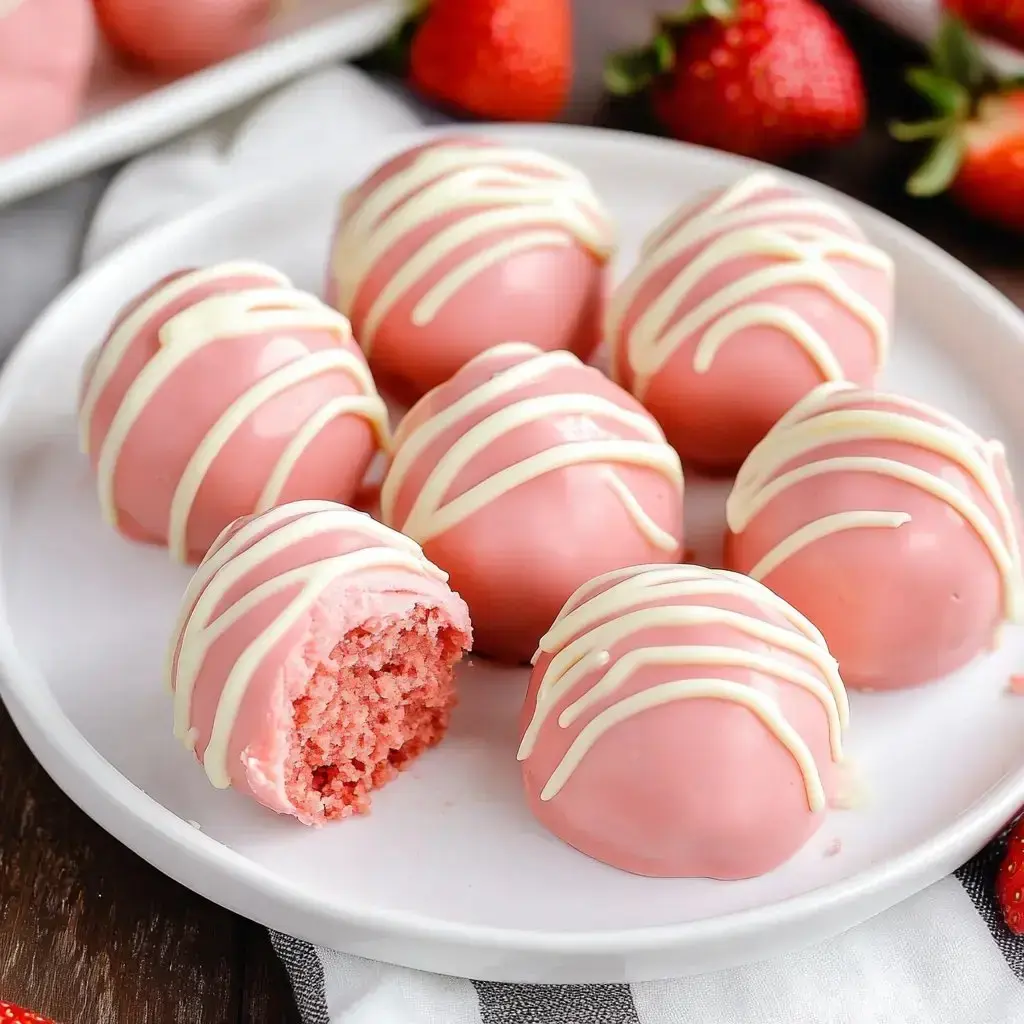
These aren't your regular sweet treats, folks. Inside you'll find a smooth, rich cheesecake center bursting with strawberry goodness, all hugged by the cutest pink shell. They're super quick to whip up and you can fancy them however you want. At every get-together, they vanish faster than anything else on the table.
Your Shopping List
- Base Ingredient: A package of strawberry cake mix that's been safely heat-treated.
- Smooth Component: Eight ounces of softened cream cheese.
- Outer Layer: Pink candy melts to create that beautiful exterior.
- Finishing Touch: White almond bark for decorative lines on top if you're feeling fancy.
 Pin
Pin
Crafting Your Sweet Treats
- Stay Safe
- Warm your cake mix in the microwave giving it a stir every half minute until heated through then let it cool down.
- Blend Everything
- Whip the softened cream cheese then add your cooled cake mix and let it chill for a couple hours.
- Shape Your Nibbles
- Use a scoop to form balls and put them in the fridge to set overnight.
- Cover With Goodness
- Melt the pink candy coating and dunk each ball until it's fully wrapped.
- Add Some Flair
- Drizzle melted white almond bark over the top for that wow factor.
Tricks For Success
Don't forget to get that cream cheese to room temperature before you begin. Take your shaped balls out of the fridge for a bit before dipping to avoid cracks. Try using a fork when you're coating them for better coverage. Want to make them more festive? Toss on some sprinkles or crushed candy while the coating's still wet.
Storage Advice
Your tasty creations will stay good in the fridge for around 5 days if you keep them in a sealed container. Need to plan ahead? You can freeze the balls before coating for up to 2 months just let them thaw in the fridge overnight before dipping. Enjoy them cold or at room temperature they taste amazing either way.
 Pin
Pin
Frequently Asked Questions About the Recipe
- → Why do you treat cake mix with heat?
Warming up dry cake mix ensures it’s safe to eat, as raw flour might carry bacteria. This step keeps it worry-free without baking.
- → What's up with cracking coatings?
Coatings crack when the chocolate is warm, but the bites are still too cold. Let the bites warm up a bit, and the problem's solved.
- → Can other cake mixes work?
Absolutely! Switch flavors to whatever you like, and jazz up the chocolate to match the mix.
- → Do I have to chill them first?
Yes, you want the bites to firm up, so they’re easier to roll and coat. Quiet time in the fridge overnight does wonders!
- → Are these freezer-friendly?
Sure thing! Stash uncoated bites in the freezer for up to two months. Let them thaw in the fridge before dressing them in chocolate.