
 Pin
Pin
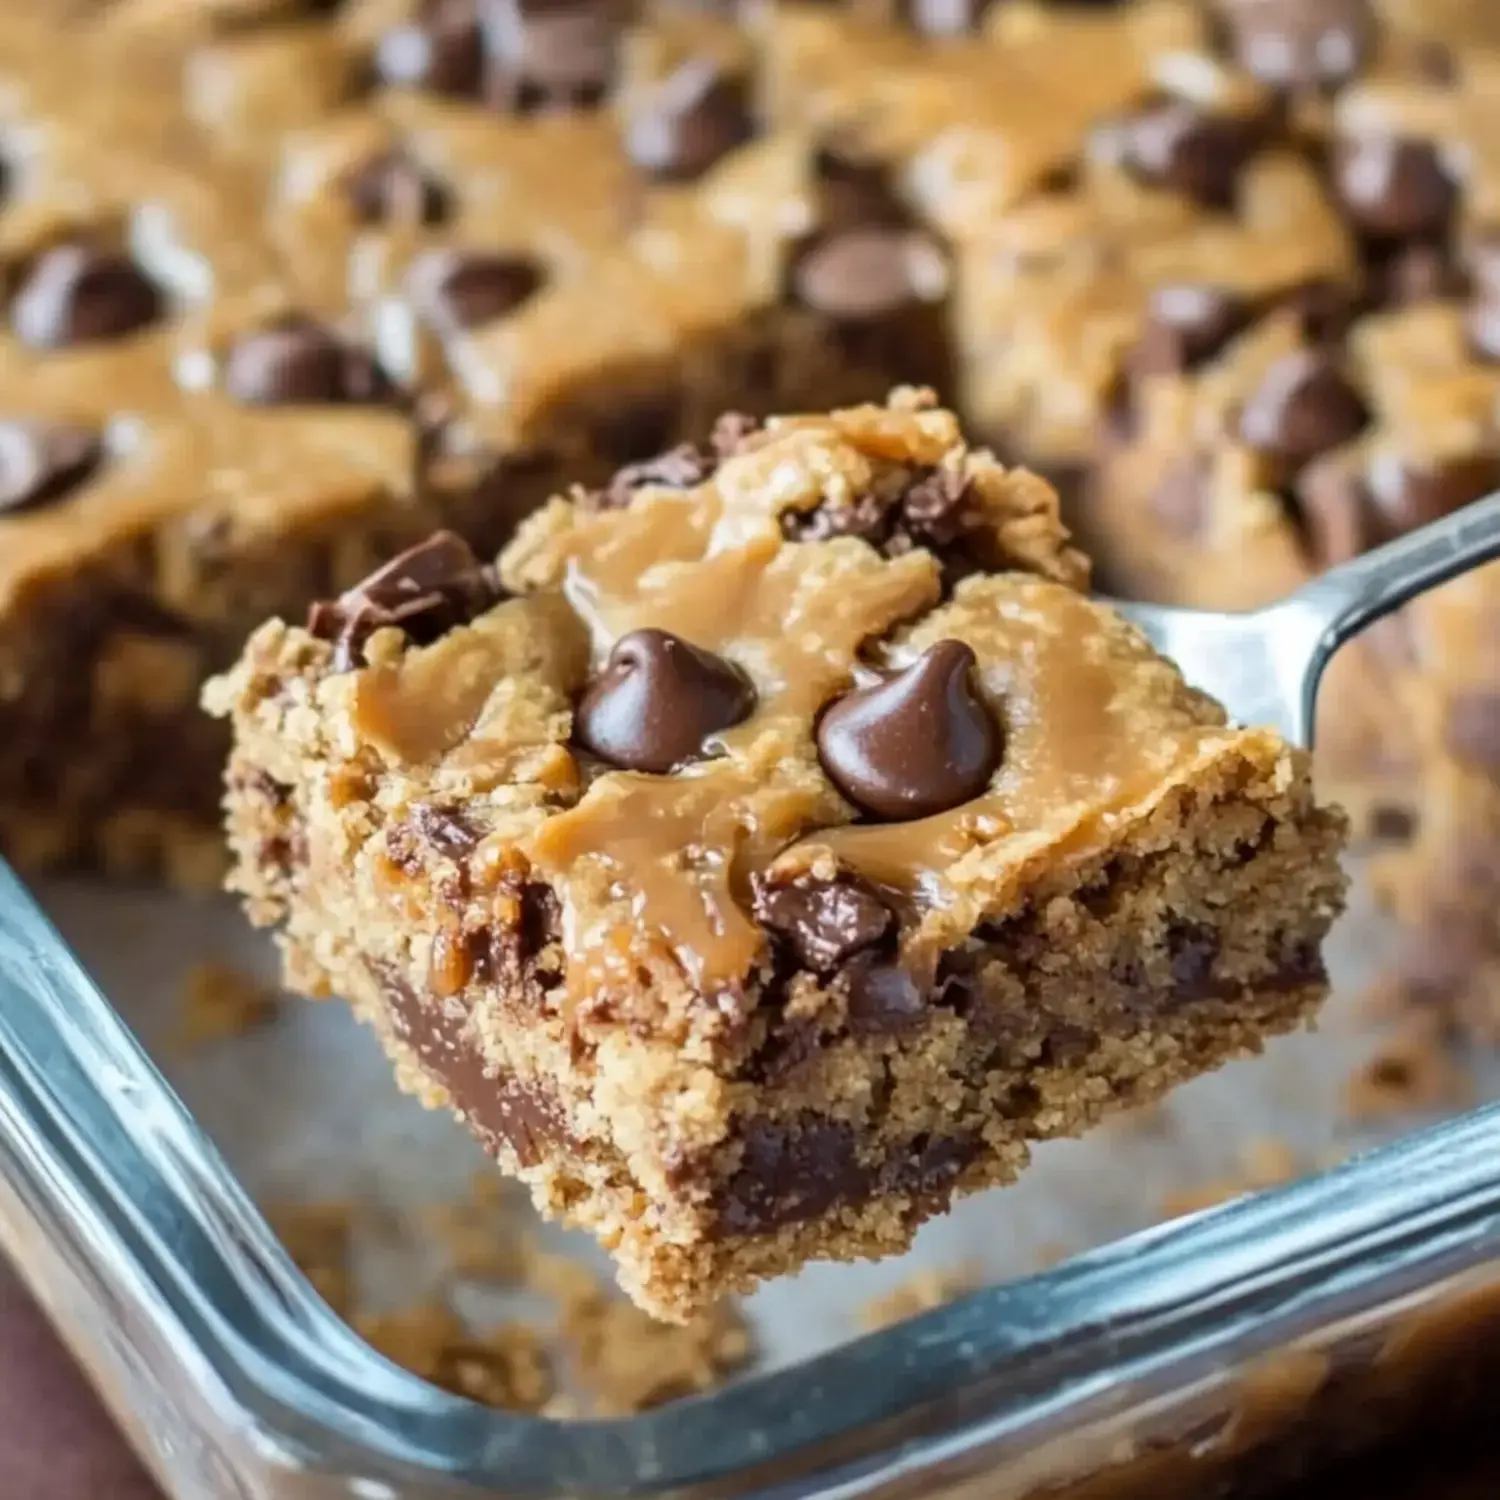
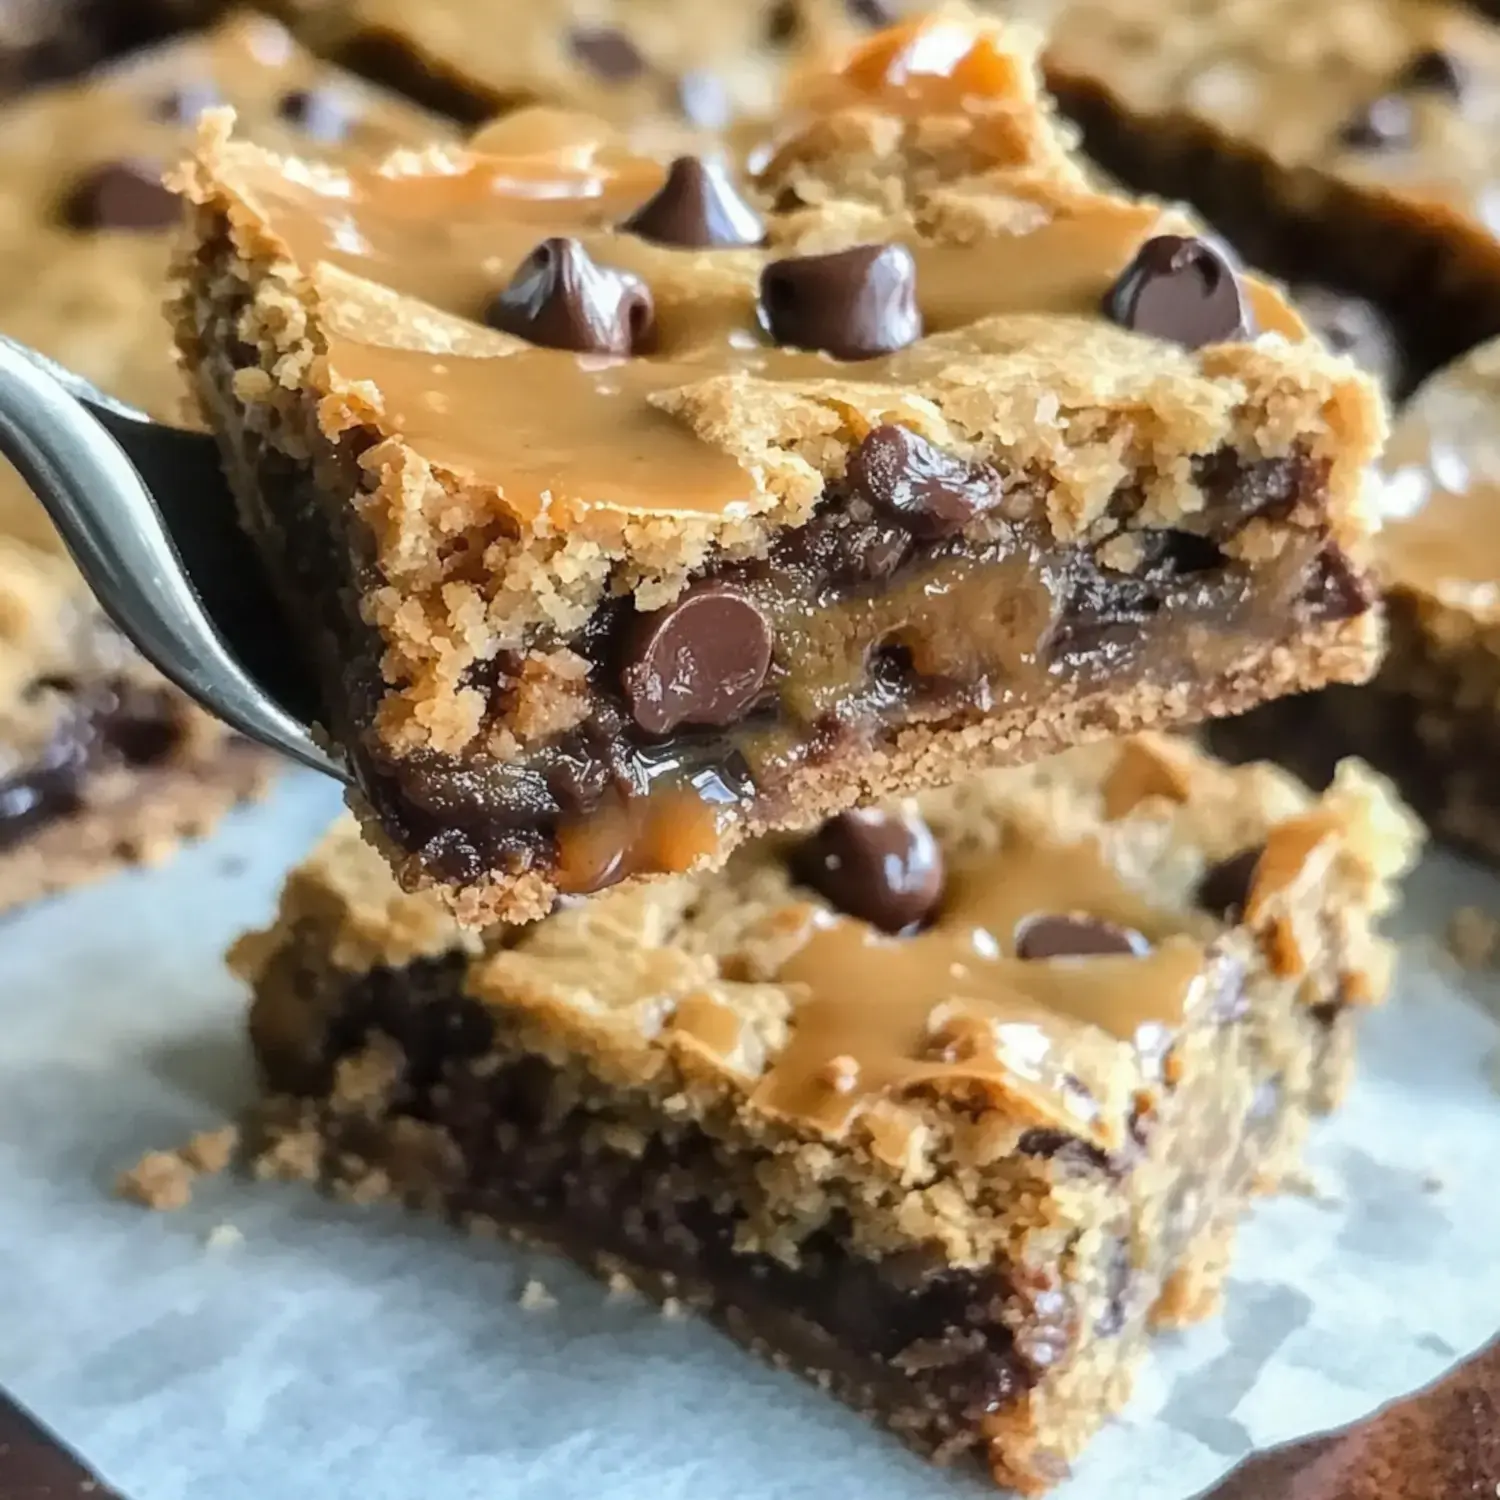
These Sinful Sensation Bars blend sticky caramel, nutty peanut butter, and dreamy chocolate into one mind-blowing treat. True to their nickname, they'll leave you speechless with each mouthwatering bite. I've been whipping these up for ages and still debate whether to share them or keep every square for myself.
Why These Treats Stand Out
What I adore about these bars is how they nail every texture and flavor—they're sugary yet salty, sticky yet firm. The caramel just sinks right into the cookie foundation, and those chocolate chips create pockets of deliciousness throughout. I bring them to gatherings, but honestly, they rarely make it out my front door. Thankfully, when I manage to hide some away, they freeze wonderfully.
Your Shopping List
- Flour: Forms the foundation for that mouthwatering cookie base.
- Baking Soda: Provides that subtle rise we want.
- Salt: Enhances every flavor component.
- Butter: Adds that luxurious mouthfeel we crave.
- Sugar: Creates the beautiful caramelized top.
- Brown Sugar: Brings those deep, molasses undertones.
- Vanilla Extract: Adds that cozy background note.
- Eggs: Works as the perfect binding agent.
- Semi-Sweet Chocolate Chips: Creates those gooey spots of happiness.
- Evaporated Milk: The secret to that velvety caramel center.
- Caramels: The heart and soul of our gooey middle layer.
- Peanut Butter: Adds that subtle nutty dimension.
The Foolproof Method
- Get Your Baking Dish Ready
- Heat your oven to 350°F and don't skimp on greasing that 9x13 pan—you'll thank me later.
- Combine Dry Stuff
- Stir flour, baking soda and salt in a bowl and put it aside for now.
- Whip Up Your Dough
- Mix your butters with sugars till light and fluffy, drop in eggs and vanilla, then fold in your dry mix and chocolate pieces.
- Start The Layering
- Push half your cookie mixture into the pan and pop it in the oven just till it firms up, around 8-10 minutes.
- Create Your Gooey Middle
- Heat those caramels with your evaporated milk, mix in the peanut butter till smooth, then drizzle this heaven over your first layer.
- Finish The Construction
- Scatter dollops of remaining dough across your caramel goodness, then smooth it out without pressing too hard.
- Final Baking Touch
- Back to the oven for 15-20 minutes till it turns golden, then comes the torture—waiting for cooling time.
Where These Treats Came From
Whenever I serve these squares, folks always question their unusual name—but one taste explains everything. That magical trio of cookie, caramel, and chocolate creates something truly unforgettable. They're my secret weapon when I need to wow a crowd.
Switch Things Up
You can leave out the peanut butter for anyone with nut concerns or try butterscotch chips for something different. Just remember to use evaporated milk instead of condensed—these treats are sweet enough already.
Storage Tips
Let them cool all the way before slicing—I can't stress this enough. They'll stay yummy in a sealed container for about 3 days, assuming they don't vanish first. You can stash them in the freezer for up to 3 months and they'll thaw perfectly.
Fancy Serving Ideas
I like to pair these with a scoop of vanilla ice cream or some tart berries for balance. They're amazing with a steaming mug of coffee or cold milk on the side. When I'm going all out, I'll add an extra caramel drizzle on top—it's absolute dessert heaven.
 Pin
Pin
Frequently Asked Questions About the Recipe
- → What's the best type of caramels to pick?
- Go for soft caramel candies that come wrapped, usually found where they sell candy. Don't try using caramel sauce as it won't set up right.
- → Why should I use the double boiler method?
- It lets the caramel mix melt slowly and evenly without any burning, giving you that perfectly smooth, silky texture.
- → Can I make these bars beforehand?
- Absolutely! Just keep them in a sealed container. Put some parchment between layers so they don't stick together.
- → Why cook the bottom layer on its own first?
- You need a firm foundation to hold up all that yummy caramel goodness in the middle.
- → How can I tell when they're fully baked?
- Look for a light golden color on top and set edges. The middle might still look a bit soft but that's totally fine.