
 Pin
Pin
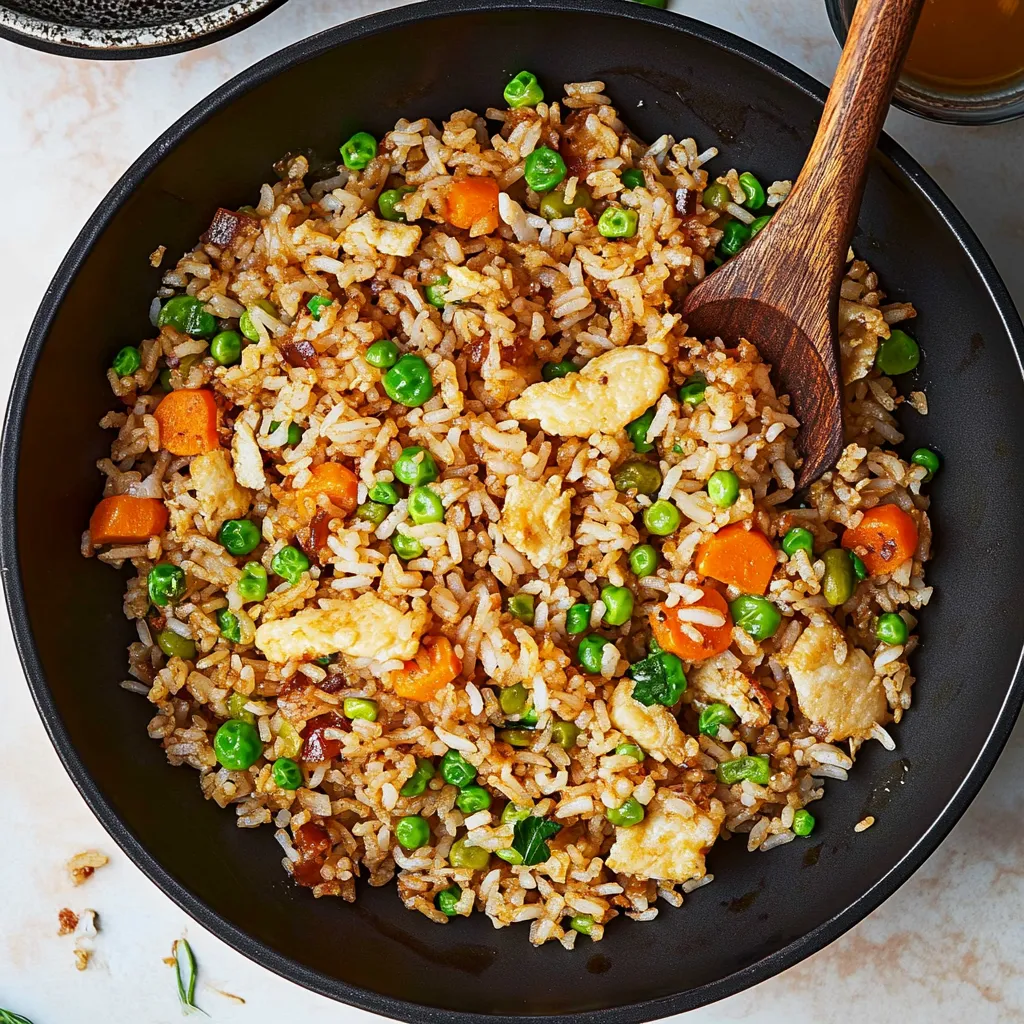
This gluten-free fried rice recipe delivers authentic restaurant-style flavors while accommodating dietary restrictions. Through extensive testing and refinement, this version achieves the perfect balance of textures and tastes. The technique focuses on creating those signature crispy rice bits while maintaining the classic takeout flavors everyone loves.
Professional Kitchen Tips
For best results, chill fresh rice on a sheet pan for 30 minutes before cooking. Properly preheating the wok or pan prevents sticking and develops better caramelization. A finishing touch of toasted sesame oil enhances the authentic flavor profile.
Complete Cooking Instructions
This recipe requires precise timing and technique. Follow each step carefully to achieve optimal results. The cooking sequence has been carefully developed to build flavors and textures properly.
Preparation Steps
Mise en place is essential for this quick-cooking dish. Dice onions into 1/4-inch pieces, mince garlic finely, and prepare extra green onions for garnish. Having ingredients ready prevents overcooking.
Egg Preparation
Test pan temperature with a water droplet - it should sizzle immediately. Add oil, then pour in beaten eggs. Create small, tender curds while keeping them slightly glossy. Remove to a separate plate when just set.
Building Base Flavors
 Pin
Pin
Add oil to the hot pan, then sauté diced onions until translucent, about 2 minutes. Incorporate minced garlic and cook for 30 seconds until fragrant, watching carefully to prevent burning.
Rice Cooking Technique
Spread rice evenly across the pan surface. Allow it to crisp undisturbed for 30 seconds. Stir and repeat the spreading process 4-5 times over 5-6 minutes total cooking time.
Seasoning Method
Pour gluten-free soy sauce around the pan edges to create caramelization. Add toasted sesame oil. Tilt the pan while adding sauces to distribute evenly throughout the rice.
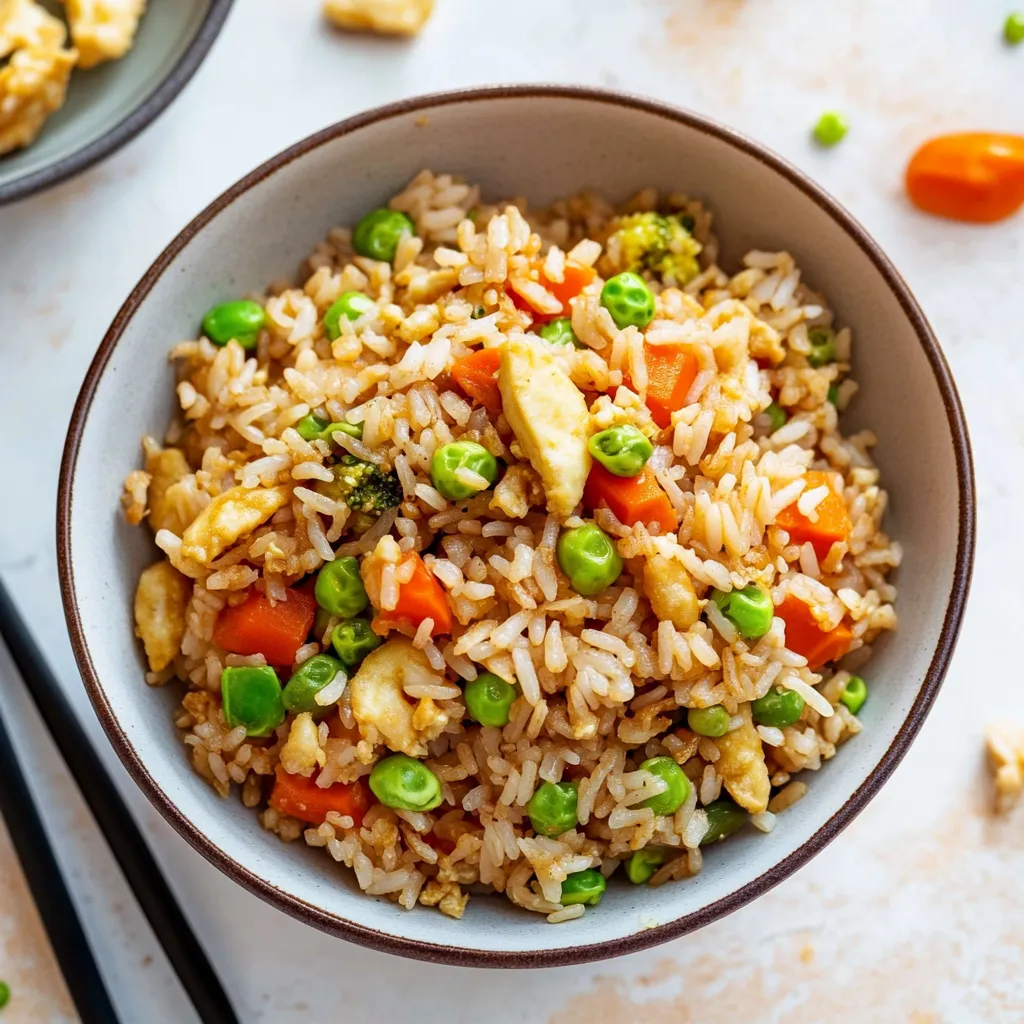
Combining Components
Return eggs to the pan, breaking into bite-sized pieces while stirring gently. Incorporate thawed vegetables and combine until heated through, maintaining the egg texture.
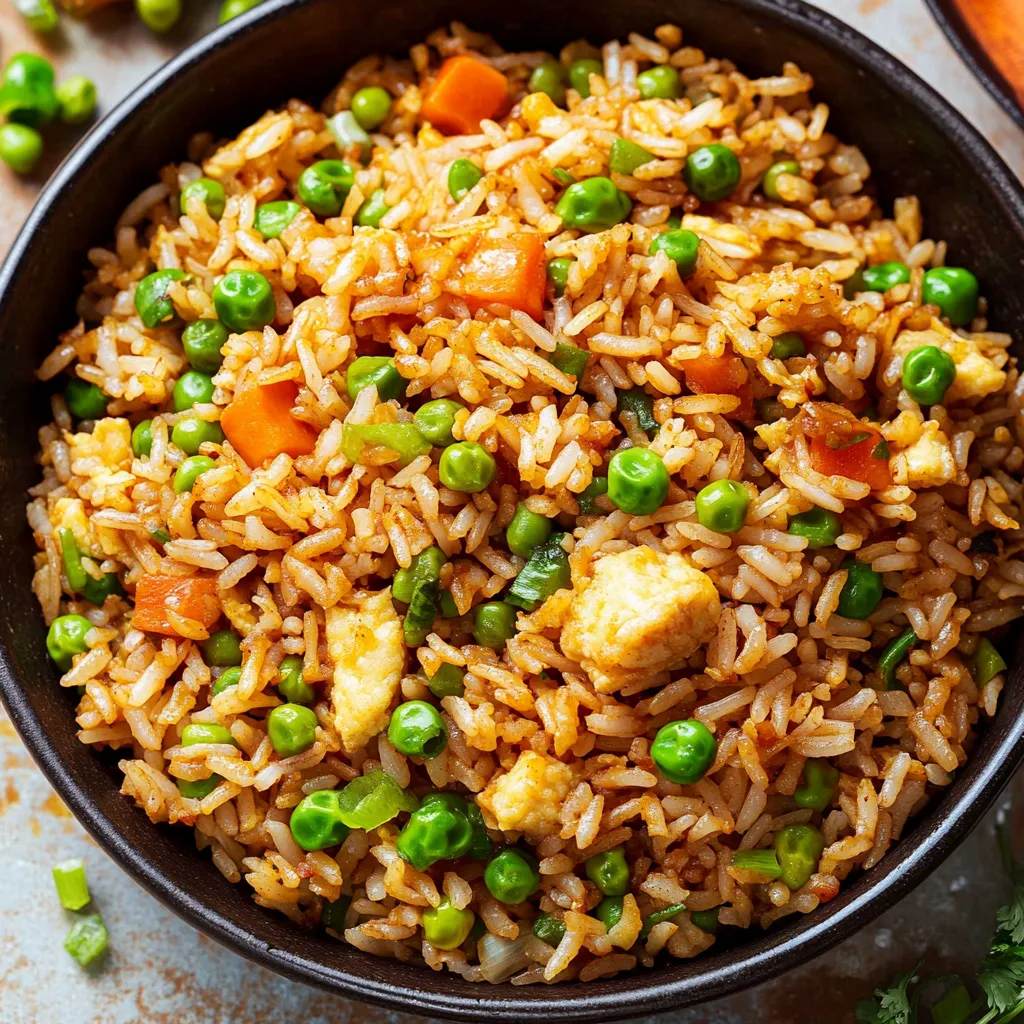
Final Cooking Stage
Allow ingredients to cook together 2-3 minutes, stirring occasionally. Break up any rice clumps gently. Adjust seasoning with additional soy sauce if needed, tasting for proper flavor balance.
Storage Guidelines
Cool completely before refrigerating in airtight containers. When reheating, add a small amount of water to create steam and restore the rice texture.
Problem-Solving Tips
For sticking issues, add oil around the pan edges. Address dryness with small additions of soy sauce, accounting for increased saltiness. Proper technique develops with practice and experience.
Each batch provides opportunity for improvement. Focus on timing, temperature control, and ingredient proportions to develop consistency in results.
 Pin
Pin
Frequently Asked Questions About the Recipe
- → Why do you recommend rice that’s a day old?
- When rice dries out overnight, it fries up better. Fresh rice tends to get sticky and mushy, while older rice stays firm and crispy.
- → Isn’t all soy sauce gluten-free?
- Actually, most soy sauces have wheat in them. Be sure to find one marked gluten-free or use tamari sauce instead.
- → Can I include meat in this dish?
- Of course! You can toss in pre-cooked chicken, pork, or shrimp. Just check the seasonings to make sure they’re gluten-free too.
- → What’s the easiest way to ensure my fried rice is truly gluten-free?
- Always double-check that every sauce or condiment you use is clearly labeled gluten-free. Better safe than sorry!
- → Why bother partially thawing the frozen veggies first?
- Thawed veggies cook faster, and they won’t release as much water, which helps keep your rice from getting soggy.