
 Pin
Pin
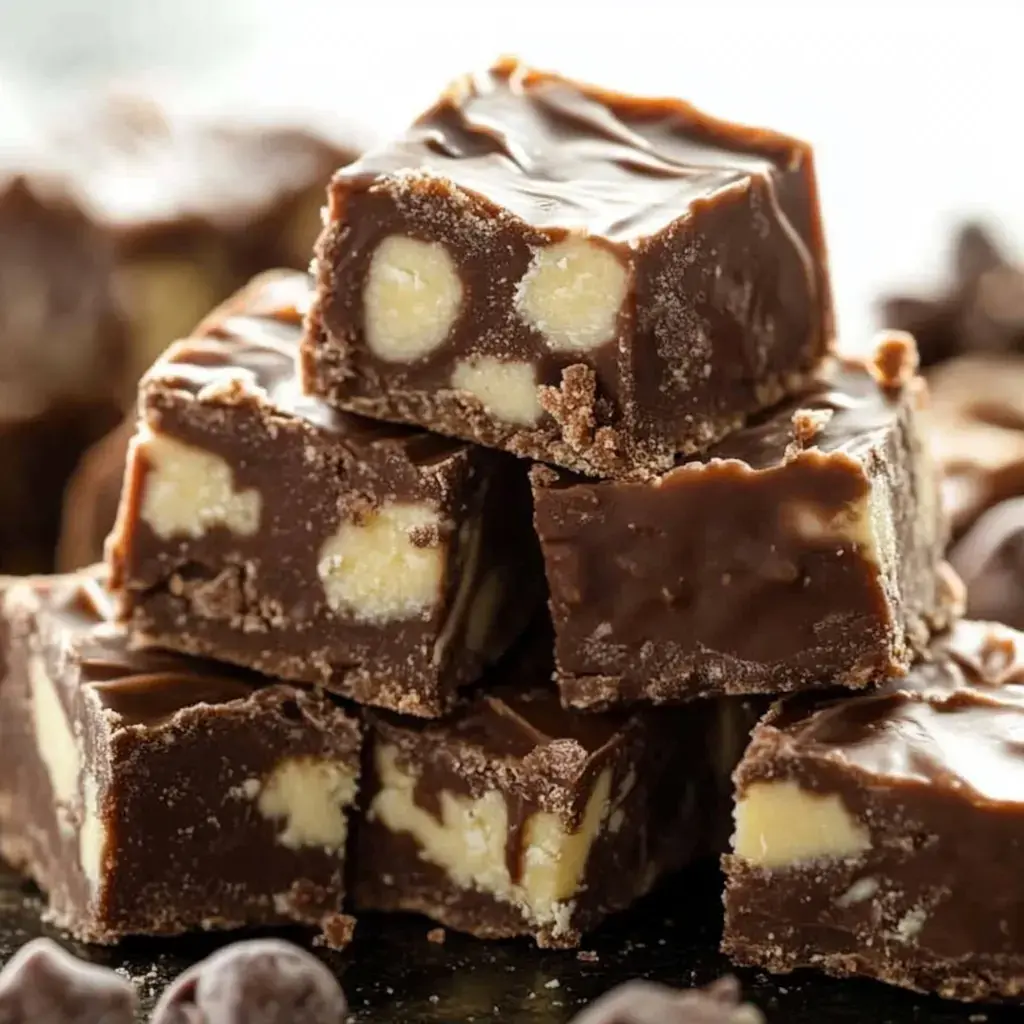
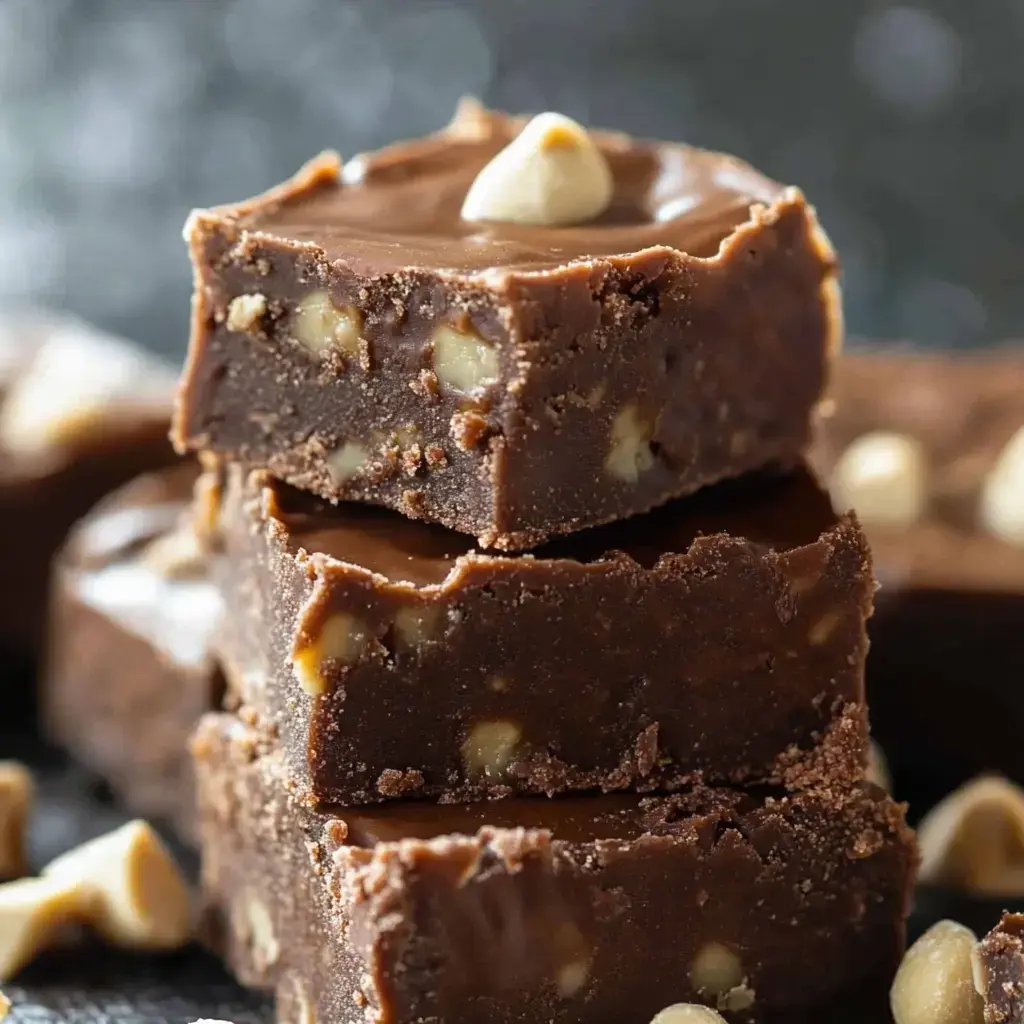
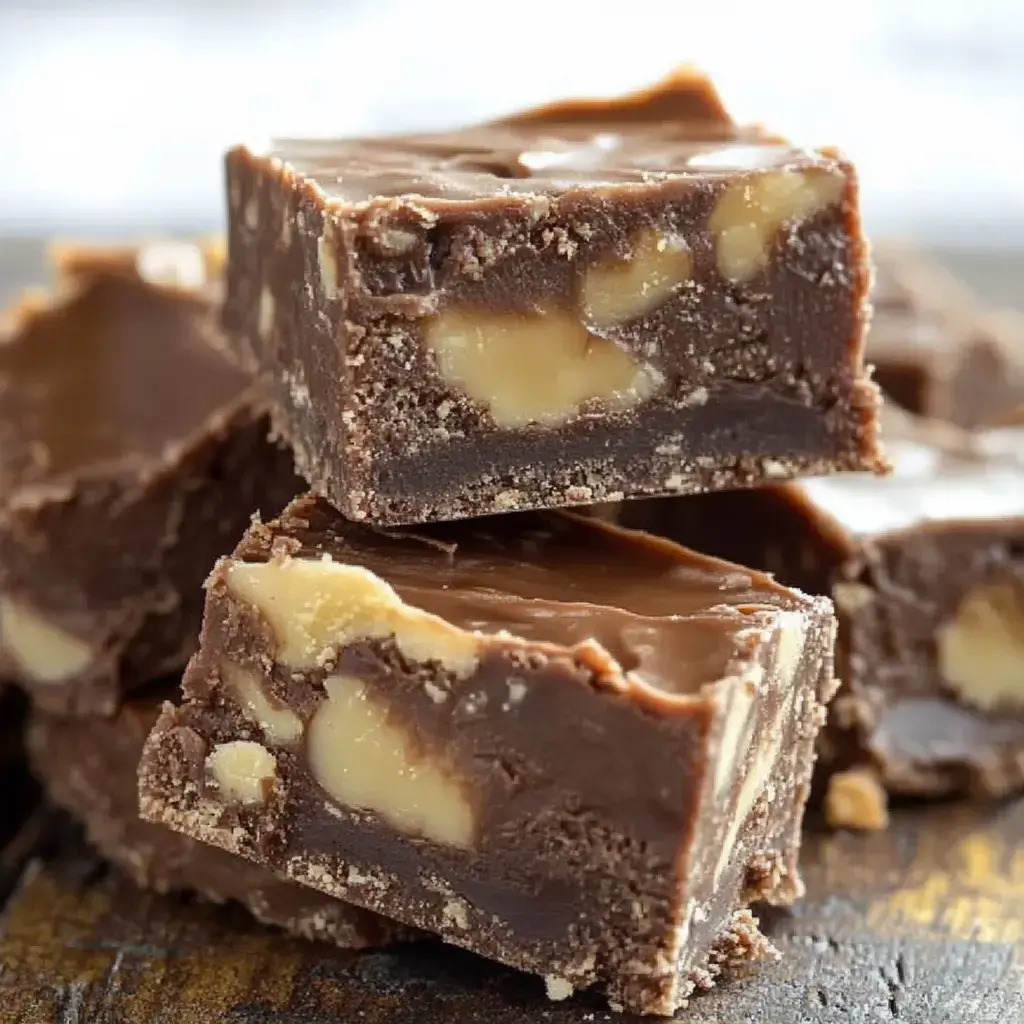
Try this Century-Old Fantasy Fudge classic. It's packed with chocolate flavor, incredibly rich, and filled with crunchy walnuts. Simple enough for beginners yet so tasty that seasoned candy makers can't get enough. This comes from the well-known Kraft version that's been passed down for generations.
The Magic Behind This Sweet Treat
You'll nail this foolproof fudge every single time. Swap the nuts if you fancy something different. It's perfect for giving away, especially during holiday season. The flavor takes you back to childhood treats at grandma's house. Just right when you need a delicious sweet to pass around.
Your Ingredients List
- Sugar: 3 cups white sugar
- Butter: 3/4 cup, unsalted
- Milk: 2/3 cup evaporated
- Chocolate Chips: 12 oz bag semi-sweet
- Marshmallows: 2 cups mini ones
- Walnuts: 1 cup chopped
- Vanilla: 1 spoon
- Pan: 9x13 inch
- Paper: Wax or parchment
 Pin
Pin
Step-By-Step Process
- Get pan ready:
- Cover pan with paper. This helps you pull out the fudge when it's done.
- Mix first stuff:
- Combine sugar, butter, milk in large pot. Set heat to medium.
- Cook it right:
- Mix until bubbling starts. Continue for 5 minutes or until temperature reaches 234° on candy thermometer. Keep mixing to prevent burning.
- Add chocolate:
- Remove from stove. Drop in chocolate chips. Mix until completely smooth.
- Put in rest:
- Throw in marshmallows, nuts, vanilla. Stir until marshmallows disappear.
- Fill pan:
- Transfer to your prepared pan. Smooth top with spatula.
- Let it set:
- Wait 4 hours until firm. Cool in fridge if you're in a hurry.
- Cut it up:
- Flip onto cutting board. Slice into whatever size squares you prefer.
The Sweet History
Fudge was born from a kitchen mistake over a century ago when someone goofed while making caramels. Now everyone wants it during the holidays. This version came from the old Kraft marshmallow cream packaging. Folks have trusted it for decades because it never fails.
Nailing The Method
Don't cut corners during the cooking stage - that's crucial. Mix constantly so all sugar dissolves properly. A candy thermometer works great if you have one. Without it? Just cook for exactly 5 minutes after big bubbling starts. Make sure your chocolate melts completely without any chunks.
Working Without Fancy Gear
Got no thermometer? Try the water test. Put a tiny drop of your mix in cold water. If it forms a soft ball, you're good to go. Or just time 5 minutes from when the bubbles get big. Watch for the mixture turning thicker with a duller surface - that's your clue.
Storage Tips
Store in an airtight container. Place wax paper between layers to prevent sticking. Stays good for 2 weeks at room temperature. Need it to last longer? Refrigerate for a month or freeze up to 3 months. Let it come to room temp before eating for the best flavor.
Customization Ideas
Prefer pecans? Go ahead and switch them in. Want more chocolate punch? Toss in extra chips. Some people add a bit of peanut butter. Others leave out nuts completely. Play around until you find your favorite combo. It's pretty hard to mess up completely.
 Pin
Pin
Wrap-Up
Fan of nutty chocolate? You’d also enjoy crunchy walnut brownies or chewy rocky road bars. They’re easy to whip up, fancy-looking, and just as tasty!
Frequently Asked Questions About the Recipe
- → Can I change the nuts?
Of course! Try pecans for a buttery touch or almonds for a crispy bite. Mixed nuts work too! Want something fancier? Go for macadamias. Not into nuts? Skip them or add mini chocolate chips instead. For extra crunch, toast your nuts first, but keep an eye on them so they don’t burn. Chop them small so everything holds together well, and stick to the same amount to avoid messing up the texture.
- → How soon can I eat it?
Leave it out about 4 hours at room temp to firm up. Need it quicker? Pop it in the fridge for around 2 hours or the freezer for about an hour max. Don’t rush, though—cutting too soon can make it mushy. Test by pressing gently; if it doesn’t leave a dent, it’s ready. Warm kitchens may take longer, so overnight might be safer. Once firm, no need to chill; counter storage works fine.
- → Can marshmallow fluff work?
Absolutely! Use a 7 oz jar—it replaces about 4 cups of mini marshmallows. Some folks think fluff makes it smoother, but both do the job. If using minis, pack them into the measuring cup. Always use fresh marshmallows for a smoother melt; old ones might make lumps. Don’t use jumbo marshmallows—they take too long to melt down. You can also find special fudge marshmallow cream at some stores.
- → Do I need a candy thermometer?
It helps a lot! You’ll want to hit 234°F for the ideal texture. No thermometer? Drop some into cold water—it should turn into a soft, shapeable ball. But thermometers are a cheap, easy tool for perfect results. Digital ones are especially easy to read. Just avoid letting it touch the bottom of the pot for an accurate temp. If it turns out gritty, it probably didn’t hit the right heat.
- → What’s the best way to store it?
Seal it in a tight container at room temp, and it’ll stay fresh for a week. Use wax paper between layers to avoid sticking. Refrigerate only if your house is very warm, as the cold can make it sweat when removed. It freezes beautifully—wrap it well, and it’s good for about 3 months. Let frozen fudge come to room temperature before slicing to prevent cracking. Metal tins outperform plastic for keeping it fresh longer.