
 Pin
Pin
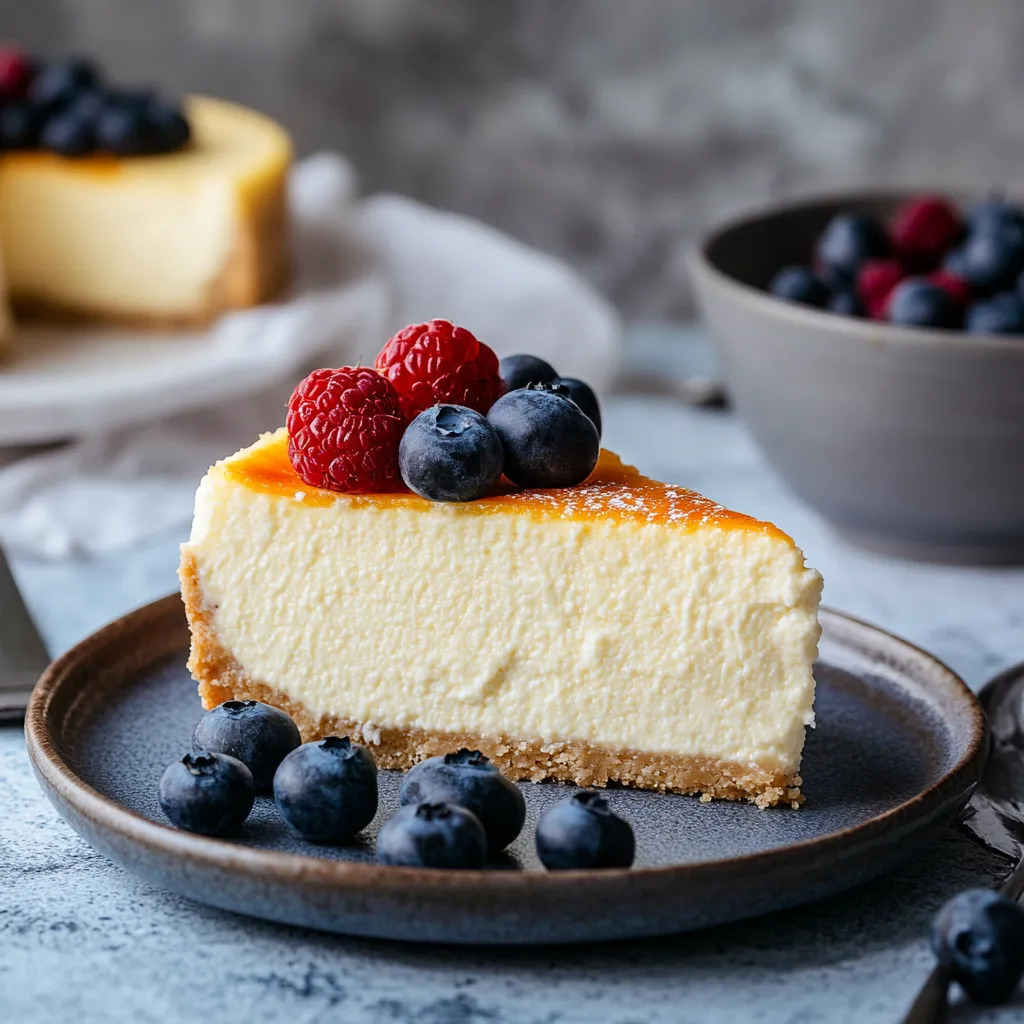
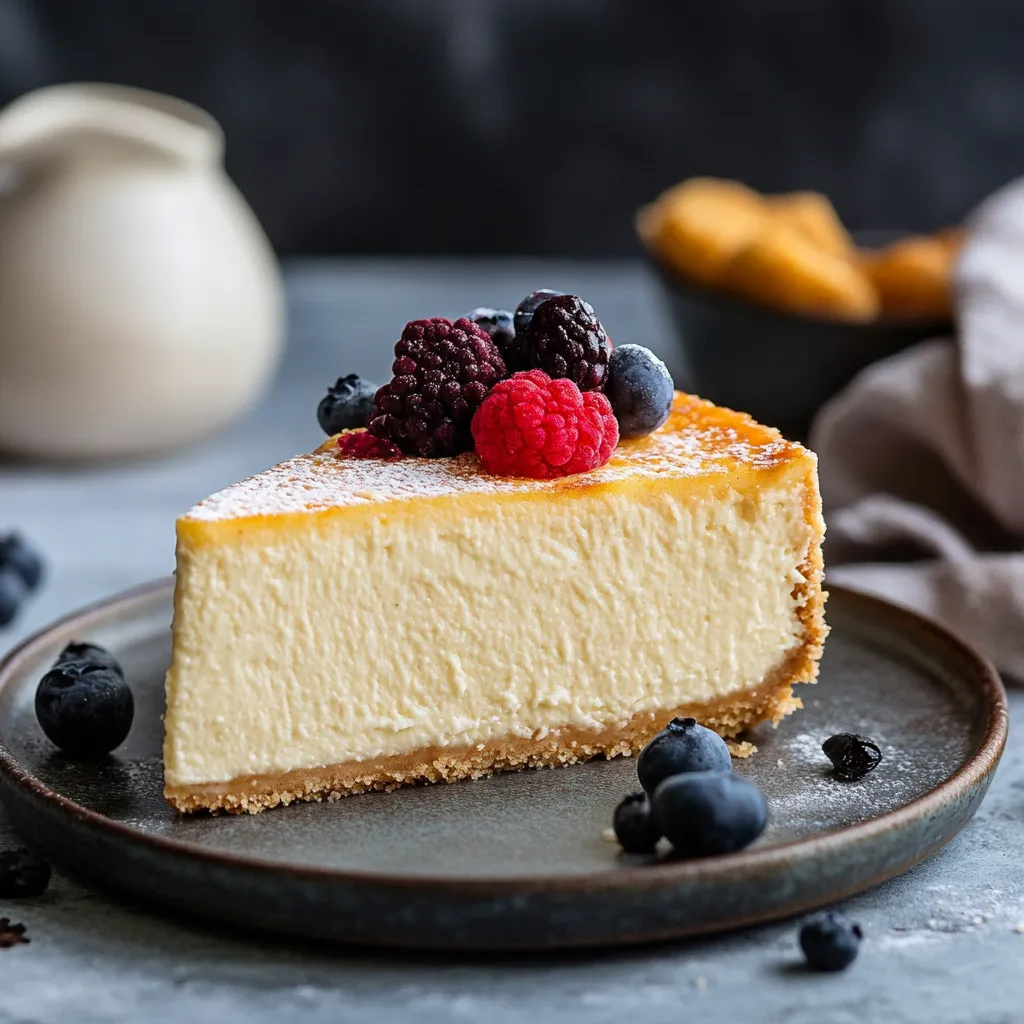
Whenever I whip up a classic New York-style cheesecake, it takes me back to when I first started trying out dessert ideas. This timeless treat turns basic ingredients into something truly decadent, with a smoothness that just melts away as you eat it.
After trying so many versions in my own kitchen, this has become what I always make for family get-togethers. Seeing everyone's face light up after their first taste makes all the careful work totally worth it.
Key Ingredients Breakdown
- Philadelphia cream cheese (full-fat): The main star of our dessert. Always grab room temperature blocks, not the whipped stuff or diet versions
- Fresh eggs: These give your cake structure and richness. Eggs straight from a local farm really bump up the taste
- Real vanilla extract: Don't bother with fake stuff - go for the real deal. You'll notice the difference
- Sour cream: Brings that nice zip and helps you get that super smooth finish
- Fresh lemon: Using both the zest and juice cuts through the richness without making it taste lemony
Step-by-Step Guide
- Making Your Base:
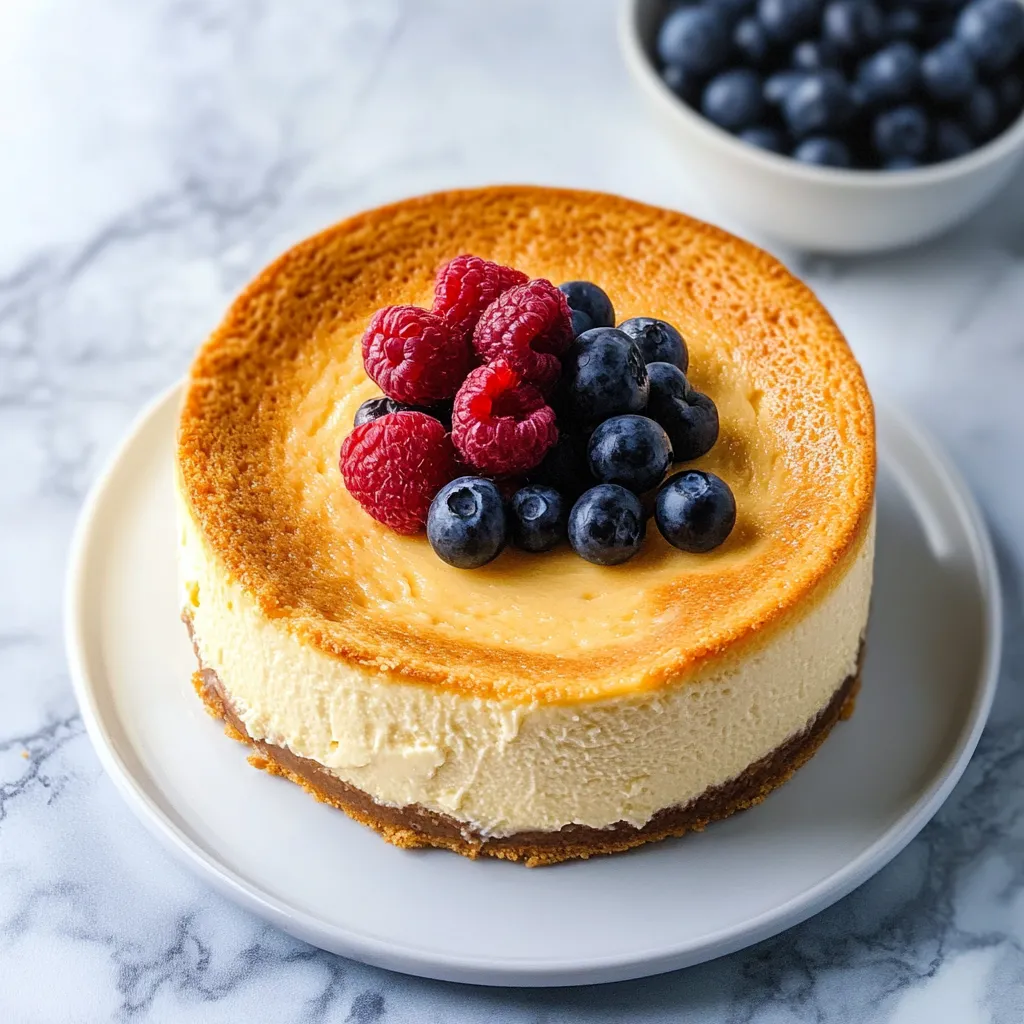
- Turn oven to 375°F while you get everything ready. Mix graham crumbs with melted butter until it looks like wet sand. Push mixture down hard into your pan, using a flat-bottomed cup to pack it evenly. Cook until you can smell it and it darkens slightly, around 10-12 minutes.
- Mixing Your Filling:
- Start by beating just the cream cheese until totally smooth - this stops lumps forming. Slowly add sugar while mixing at medium speed. Add eggs one by one, scraping down the sides between each. Gently fold in sour cream and flavorings without mixing too much.
- Setting Up The Water Bath:
- Wrap your springform pan twice with heavy-duty foil, making sure there are no gaps. Put it in a roasting pan and pour your batter over the pre-baked crust. Add boiling water so it comes halfway up the springform sides. Carefully move to oven preheated to 325°F.
- The Cooking Part:
- Bake for 1 hour and 15 minutes, until the edges are firm but the middle still wobbles a bit. Switch off the oven, open the door slightly, and let it sit there for 1 hour. Take it out of the water and let it cool completely on a rack. Keep in the fridge overnight for the best texture.
- Getting Ready To Serve:
- Slide a knife around the edge before opening the springform. Wipe your knife clean between each cut for neat slices. Let it sit out for 30 minutes before serving.
 Pin
Pin
Understanding The Creamy Magic
Using room temp ingredients makes everything mix smoothly and stops lumps. The water bath gives gentle, even heat all around. Cooling slowly keeps the top from cracking.
My grandma always added a bit of lemon zest - it lifts the whole flavor without making it taste like lemon. Each time I make this, I can't help but think about Sunday meals at her place.
Taste Development
When I lived in New York, I tried tons of cheesecakes, but nothing beats making your own. Letting it sit overnight allows all the flavors to blend together, creating that perfect mix of sweet and tangy.
Keeping It Fresh
How you store your cheesecake really matters for keeping that amazing texture. I've learned that wrapping each piece in parchment paper stops them from sticking to each other.
 Pin
Pin
After baking cheesecakes for years, this one makes me proudest. It's reliable but gives you results just as good as any fancy bakery. The secret is being patient and watching the details - rushing any part ruins the final dessert. Done right, this cheesecake creates really special moments around your table.
Frequently Asked Questions About the Recipe
- → Why should you use a water bath for baking cheesecake?
- The water bath provides gentle heat and keeps cracks away. It also helps the cheesecake stay creamy.
- → What’s the sign a cheesecake is ready?
- If it jiggles in the center but isn’t wet, it’s ready. It’ll firm up more as it cools.
- → Can this cheesecake go into the freezer?
- Definitely! Freeze it up to 3 months. Just wrap tightly and thaw in the fridge overnight.
- → Why is the cooling time so long?
- That extra chill lets the texture set perfectly, making it extra creamy.
- → How do you get clean cheesecake slices?
- Use a sharp knife, clean it after each cut, and dip it in warm water for easier slicing.