 Pin
Pin
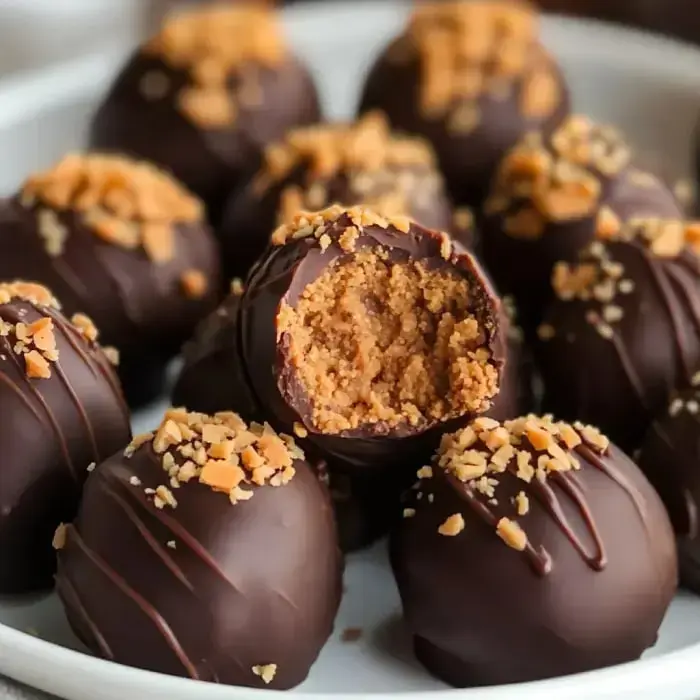
When I whip up these Butterfinger balls, my whole kitchen smells amazing with that perfect mix of nutty peanut butter and rich chocolate. There's something magical about biting into these treats - that smooth outside giving way to a creamy center packed with candy pieces. I originally made them just for holiday get-togethers, but now my friends beg for them all year long.
Delightful Candy Creation
These goodies drive my family wild because they blend the best parts of traditional peanut butter balls with Butterfinger's signature crunch. What's really great is how easy they are to make without turning on the oven. I can't help but smile when I see someone take their first bite and their eyes widen with joy at that surprise inside.
What You'll Need
- 2 cups peanut butter: Smooth works great, but go with crunchy if you want extra texture. For natural brands, you'll need to toss in more graham crackers to get it firm enough.
- 1 stick unsalted butter: Make sure it's nice and soft before you start mixing.
- 2 cups crushed graham crackers: These give our treats their perfect consistency.
- 6 full size Butterfinger bars: Hold back some crushed bits for decorating the tops.
- 2 packages chocolate bark: It melts smoothly and hardens perfectly afterward.
- 1 teaspoon vanilla extract: A tiny bit makes a huge difference in flavor.
How To Make Them
- Prepare The Filling
- First, whip the peanut butter with softened butter until it's light and creamy. Drop in the vanilla, then fold in your powdered sugar, graham cracker pieces, and smashed Butterfingers until everything's well combined.
- Roll Into Balls
- Scoop good-sized spoonfuls and shape them into balls, then put them in the freezer. They'll need around 30 minutes to get firm enough.
- Cover With Chocolate
- Melt your chocolate until it's completely smooth, then dunk each ball and let the extra chocolate run off.
- Finish With Toppings
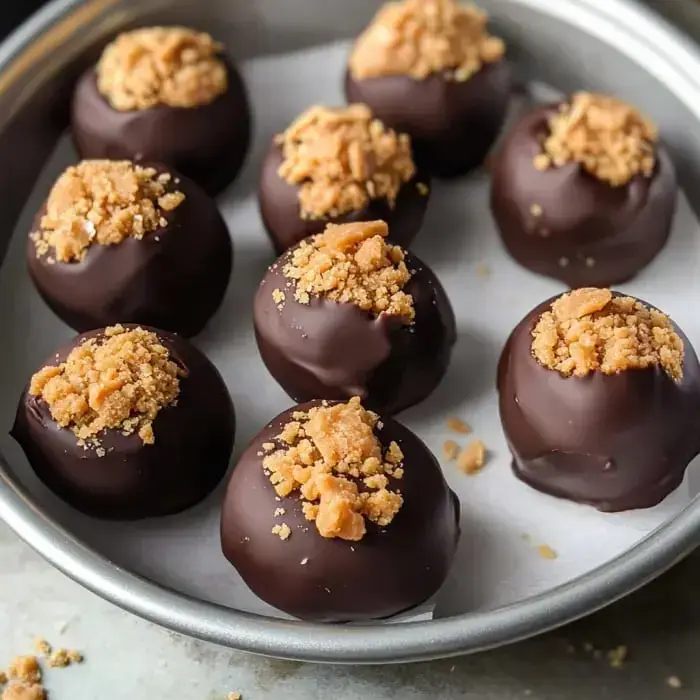
- While the chocolate's still wet, sprinkle those leftover Butterfinger crumbs on top. I sometimes add a tiny bit of sea salt too for contrast.
Switch Things Up
I love trying different candy bars sometimes, like Heath or Snickers for a change. Adding colorful sprinkles makes them perfect for any holiday. If you want to get fancy, try drizzling extra chocolate on top - they'll look like they came from an expensive chocolate shop.
Storage Secrets
Pop these goodies in the fridge in an airtight container and they'll stay good for weeks. Want to keep them even longer? Just stack them between parchment paper sheets in your freezer and they'll last for months. Don't forget to let them warm up a little before you serve them.
Helpful Hints
A food processor makes crushing those candy bars super easy. Don't let any water touch your melting chocolate or you'll end up with a grainy mess. After dipping each ball, tap it gently to shake off extra chocolate and you'll get that smooth, professional look.
 Pin
Pin
Frequently Asked Questions About the Recipe
- → Why shouldn't I use natural peanut butter?
Using regular peanut butter like Jif or Skippy gives you the best texture. Natural types can separate and feel oily.
- → Why freeze the balls before coating them?
Chilling in the freezer helps them stay firm when dipped in the warm chocolate and results in a cleaner finish.
- → Which chocolate works best for dipping?
Chocolate bark gives the smoothest chocolate shell and doesn't need extra prep. Chocolate chips can work too, but you'll need to temper them first.
- → Can these be made in advance?
They sure can! Keep them in an airtight container in the fridge for up to a week. They're great for prepping ahead.
- → What’s the purpose of graham crackers?
They add structure to the mix while bringing a light honey taste that pairs perfectly with the peanut butter and chocolate.
