 Pin
Pin
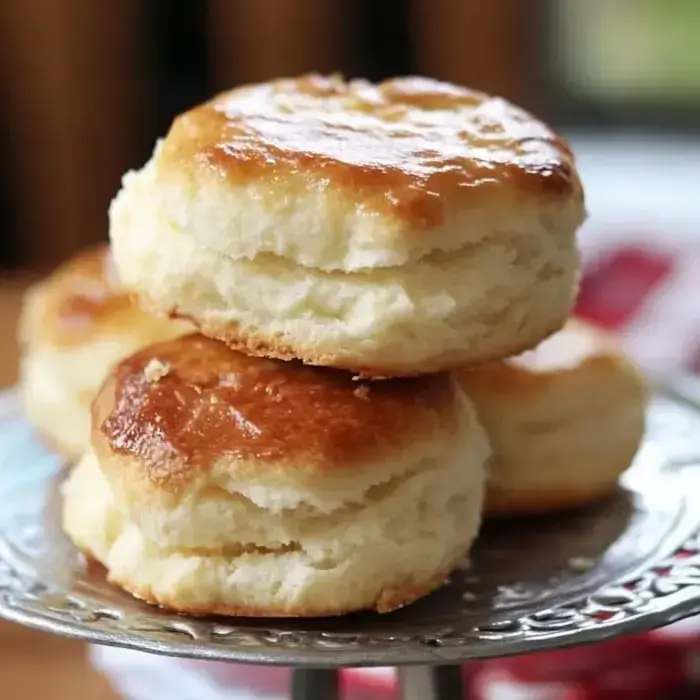
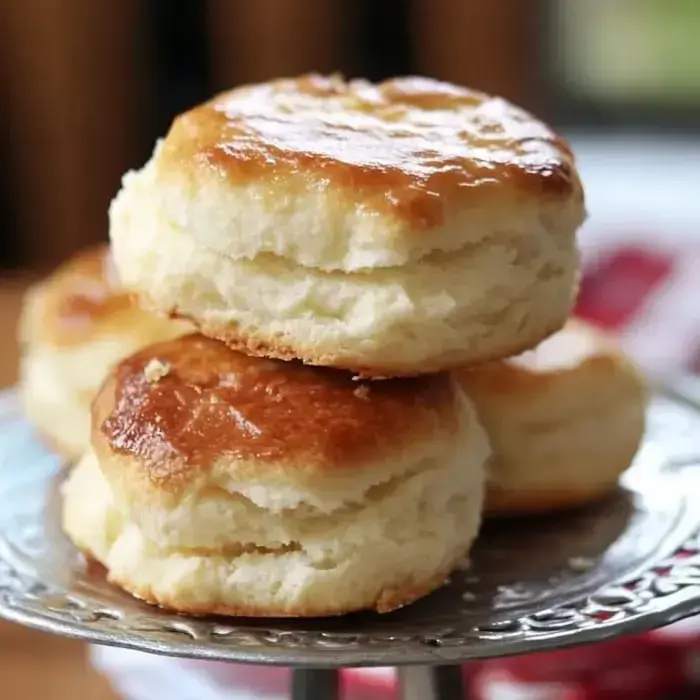
I perfected these buttermilk biscuits after years of Saturday morning baking sessions! The way they rise into tall flaky layers still amazes me every time. My kitchen fills with the most incredible buttery aroma as they bake and watching my family's faces light up when I pull them hot from the oven makes all the practice worth it. They've become our weekend tradition that everyone looks forward to.
Why These Biscuits Are Special
These aren't your average biscuits! Each one bakes up with gorgeous golden layers that pull apart to reveal a perfectly tender center. I love how versatile they are whether we're drizzling them with honey at breakfast or serving them alongside a cozy bowl of soup. They never fail to make any meal feel special.
What You'll Need
- Hot Water: Make sure it's the right temp around 110°F for happy yeast.
- Active Dry Yeast: This gives us that perfect subtle rise.
- Sugar: Just enough to feed our yeast and add sweetness.
- Flour: I swear by Lilly white yeast flour for the tenderest biscuits.
- Salt: Brings out all those buttery flavors.
- Butter: Keep it cold and cube it up for those flaky layers.
- Shortening: My secret for that perfect crumbly texture.
- Buttermilk: Makes everything tender with just the right tang.
- Melted Butter: For that gorgeous golden finish.
Let's Start Baking
- Wake Up Your Yeast
- Mix warm water yeast and a spoonful of sugar wait for the magic to happen about 5 minutes.
- Mix Your Dry Team
- Stir together flour sugar and salt then cut in that cold butter and shortening until you see little crumbs.
- Bring It Together
- Add your yeast mixture and buttermilk stir just until mixed. Pop it in the fridge anywhere from 2 hours to 5 days.
- Shape Your Biscuits
- Heat your oven to 400°F. Turn dough onto flour give it a few gentle kneads roll fold and roll again.
- Cut and Place
- Cut out your biscuits arrange them nice and cozy brush with butter.
- Time to Bake
- Let them bake until golden about 15-20 minutes then brush with more butter while hot.
My Best Tips
- Keep Everything Cold: Cold butter equals flaky layers it's worth the extra chill time.
- Less is More: The less you work the dough the more tender your biscuits.
- Check That Yeast: Fresh yeast makes all the difference.
- Don't Be Shy: Use plenty of flour on your surface no sticky dough allowed!
Make Them Your Own
- Add Some Cheese: Sharp cheddar makes amazing savory biscuits.
- Try Fresh Herbs: Sometimes I add rosemary it's incredible.
- Make Them Sweet: A sprinkle of cinnamon sugar on top is pure heaven.
Perfect Pairings
We love these warm from the oven slathered with butter and honey. They're amazing with sausage gravy for breakfast or dunked in chicken soup. Sometimes I make extras just for breakfast sandwiches the next day!
Keeping Them Fresh
Keep your biscuits in an airtight container they'll stay good for a couple days on the counter or up to a week in the fridge. To reheat just pop them in a warm oven for a few minutes they'll taste fresh baked again.
 Pin
Pin
Quick Answers to Questions
- Want to Freeze Them? Cut them out freeze them unbaked they'll bake up perfectly.
- No Buttermilk? Mix milk with lemon juice let it sit a few minutes works great.
- Not Flaky Enough? Keep everything super cold and handle the dough gently.
