 Pin
Pin
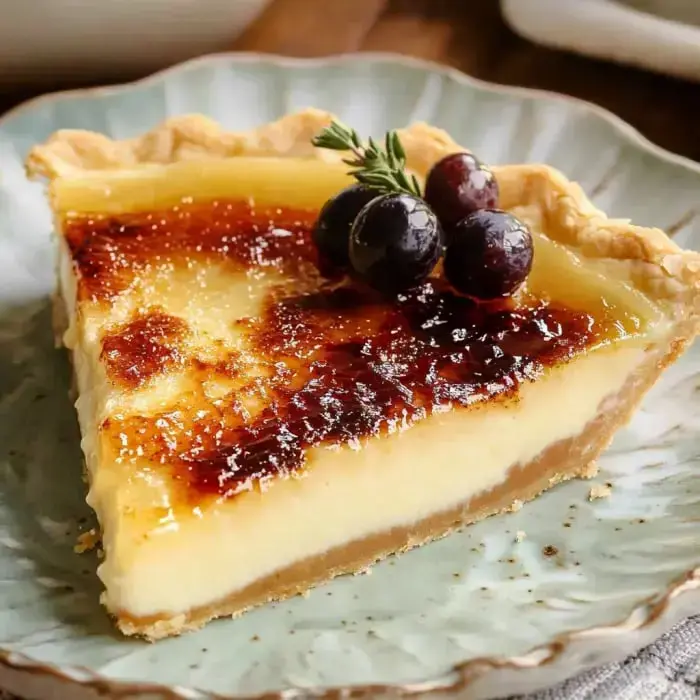
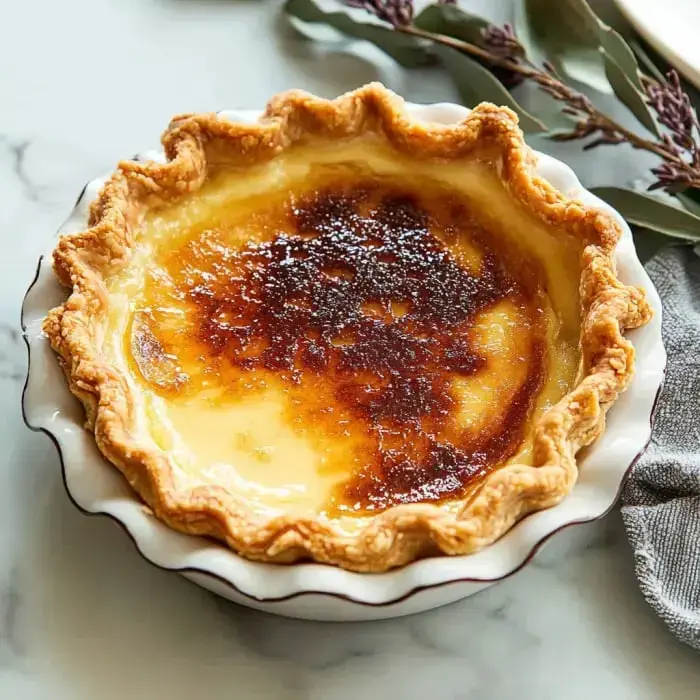
I'm thrilled to let you in on my ultimate dessert creation! This Crème Brûlée Pie combines all the best things about traditional French custard with a flaky handmade crust. After tweaking this recipe in my home kitchen, the velvety vanilla custard and that satisfying cracky surface always get my friends totally hooked. It's now my go-to showstopper whenever I host dinner.
What Makes This So Amazing
Believe me, you'll fall head over heels for this pie. I adore how it blends upscale restaurant quality with homestyle baking charm. That second when you break through the sugar crust into that dreamy custard underneath? Absolutely incredible! My followers keep telling me they can't believe how easy it is to whip up something that looks so fancy. It's just what you need when you want to wow everyone without slaving away for hours.
Grab These Ingredients
- Pie Dough: My mealy dough formula works every time and stays crisp underneath.
- Heavy Cream: Splurge on premium quality for the richest results.
- Egg Yolks: They're the key to getting that luxurious creamy texture.
- Vanilla Bean Paste: This little gem gives unbeatable flavor depth.
- Granulated Sugar: You'll need it for both the filling and that stunning caramelized top.
- Salt: Just a tiny bit enhances all the flavors.
Creating That Dreamy Base
- Cool Environment Matters
- I always drop my kitchen temperature before starting on pie crust work. Grab your dough and your favorite 9 inch dish and let's begin rolling. With light pressure move your rolling pin to form a nice 11 inch round about 1/8 inch in thickness. Don't skip measuring that circle it really helps create that pro-level finish. Lift your dough carefully using your rolling pin and lay it into the pie dish. Here's my top tip gently press the dough down into all corners without pulling it or it'll pull back during baking. Take a moment to shape those pretty edges I like making mine look wavy. Then take a fork and poke holes all across the bottom roughly an inch apart. This stops air bubbles from pushing up your crust.
- Cooling is Crucial
- Stick your shaped crust in the fridge for at least 15 to 20 minutes to help the gluten relax and prevent shrinkage. While it's cooling set your oven to exactly 425°F grab a thermometer if you have one since getting the right temperature really counts here. Cut a big piece of foil that'll cover your whole crust with extra hanging off the sides. After chilling press the foil down against the cold dough and fill completely with pie weights or beans. Make sure you use plenty of weights they're super important for keeping everything flat.
- First Baking Stage
- Put your weighted crust on the middle rack and bake for exactly 20 minutes. You want the edges turning just barely golden. Slowly remove the weights and foil then let your crust cool on a rack for another 20 minutes. As it's cooling turn your oven down to 350°F. Your properly blind baked crust should look dry and firm but not totally browned yet.
The Finishing Touch
After your pie sits in the fridge overnight comes the really exciting part! Dust sugar in a smooth thin layer across the top. Turn on your kitchen torch and watch as the sugar melts and turns amber it's totally mesmerizing! Let it harden for just a minute before cutting in. Don't have a torch? Your oven's broiler works fine just watch those edges carefully.
Showing Off Your Creation
Nothing beats that awesome snap when someone digs into that sugar layer! I really enjoy adding fresh berries or a dollop of whipped cream with each slice. Sometimes I'll add a little caramel sauce on top when I want to make it extra special. Seeing everyone's amazed faces when they take their first bite makes the whole process so worthwhile.
Storage Tips
This beauty will stay good in your fridge for a few days though that crispy top will gradually soften. Want to prep ahead? You can freeze it without the sugar topping if you wrap it well. When you're ready to eat just let it thaw and torch the sugar fresh. That newly caramelized crunch can't be beaten!
Pro Pointers
Mix that custard slowly and carefully until it's completely smooth. Always check that your crust is baked enough before pouring in the filling nobody wants sogginess! Try using superfine sugar for the most even caramel coating. If you're using your broiler instead of a torch keep the pie far enough away we're going for golden not burnt!
 Pin
Pin
Frequently Asked Questions About the Recipe
- → What if I don't have a torch?
- No problem! Use your broiler. Wrap the pie edges with foil, place about 6 inches from the heat, and monitor until the sugar melts and browns. Quickly take it out as it keeps cooking for a moment after.
- → How far in advance can I prep this?
- The pie crust can be baked and frozen for up to 2 months. When fully made, the pie stays fresh in the fridge for 2 days, though the crusty sugar top softens over time.
- → Why slowly mix warm cream with eggs?
- Adding the cream bit by bit stops the eggs from scrambling. Go slow for a perfect smooth custard.
- → How can I tell when it's baked enough?
- After about 30-35 minutes, the center should have a slight jiggle. It'll firm up as it cools and during overnight chilling.
- → Can sugary garnishes be prepped earlier?
- Sure, sugared cranberries and herbs last 2-3 days. Once dried, seal in an airtight container with silica gel packs.
